The following Quick Start Guide provides only the necessary steps to
install, operate the weather station, and upload to the internet, along
with references to the pertinent sections.
4. Pre-Installation Checkout and Site Survey
4.1 Pre-Installation Checkout
Before installing your weather station in the permanent location, we
recommend operating the weather station for one week in a temporary
location with easy access. This will allow you to check out all the
functions, ensure proper operation, and familiarize you with the
weather station and calibration procedures. This will also allow you to
test the wireless range of the weather station.
4.2 Site Survey
Perform a site survey before installing the weather station. Consider
the following:
1. You must clean the rain gauge every few months and change
the batteries every 2-3 years. Provide easy access to the
weather station.
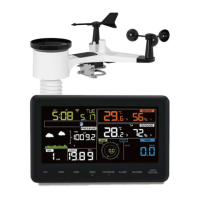
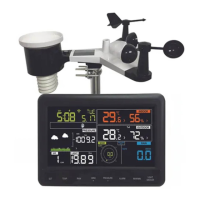
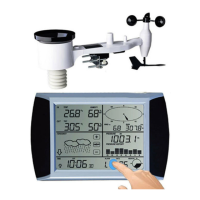
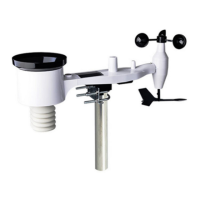
Assemble and power up the Y shape sensor
Power up the display console and synchronize
with Y shape sensor
Set date and time on console
Calibrate the relative pressure to sea-level
conditions (local airport) on console
Reset the rain to zero on console
Register and upload to Weather Server