1. From the MAIN MENU, press to access TEST
SELECTION.
2. Press to enter DISCONNECT TEST. The green
DISCONNECT TEST indicator will turn on.
3. Press to enable service voltage to socket.
4. Optional: To set load current, press to
highlight load current data box and enter desired
value.
5. Optional: Press to enable load current.
Note: BACKVOLTAGE will enable automatically.
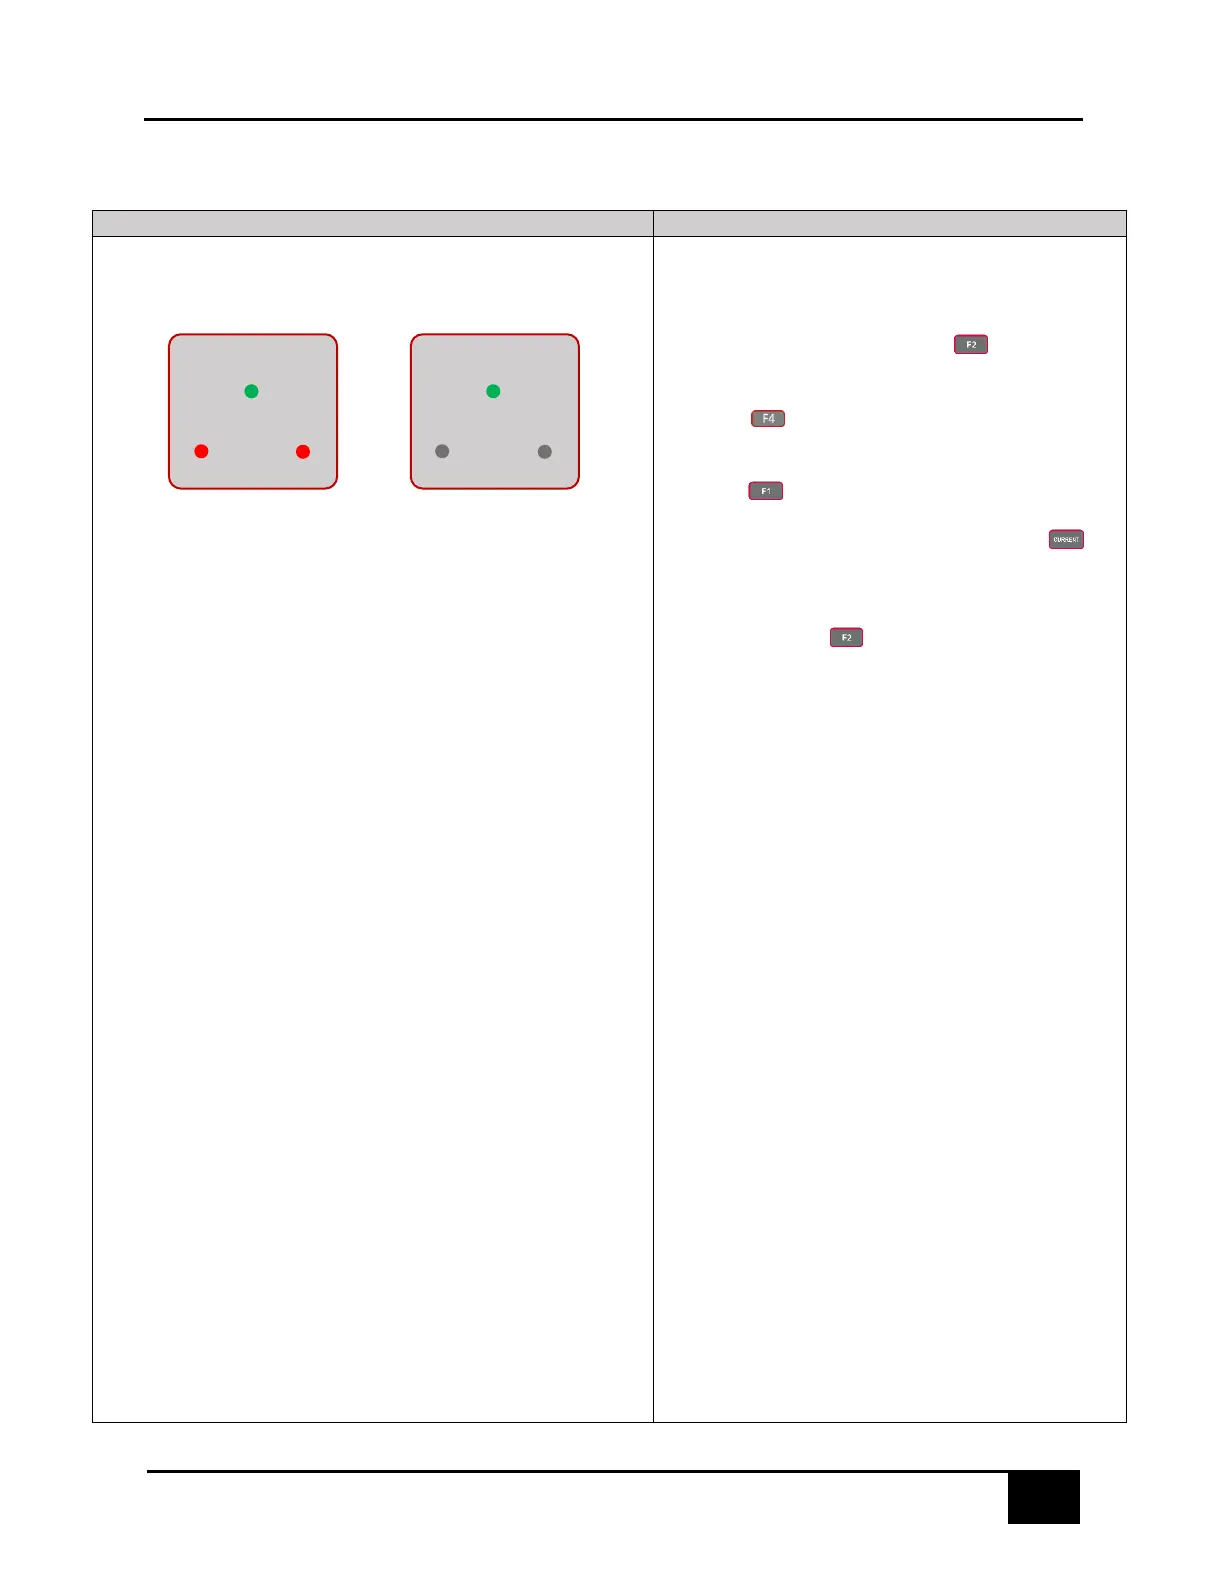
6. Once voltage is applied, and the meter service
disconnect is closed, the red JAW HOT indicators
will turn on. Refer to Figure 6.3.1.
NOTE: For Form 1S, the JAW4 HOT indicator will
not turn on.
7. Open the meter service disconnect. If successful,
the JAW HOT indicators, LOAD current and
BACKVOLTAGE (if enabled) will all turn off. Refer
to Figure 6.3.2.
8. If BACKVOLTAGE is turned on separate from LOAD,
it will not turn off automatically if the meter
disconnect is opened. BACKVOLTAGE can be
turned on while a meter disconnect is opened. If
BACKVOLTAGE is on, but the meter disconnect is
open, the JAW HOT indicator lights will turn on.