EasyManua.ls Logo

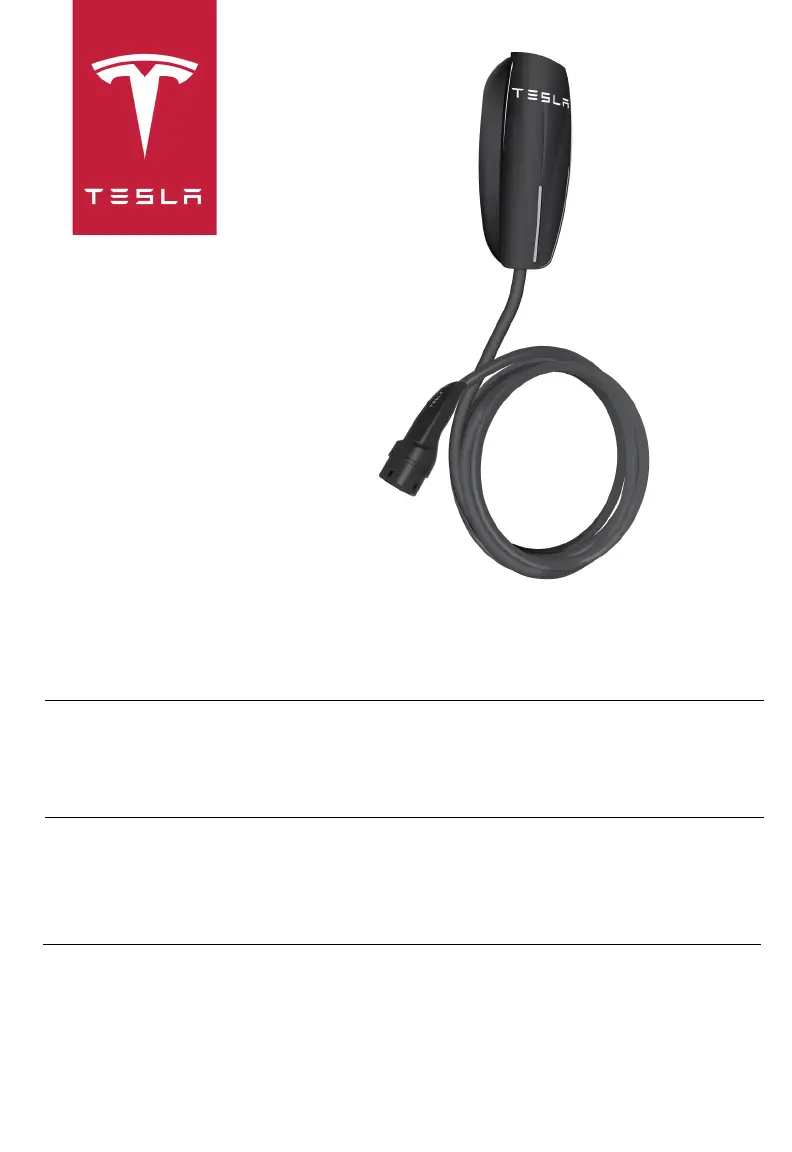
Tesla WALL CONNECTOR - User Manual

Tesla WALL CONNECTOR
84 pages
Print Icon
To Next Page IconTo Next Page
Loading...
WALL CONNECTOR, 40A SINGLE PHASE INSTALLATION MANUAL
THIS MANUAL IS OF THE HIGHEST IMPORTANCE
Approved Markets: China Mainland, Hong Kong
壁挂式连接器, 40A 单相电流 安装手册
该手册至关重要
经批准的市场:中国大陆地区和香港地区
壁掛式連接器, 40A 單相電流 安裝手冊
本手冊至關重要
經核準的市場:中國大陸地區和香港地區
WALL CONNECTOR, 40A SINGLE PHASE INSTALLATION MANUAL
THIS MANUAL IS OF THE HIGHEST IMPORTANCE
Approved Market: Australia
Cover_Tri_Language_Covers_and_Dividers.fm Page 1 Tuesday, July 15, 2014 1:41 PM

Questions and Answers

  • B
    barbarahamiltonSep 3, 2025
    What to do if Tesla Battery Charger input is miswired?
    • S
      Sara JohnsonSep 3, 2025
      If your Tesla Wall Connector indicates that the input is miswired, specifically that the Line and Neutral might be swapped, the power outlet has been incorrectly installed. Consult your electrician to correct this issue.
  • J
    Joanna HuynhSep 1, 2025
    What to do if Tesla Battery Charger has a communication error?
    • D
      David WilsonSep 1, 2025
      If a communication error occurs between the Wall Connector and the vehicle, try plugging the vehicle into another Wall Connector or a Mobile Connector, if possible, to see if the vehicle can communicate with other charging equipment. Then, further assistance is needed.
  • J
    Joan SchwartzAug 31, 2025
    How to fix Tesla Battery Charger when no ground connection is detected?
    • A
      Austin StevensAug 31, 2025
      If your Tesla Wall Connector indicates that no ground connection has been detected, make sure the Wall Connector is properly grounded. If you're uncertain, consult your electrician to ensure proper grounding at your circuit breaker or power distribution box and that appropriate connections are made to the Wall Connector.
  • V
    vancelindaAug 29, 2025
    What to do if Tesla Battery Charger has over current protection?
    • J
      Jonathan ReeseAug 29, 2025
      If your Tesla Wall Connector indicates over current protection, reduce the vehicle's charge current setting. If the problem continues and the attached vehicle is manufactured by Tesla, further assistance is needed. If the attached vehicle is not manufactured by Tesla, contact the original manufacturer.
  • R
    Robin Jackson PhDAug 27, 2025
    Why is my Tesla Battery Charger reducing current due to high temperature in the wall plug?
    • L
      lisahernandezAug 28, 2025
      The charging current is possibly being reduced because a high temperature has been detected in the wall plug or on the input terminals to the Wall Connector. If the Wall Connector is hard-wired, make sure that it is not covered and there is no heat source nearby. If the problem continues even when the ambient temperature is normal (under 100°F or 38°C), further assistance is needed.
  • K
    Katherine VazquezAug 26, 2025
    Why is my Tesla Battery Charger reducing current due to high temperature in the vehicle connector?
    • J
      Joseph JordanAug 26, 2025
      The charging current is possibly being reduced because a high temperature has been detected in the Vehicle Connector. To resolve this: * Ensure the connector is fully inserted into the vehicle's charging port. * Make sure the connector is not covered. * Verify there is no nearby heat source. If the issue continues in normal ambient temperatures (under 100°F or 38°C), further assistance is needed.
  • A
    Adam DiazAug 25, 2025
    Why is my Tesla Battery Charger reducing current due to high temperature?
    • R
      Ronald HarrisAug 25, 2025
      The charging current might be reduced because high temperature was detected inside the Wall Connector. Ensure that the Wall Connector isn't covered and that there isn't a heat source nearby. If the problem continues even when the ambient temperature is normal (below 100°F or 38°C), further assistance is needed.
  • J
    Julia AndersonAug 22, 2025
    What to do if Tesla Battery Charger shows ground fault?
    • C
      Courtney MooreAug 23, 2025
      If your Tesla Wall Connector indicates a ground fault, which means current is unsafely leaking, try disconnecting the Wall Connector from your vehicle and then reconnecting it. If the issue remains, turn OFF the circuit breaker for the Wall Connector, wait for about 10 seconds, and then turn the breaker back ON. After that, try reconnecting the Wall Connector to your vehicle. The cause may be a Line to ground or Neutral to ground fault. If the problem continues after these steps, further assistance is needed.

Summary

Safety Information

Warnings

Critical safety warnings for installation and operation of the Wall Connector, covering hazards.

Cautions

Important cautions regarding potential damage, operational limits, and handling of the Wall Connector.

Specifications

Features

Optional Circuit Ratings

Guidance on selecting circuit breaker ratings for optimal charging speed and performance.

Self-Monitoring and Recovery

Details on the Wall Connector's automatic diagnostic and fault recovery capabilities.

Power Outages

Explanation of how the Wall Connector manages charging resumption after power interruptions.

Service Wiring - Single Phase

Ground (Earth) Connection

Essential instructions for proper grounding to ensure safety and functionality.

Installation Overview

Step One - Check Box Contents

Verification of all components included in the Wall Connector shipping box.

Step Two - Install Wall Bracket

Instructions for securely mounting the Wall Connector bracket to the wall.

Step Three - Prepare for Installation

Steps to prepare the Wall Connector unit for mounting and wiring.

Step Four - Mount on Wall

Procedure for attaching the Wall Connector unit to the installed wall bracket.

Step Five - Connect Wiring

Detailed guide for connecting the electrical wiring to the Wall Connector.

Step Six - Set the Operating Current

Instructions for configuring the Wall Connector's operating current using DIP switches.

Step Seven - Confirm a Successful Installation

Procedure to verify the correct installation and initial operation of the Wall Connector.

Step Eight - Secure Cover and Power Up

Final steps to secure the unit's cover and restore power after installation.

Step Nine - Install the Cable Hanger

Instructions for installing the accessory cable hanger for neat storage.

Troubleshooting

Maintenance and Repair

Tesla WALL CONNECTOR Specifications

General IconGeneral
Amperage48 A
CurrentAC
ConnectivityWi-Fi
CompatibilityAll Tesla vehicles
Connector TypeTesla proprietary connector
Operating Temperature-30°C to 50°C
Enclosure RatingNEMA 3R
Installation TypeWall-mounted
Maximum Power Output11.5 kW
Cable Length24 feet (7.3 meters)

Related product manuals