8Main menu
8.5 Measuring location
8.5.1 Selection
Via the <up>/<down> key select the location relevant
to the measurement from the locations saved here
and confirm via <Enter>.
The selected designation is saved with the measured
values. The latter appears on printouts from the infra-
red printer and in the protocol head (Refer to the
Chapter 8.3.1 “Memory: View”).
8.5.2 Enter
Select “L
OCATION-ENTER”.
Select a letter via the <up><down> keys and confirm
via <Enter>. The numbers can also be entered (e.g.
“
HALL 3
”). The line must be filled right to the end
(e.g. B. with blank). This is the only way to complete
the entry before returning to the “L
OCATION
” menu.
The location entered is now available via
“S
ELECT
”.
8.5.3 Erase
In order to maintain an overview it is possible to
erase entries. Select the location which you want to
erase via the <up>/<down> key and press <Enter> to
confirm.
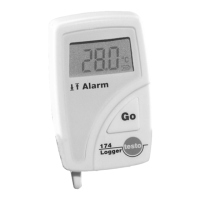
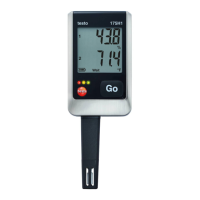
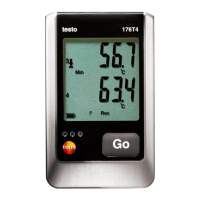
8.6 Device
8.6.1 Display
The display contains the current measured values of
the connected probes. In addition to the measured
values the minimum, maximum and mean values can
be displayed.
Once you have selected the submenu “D
ISPLAY” from
the “D
EVICE” menu you can look for the respective
channel and the required parameter via the
<up><down> keys. Confirm the selection via
<Enter>.
With <Enter> you also select “M
IN”, “MAX” and/or
“AVG”, switch the display “on” or “off” with
<up><down>.
This setting depends on the constellation and is lost
when the instrument is switched off.
Go from the “Display” menu back to the “Device”
menu by pressing <Arrow>.
24
Location
‚elect
Enter
Erase
Location
Select
™nter
Erase
Location
Selection
Enter
™rase
>
_
A
B
Locations
Testo I
Testo II
Locations
Testo I
Testo II