Programming the Control Panel Veritas R8 Plus & Excel Installation Manual
30 INS045-14
Programming the Zone Disable Suite
The Zone Disable Suite defines the zones that are not monitored.
Disabled zones cannot cause either alarm or EOL tamper. A zone
could be disabled:
If it was not being used.
While waiting for a faulty detector to be replaced.
From the Programming Menu, enter
. The zones currently
included in the Zone Disable Suite will indicate (zones not included
will remain off).
12
3
4
56
78
Uns et
Ta mpe r
Zones
Press the appropriate numbered button(s) of the zone(s) to be
included or excluded. Press
. The system will chime to
confirm that the new Zone Disable Suite has been accepted. The
system will then automatically revert to the Programming Menu.
If a zone is disabled in this suite it will be necessary to enter
the suite again to re-enable it.
Programming the Zone Soak Test Suite
The Zone Soak Test Suite defines the zones that are on Soak Test.
Soak Test is used to prevent false alarms for a set period after a new
installation or when a detector has been replaced. If a zone on Soak
Test activates it will not cause alarm or activate the communicator
interface but it will still be logged. Afterwards the zone will have a
standing fault and will need to be omitted before the system can be
set. After the Soak Test Time (see page 29) zones that have not
activated will be automatically removed from the Soak Test Suite.
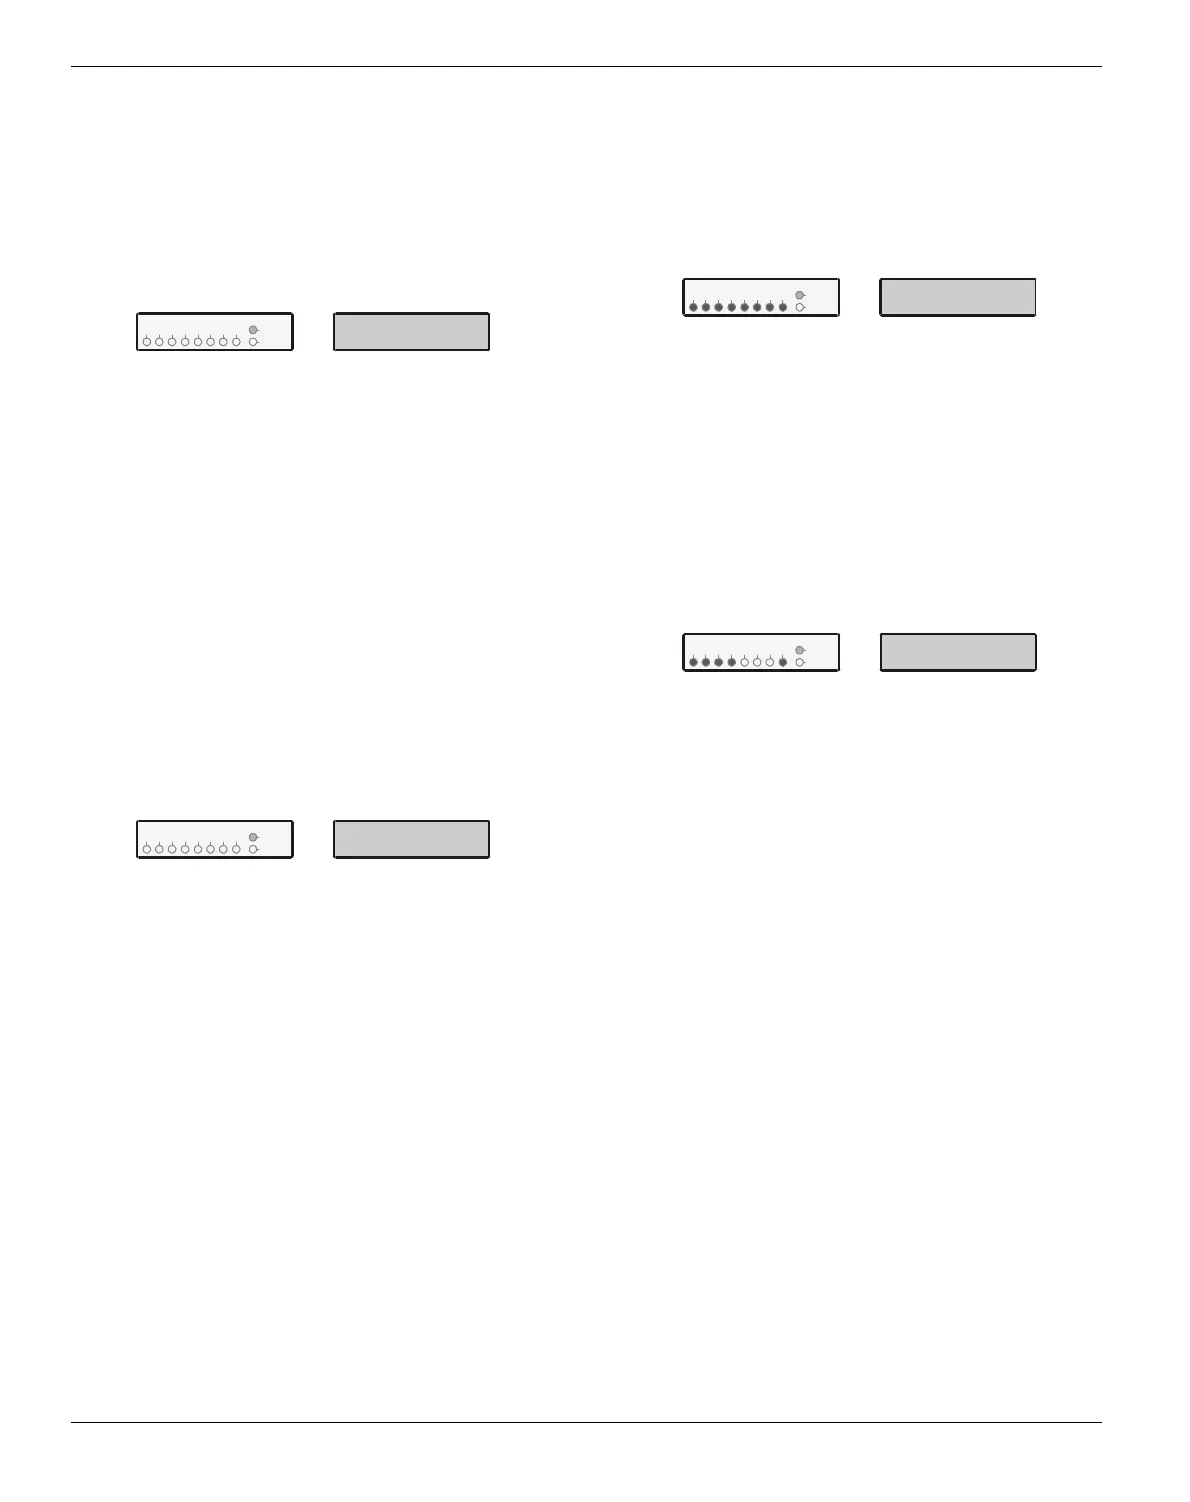
From the Programming Menu, enter
. The zones currently
included in the Zone Soak Test Suite will indicate (zones not
included will remain off).
12
3
4
56
78
Uns et
Ta mpe r
Zones
Press the appropriate numbered button(s) of the zone(s) to be
included or excluded. Press
. The system will chime to
confirm that the new Zone Soak Test Suite has been accepted.
The system will then automatically revert to the Programming
Menu.
Soak Test is not appropriate for Entry/Exit, Push to Set, or
Keyswitch Zone Types and these zones will still be
monitored as normal even if they are included in the Soak
Test Suite.
Zones which fail Soak Test will be automatically added to the
Manual Omit Suite (see page 31) which should be checked
after a Soak Test failure.
When the Soak Test Suite is programmed the Soak Test
Time is started therefore this should be programmed first
(see page 29).
Zones that have failed Soak Test will be cleared when the
Soak Test Suite is programmed.
If a Soak Test zone activates all subsequent zone activations will be
logged as well. For example, zones 5, 6, 7 & 8 are on Soak Test.
Zones 7 & 8 activate and are logged (zone indicator On). The user
then returns via Zone 1, Zone 2 & Zone 3. These zones will all be
logged as well but while Zone 2 & 3 indicators will be On, Zone 1
indicator will be Flashing as this was the first non Soak Test zone to
be activated. It is therefore recommended that the 250 Event
Extended Log is always checked in the event of a Soak Test failure.
Programming the Full Set Suite
The Full Set Suite defines the zones that will be automatically
included and excluded (omitted) when the system is full set.
From the Programming Menu, enter
. The zones currently
active in full set will indicate (the omitted zones will remain off).
12
3
4
56
78
Uns et
Ta mpe r
Zones
Press the appropriate numbered button(s) of the zone(s) to be
included or excluded (omitted). Press
. The system will
chime to confirm that the new Full Set Suite has been accepted.
The system will then automatically revert to the Programming
Menu.
Programming the Part Set Suites
-
A Part Set Suite defines the zones that will be automatically included
and excluded (omitted) when the system is part set.
From the Programming Menu, press
followed by the suite
number
,
,
, or
(e.g. to program Part Set Suite 2, enter
). The zones currently active in the selected part set will
indicate (the omitted zones will remain off).
12
3
4
56
78
Uns et
Ta mpe r
Zones
Press the appropriate numbered button(s) of the zone(s) to be
included or excluded (omitted). Press
. The system will
chime to confirm that the new Part Set Suite has been accepted.
The system will then automatically revert to the Programming
Menu.

 Loading...