A
adamsmelissaJul 31, 2025
What to do if Thermal Dynamics Welding System has pilot ignition failure?
- DDawn YoungJul 31, 2025
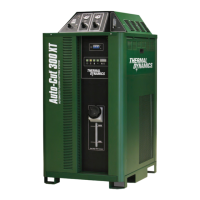
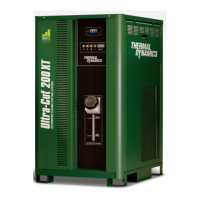
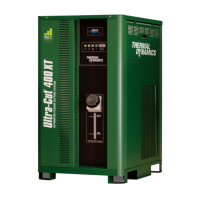
If the Thermal Dynamics Welding System experiences pilot ignition failure, it could be due to several reasons. Check if the torch consumable parts are worn and ensure the correct process is selected, including matching the current control setting to the consumables. Also, verify that the plasma pressure isn't too high. A defective arc starter, pilot PCB, or inverter section 1A could also be the cause. Incorrectly connected ribbon cables on INV1 sections 1A and 1B might also lead to this issue. Pilot did not start within 15 seconds.