Structural Maintenance
146
5. Install the retainer cap assembly over the
shaft, and then install the bolts.
6. Torque the bolts in a criss-cross pattern in
equal steps to 80 in-lbs (9.04 N•m).
Figure 75: Torquing Retainer Plate Bolts
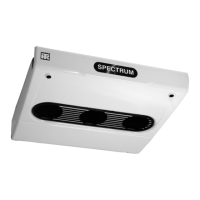
7. Lock the assembly in a vise and set up a dial
indicator to read the end play. To measure the
end play, rotate the shaft while pushing in one
direction, and set the dial indicator to 0. Now
rotate the shaft and pull in the opposite
direction while reading the dial indicator. The
end play should be 0.001 to 0.005 in. (0.025 to
0.127 mm). If the end play is incorrect, use
different shims to obtain the correct end play.
Shims available from the Service Parts
Department:
Figure 76: Checking End Play
8. After the correct end play is obtained, add
grease for the bearings.
NOTE: Use ONLY Thermo King special
fanshaft grease (P/N 203-278) in this assembly.
Lock the assembly in a vise with the vent
facing up. Pour grease through the top plug
until it runs out of the side hole. The assembly
holds 2.2 oz (65 ml). Check the condition of
the o-ring used on the plugs and replace if
necessary. Install top and side plugs. Clean up
any spillage.
9. Place the assembly on the workbench with the
vent up. Rotate the shaft by hand. The shaft
should be free enough to rotate without having
to hold the housing.
0.020 in. (0.500 mm) P/N 99-4231
0.007 in. (0.177 mm) P/N 99-2902
0.005 in. (0.127 mm) P/N 99-2901
CAUTION: When installing the fanshaft
assembly, make sure that the vent is
mounted facing up.
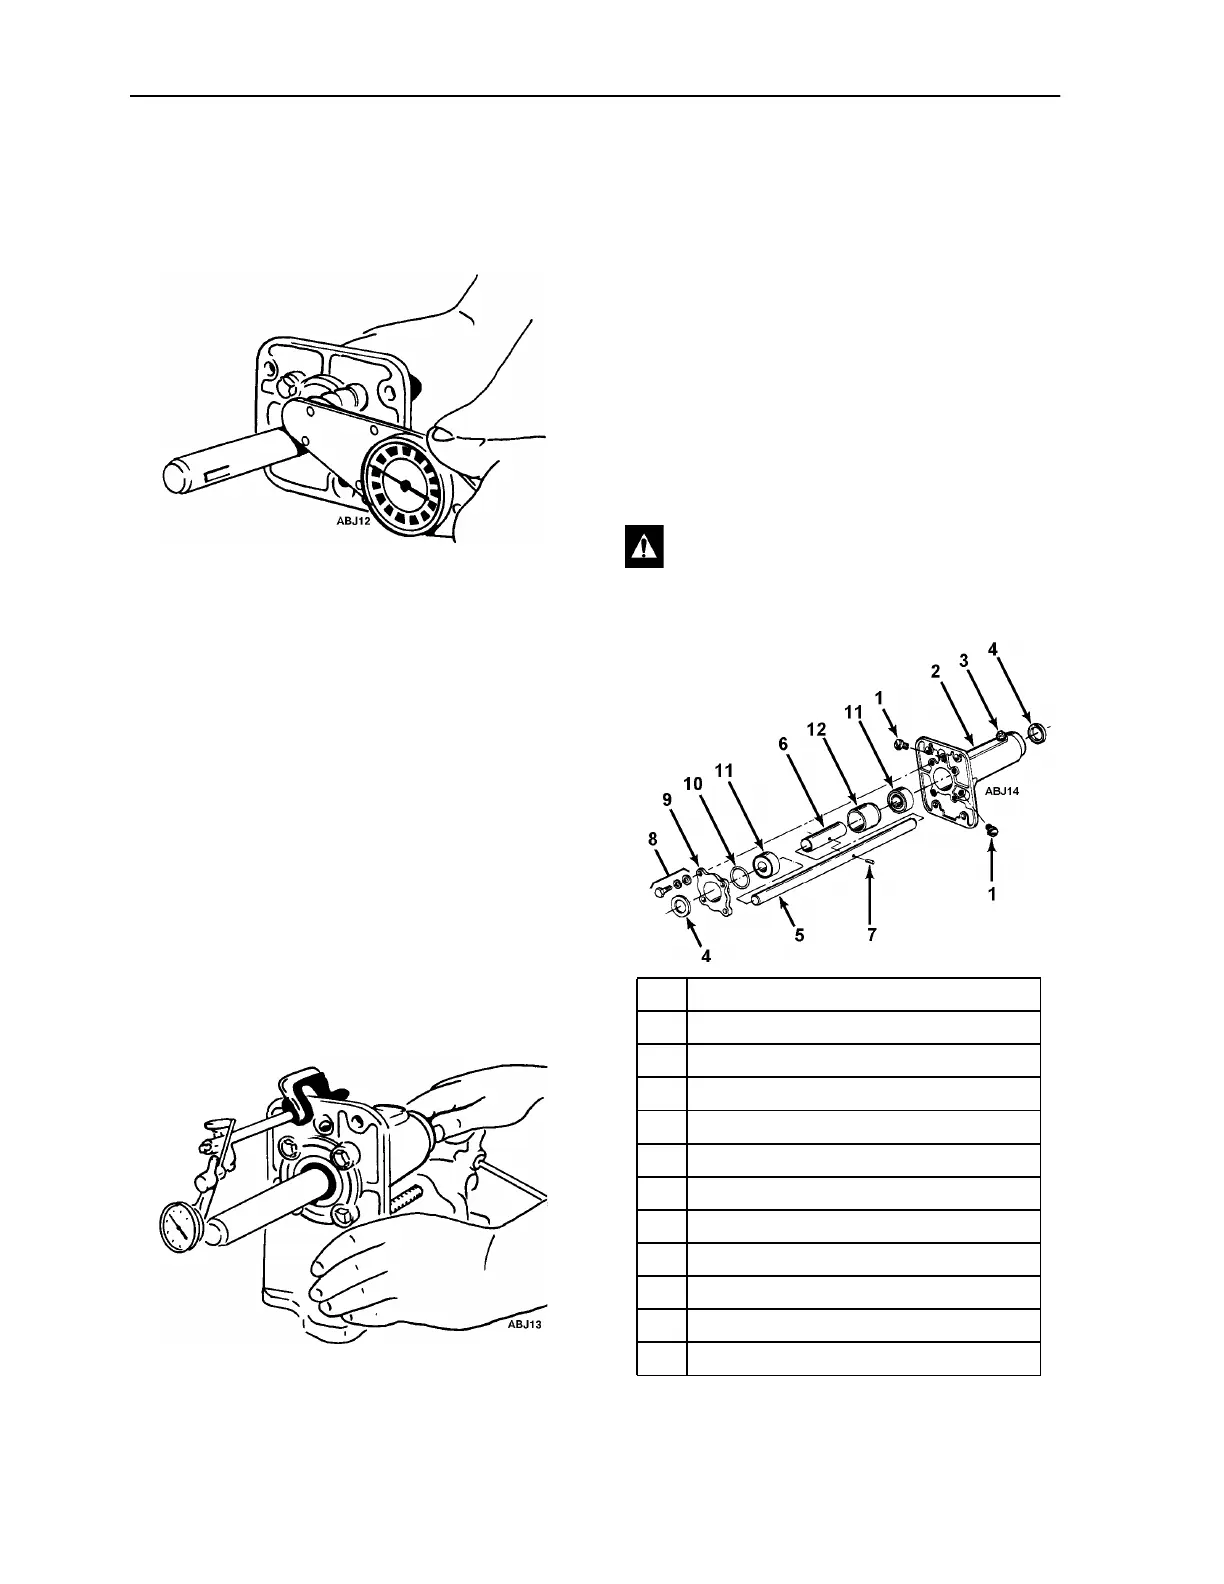
1. Oil Plug Screw with O-ring
2. Housing
3. Breather Vent
4. Oil Seal
5. Shaft
6. Sleeve
7. Pin
8. Screw with Flatwasher and Lockwasher
9. Cap and Shims
10. O-ring
11. Roller Bearing
12. Splash Guard Tube
Figure 77: Fan Shaft Assembly

 Loading...