11
EN
EN
COLOUR VIDEO INTERCOM
C - INSTALLATION
4.Swipethe-badge(red),alongbeepconrms
the end of the programming of administration
badges.
2.2.2 Adding one or more user badges:
1.Swipethebadge-(blue),4longbeepsconrm
activation of programming mode.
2. Swipe all user badges (grey) to be activated,
a short beep conrms, for each badge
presented, that it has been programmed.
3. Once all the badges have been programmed,
wait for 10 seconds. A long beep indicates the
end of the programming process.
2.2.3 Deleting one or more user badges:
1.Swipethe-badge(red),4longbeepsconrm
activation of programming mode.
2. Swipe all user badges (grey) to be
deactivated,ashortbeepconrms,foreach
badge presented, that it has been cleared of
any programming.
3. Once all the badges have been cleared of any
programming, wait for 10 seconds. A long
beep indicates the end of the programming
process.
2.2.4 Deleting all user badges:
1. Swipe the administrator badge (yellow),
4 short beeps indicate activation of
administration mode.
2. Swipe 1 user badge (grey) that has been pre-
added to the system, a short beep indicates
that all the user badges have been cleared of
any programming.
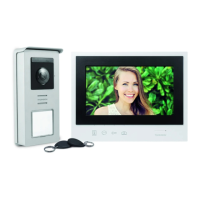
2.2.5 Use of badges:
To open the electric strike plate, quickly swipe
your pre-programmed user badge (grey) over
the RFID scan area. A short beep indicates the
opening of the electric strike plate.
To initiate the gate motor, hold the badge in front
of the RFID scanning area for 3 seconds. Two
short beeps indicate that the gate is opening.
2.2.6 Replacing a badge
RFIDbadgesdonothavepredenedfunctions.
It is the programming step that sets the badge’s
function. Badge colours simply enable users to
recognise their function. If a badge is lost, it can
be replaced by any other badge by repeating the
programming step.
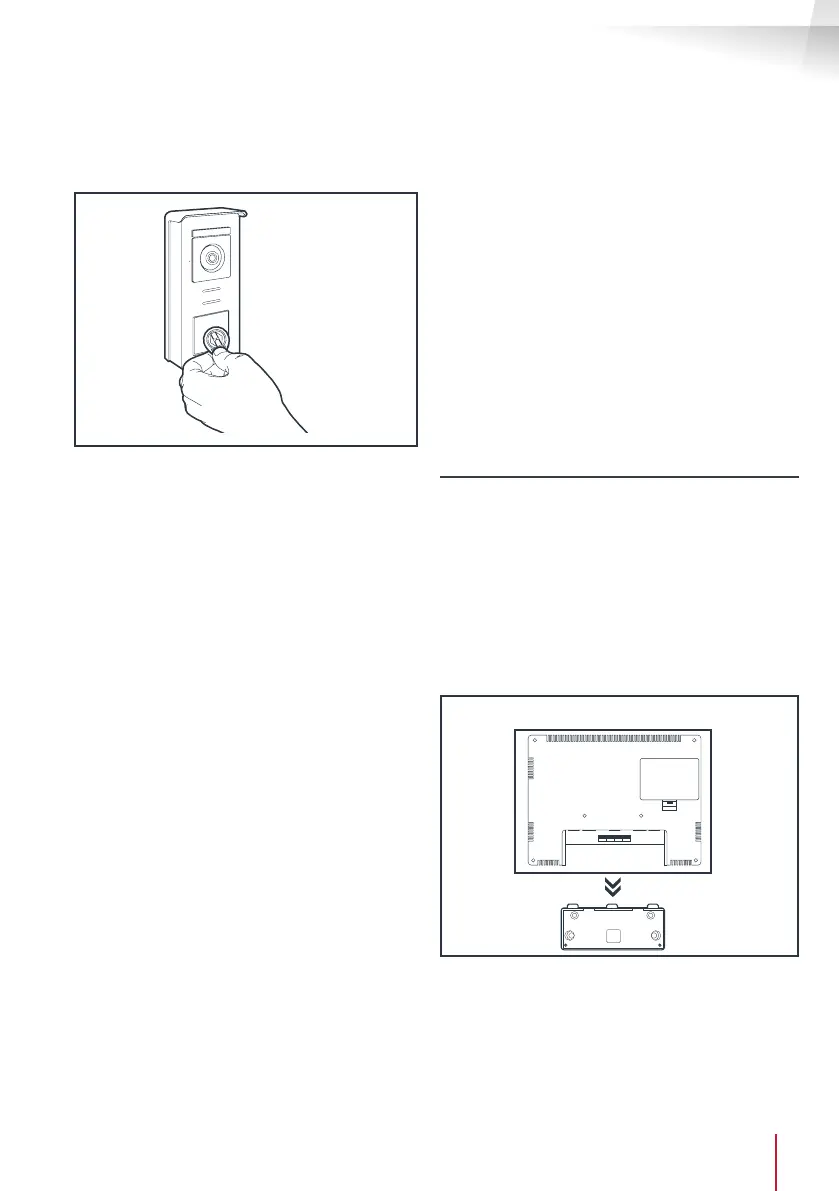
3 - INSTALLING THE INTELLIGENT BRACKET
• The smart stand is magnetically attached to the
back of the monitor. To gain access, please slide
the support down.
• Position the bracket in the chosen location
and check that it is in the optimum position for
connecting the cables.
• If the cables do not emerge directly from the wall,
break off the bottom plastic part.
 Loading...