9
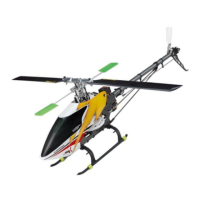
13.Install the wheel axle and secure it with 3x3mm set screw.
Make sure the position and angle are just right.Trim the
retract gear door and fit the retract well accordingly. Flats
should be ground on the landing gear legs for the setscrew
to prevent the wheel axle from rotating under load.
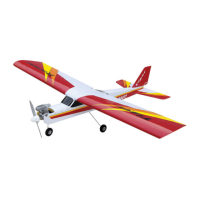
14. Trim the retract door in the upper retainers and glue one
retainer (bigger area) on the door then secure the other
side of the retainer at the strut coil with 2x5 mm wood
screw. Hint: Place the retainer in the strut coil with the
retract in the well, next apply CA on the retainer then
place the gear door on retainer and fit to the well
simultaneously.
15.Locate and trim the other retract door of the lower
retainer,which will be installed on the wheel axle.It may
be wise to sand the glue area to enhance the adhesion.
Install the wheel and secure the collar firmly with 3x3mm
set screw. Make sure the wheel rotates freely.
FUSELAGE
16.Glue the door on the lower retainer. You may secure the
door with the two 2x5mm furnished wood screws. Make
sure the retract works smoothly and the door fits in well
perfectly. The furnished rubber wheels are good size for
Rare Bear and we suggest to use them for static
demostration or sitting on the floor for an extended period
of time. However, for flying actions,the wheels are a way
too heavy, therefore, when flying, we would suggest
switching a pair of smaller or lighter foam wheels for
better retract performance.
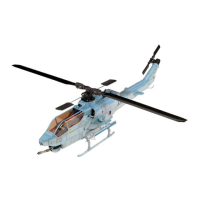
17.Trim the air-cooling inlet and glue it in place as shown.
Repeat the same procedures on the other wing half.
Fuselage
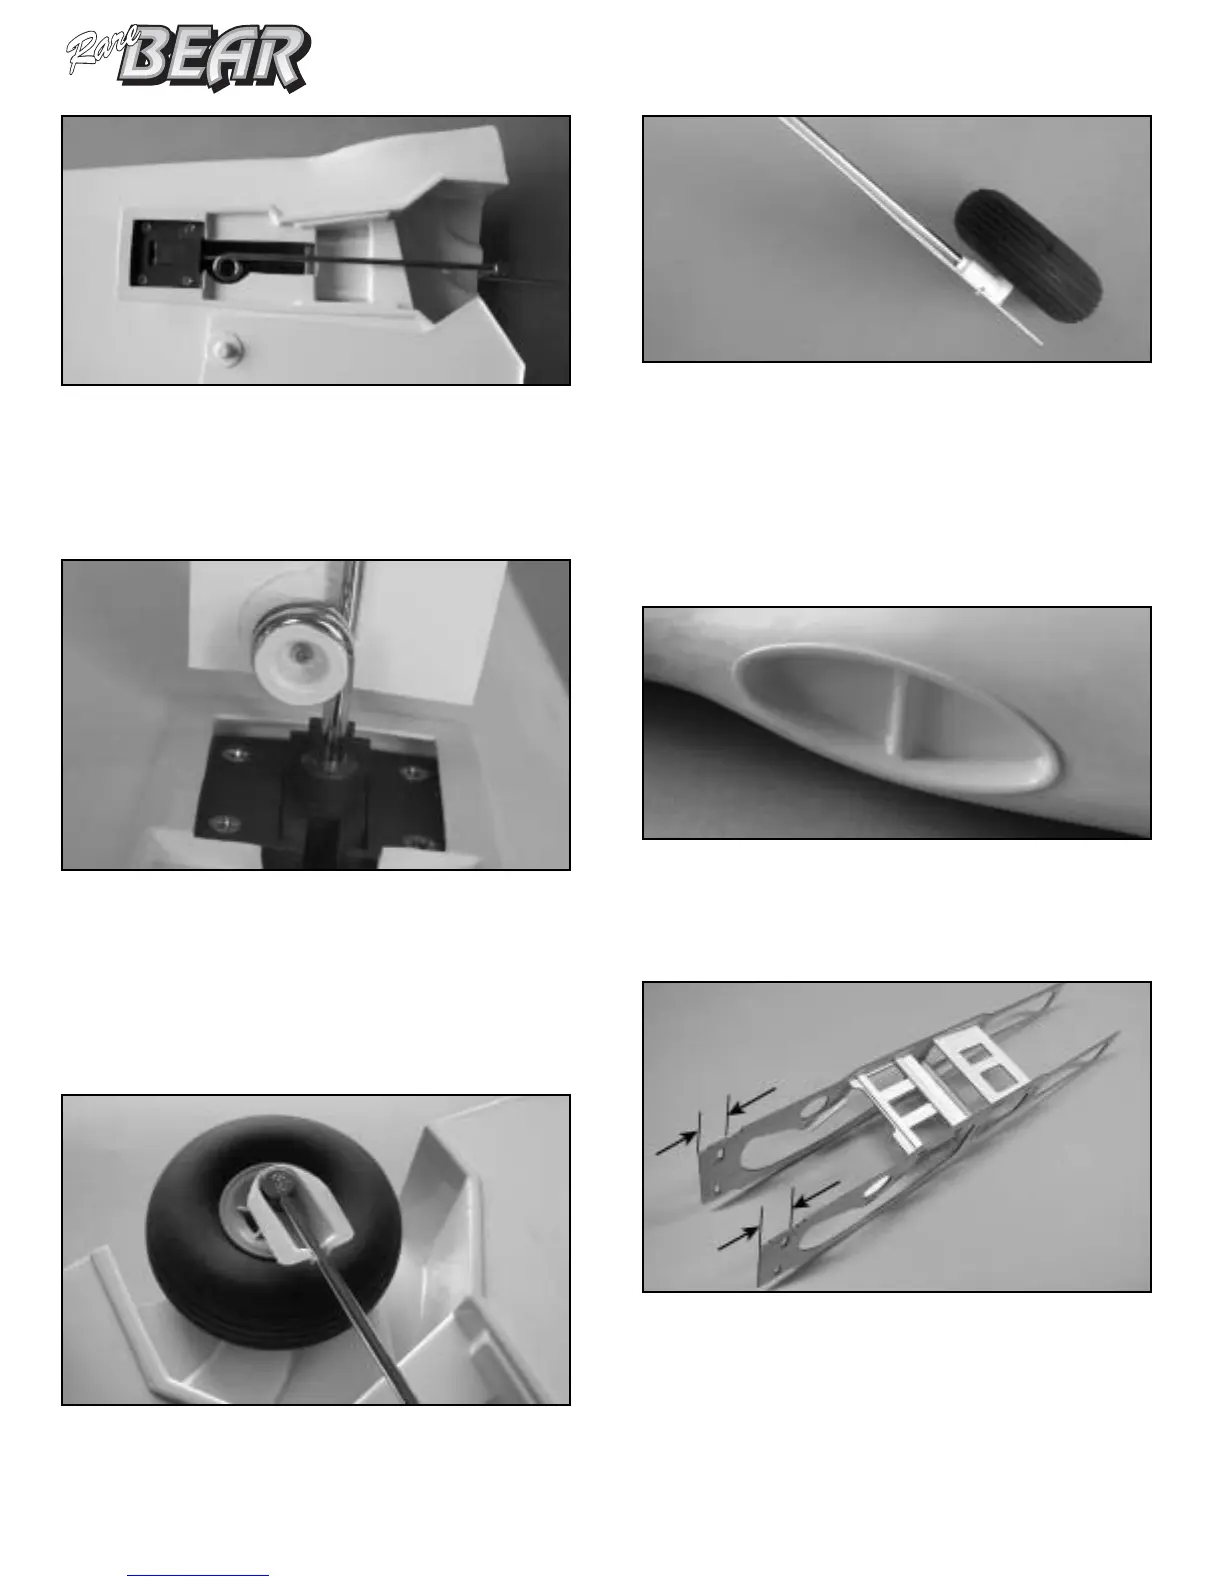
18.Locate the two side framse, servo trays,servo tray doubler
and retract servo mount stripes. Glue them with Epoxy or
thick CA as shown on the photo.
NOTE: the slot cut to the very front at firewall area of Left
frame is shorter than Right frame.This is to make Firewall
with Right/ Down thrust angle.
Fuel Tank cutout on servo tray is not centened.Make sure the
cut out is at Left side.
L
R