− 27 −
R-CL300-0-1204-02
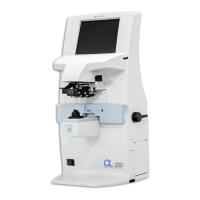
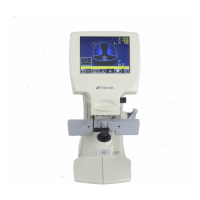
3-1-4 AXIS CORRECT
(1) Press the AXIS CORRECT button on the “FACTORY MENU” screen.
When “OK” is not displayed for “SELF CHECK” and “CCD POSITION”, the “AXIS CORRECT”
operation cannot be executed.
(2) When the above image is displayed, put the cylindrical Testing Lens on the lens support and contact the
reference surface (∆) of the cylindrical Testing Lens with the lens table.
(3) Move the lens table, position it to display “MARKING OK” and press the MEMORY button under the
“MARKING OK” condition.
(Do not move the Testing Lens until a beep sound is heard.)
(4) Press the button to end the correction, and the system will return to “FACTORY MENU”.
Remove the Testing Lens from the lens support.
Make sure that “OK” is displayed for “AXIS CORRECT”.
EXIT
S:+0.00
C:+0.01
A: 180
0: 0.00
D: 0.00
90
120
150
180
0
30
60
AXISCORRECT
90
120
150
180
0
30
60
AXISCORRECT
S:+0.00
C:+0.01
A: 180
0: 0.00
D: 0.00
 Loading...