Important:Iftheshearpinsarebroken,themower
beltmaybedamaged.Inspectthebelt;referto
AdjustingtheBladeDriveBelt.
RemovingtheBlades
1.Removethemower;refertoRemovingtheMower.
2.Carefullytipthemowerover.
3.Removethebolts,washers,andblades(Figure35).
Wedgeablockofwoodbetweeneachbladeandthe
mowertolockthebladewhenyouareremoving
eachbolt.
Note:Therightbladehasaleft-handthreadedbolt.
4.Inspectallparts;replaceanythatarewornor
damaged.
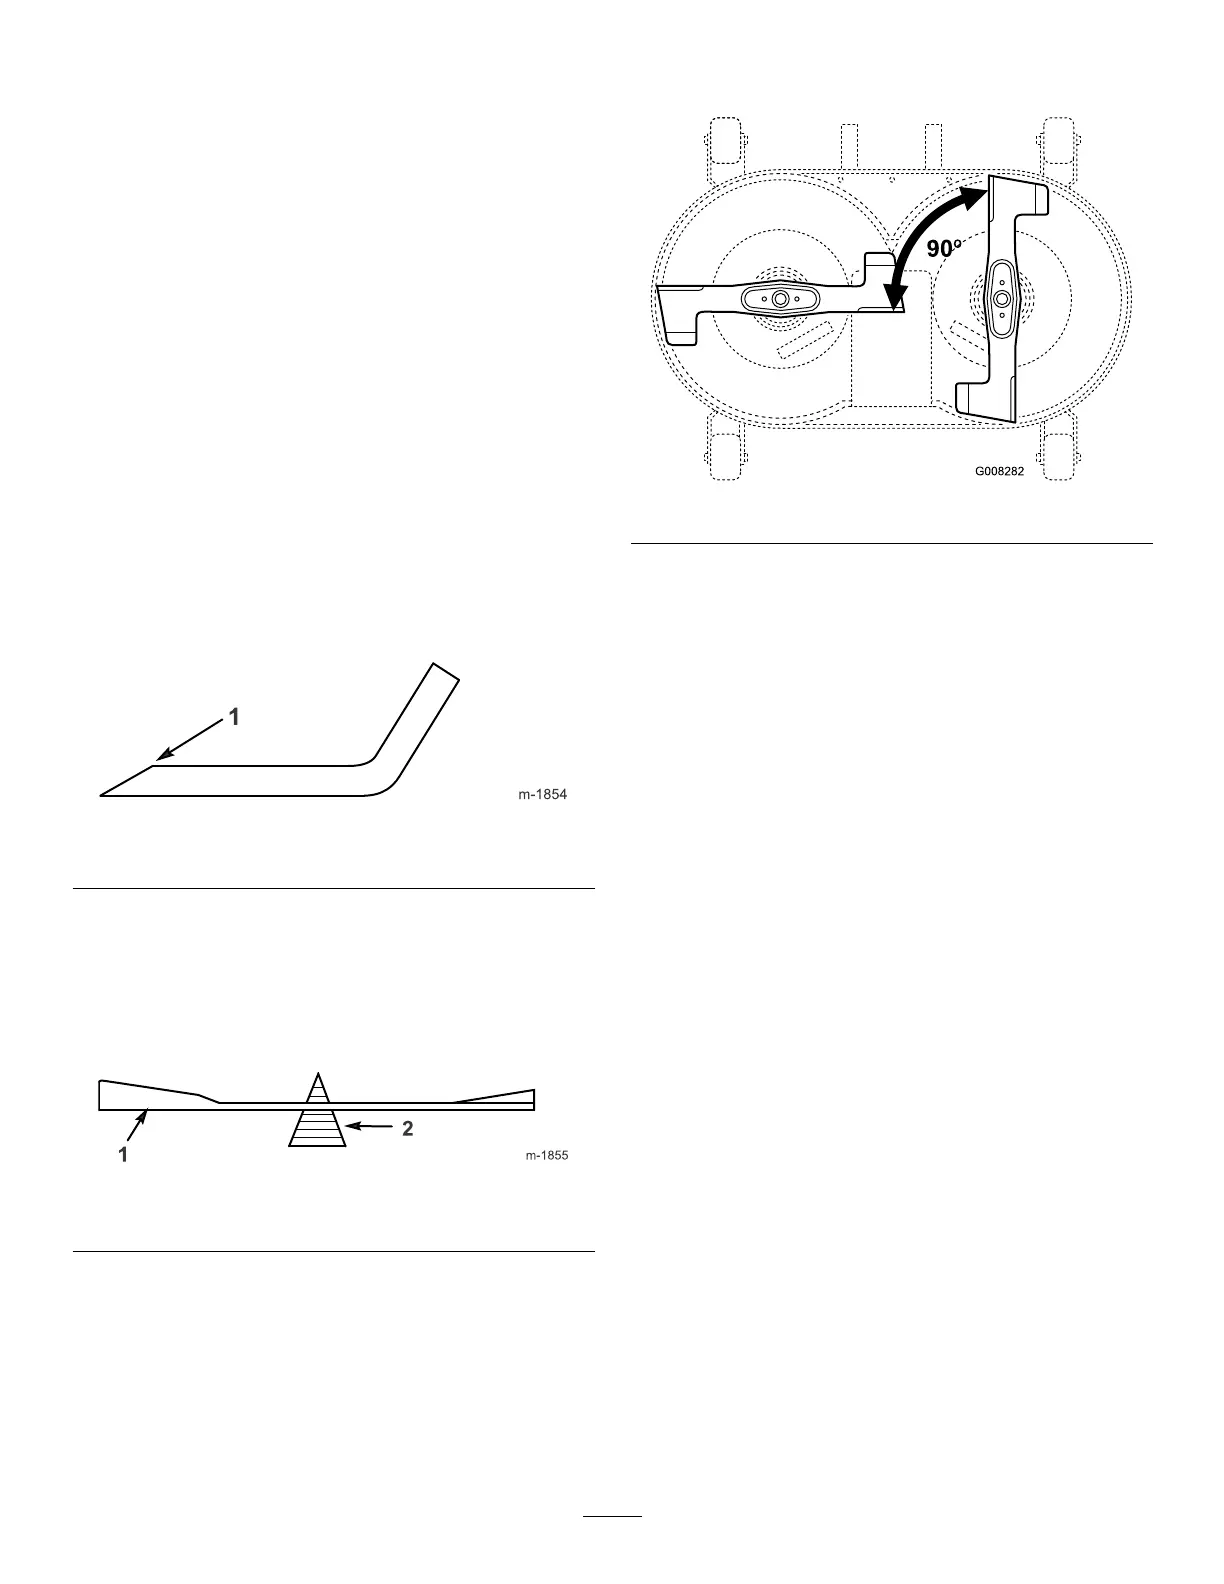
SharpeningtheBlades
1.Usealetosharpenthecuttingedgeatbothendsof
eachblade(Figure36).Maintaintheoriginalangle.
Thebladeretainsitsbalanceifyouremovethesame
amountofmaterialfrombothcuttingedges.
Figure36
1.Sharpenatoriginalangle
2.Checkthebalanceofeachbladebyputtingiton
abladebalancer(Figure37).Ifthebladestaysina
horizontalposition,thebladeisbalancedandcanbe
used.Ifthebladeisnotbalanced,lesomemetal
offthebacksideoftheblade.Repeatthisstepuntil
eachbladeisbalanced.
Figure37
1.Blade2.Balancer
InstallingtheBlades
1.Installtheblades,washers,andbladebolts
(Figure35).
Important:Thebentedgesofthebladesmust
bepointingtowardthetopofthemowerto
ensurepropercutting.
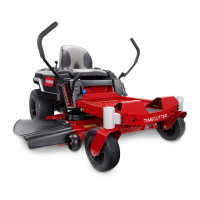
2.Positiontheblades90degreestoeachother
(Figure38).
Figure38
3.Tightenthebladeboltsto37ft-lb(50N-m).
RemovingtheMower
1.Parkthemachineonalevelsurface.
2.Disengagetheblades(PTO).
3.Settheparkingbrake.
4.Stoptheengineandwaitforallmovingpartstostop.
5.Removetheignitionkey.
6.Disconnectthewirefromthesparkplug.
7.Movetheheight-of-cutlevertothelowestposition.
8.PulltheidlerarmassemblyinandremovetheV-belt
fromthepulley(Figure39).
33