HydrostaticDriveTransmissionRemoval(continued)
15.Loosen(donotremove)the4(1/2inch)hydrostatictransaxlemountbolts
securingthehydrostatictransaxletothechassis.
16.Whilesupportingthehydrostatictransaxlebeingremoved,removethe4
loosenedmountboltsfromthechassis.Removethehydrostatictransaxle
fromthemachine.
HydrostaticDriveTransmissionInstallation
1.Placethehydrostatictransaxleintothemachine.Whilesupportingthe
hydrostatictransaxlebeinginstalled,installandngertightenthe4chassis
mountbolts.
2.Tightenthe4(1/2inch)hydrostatictransaxlemountboltssecuringthe
hydrostatictransaxletothechassis.Torqueboltsto129–155N•m(95–115
ft-lb).
3.Installthespringclampssecuringthereservoirhosetothehydrostatic
transaxle.
4.Installthecartridgelter.
5.Installthe5/16inchnutandshoulderboltsecuringmotioncontrollinktothe
hydrostatictransaxle.T orqueto2.3–2.8N•m(20–25in-lb).
6.Installthebreakrodtothehydrostatictransaxle.Installthelockingcotterpin
securingthebrakerodtothehydrostatictransaxle.
7.Installthehydroplate.Installthe8(3/8inch)(4perside)locksnutsandbolts
securingthehydroplatetothechassis.
8.ZT5400only,installthe2brakereturnspringsconnectingthebrakerodto
thehydroplate.
9.Settheparkingbrake.
10.Installthewheeltothesidebeingserviced.
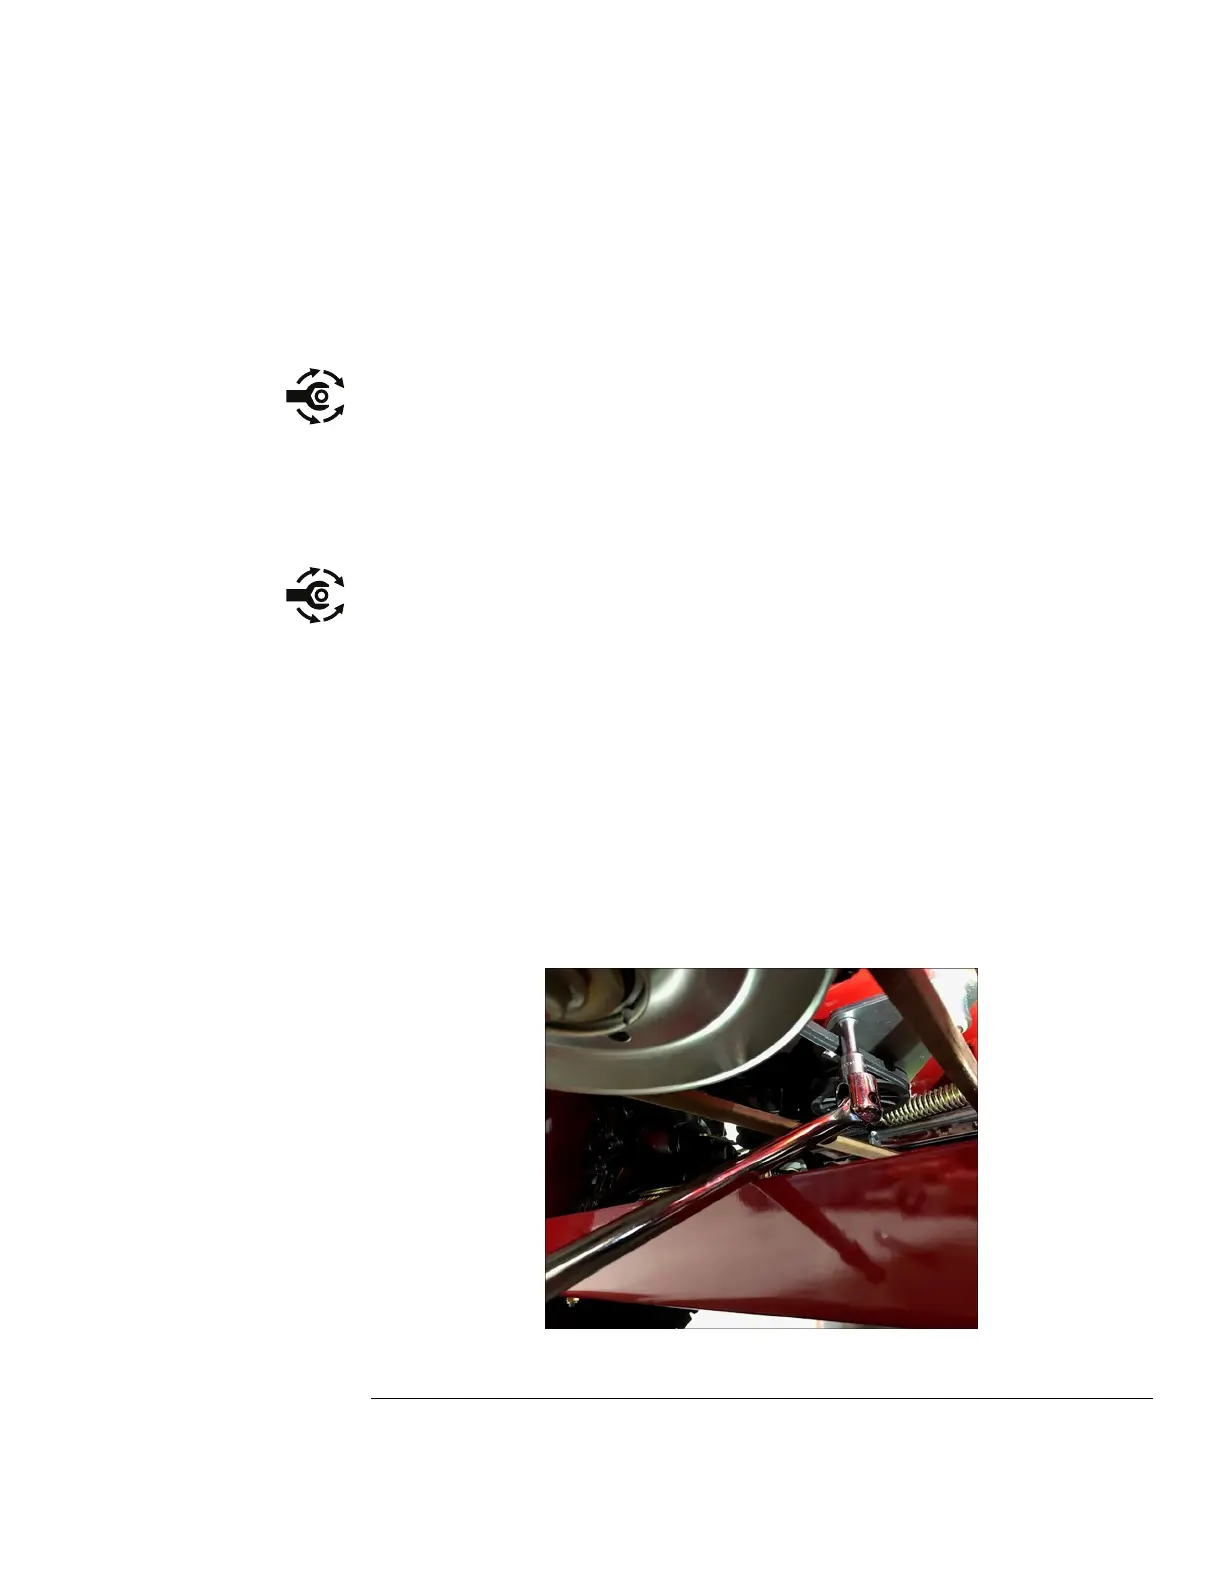
11.Installthedrivebelttotheidlerpulley.Usinga½inchbreakerbar,insertinto
themostaccessiblesquareholeoftheidlerarm.Turnthebreakerbarto
addbelttension.
g346265
Figure78
12.Installthedeckbelt.DeckBeltReplacement(page6–4)
13.Usinganappropriateliftingdevice,lowertherearofthemachineandsupport.
4000SeriesZMASTER®ServiceManual
Page7–7
DriveSystem:ServiceandRepairs
3442-427RevA
 Loading...