71
Chapter 13
Customize Your Network Settings
3. Make sure the Enable WPS is turned on, and then click Connect.
4. Press the WPS button of the client device directly.
5. The status LED may flash blue fast for about 2 minutes during the WPS process.
6. Connect successfully will appear after the Connect button, which means the client
device has successfully connected to the controller.
Method 3: Enter the controller’s PIN on your client device
Use this method if your client device asks for the controller’s PIN.
1. Visit http://tplinkwifi.net, and log in with the password you set for the controller.
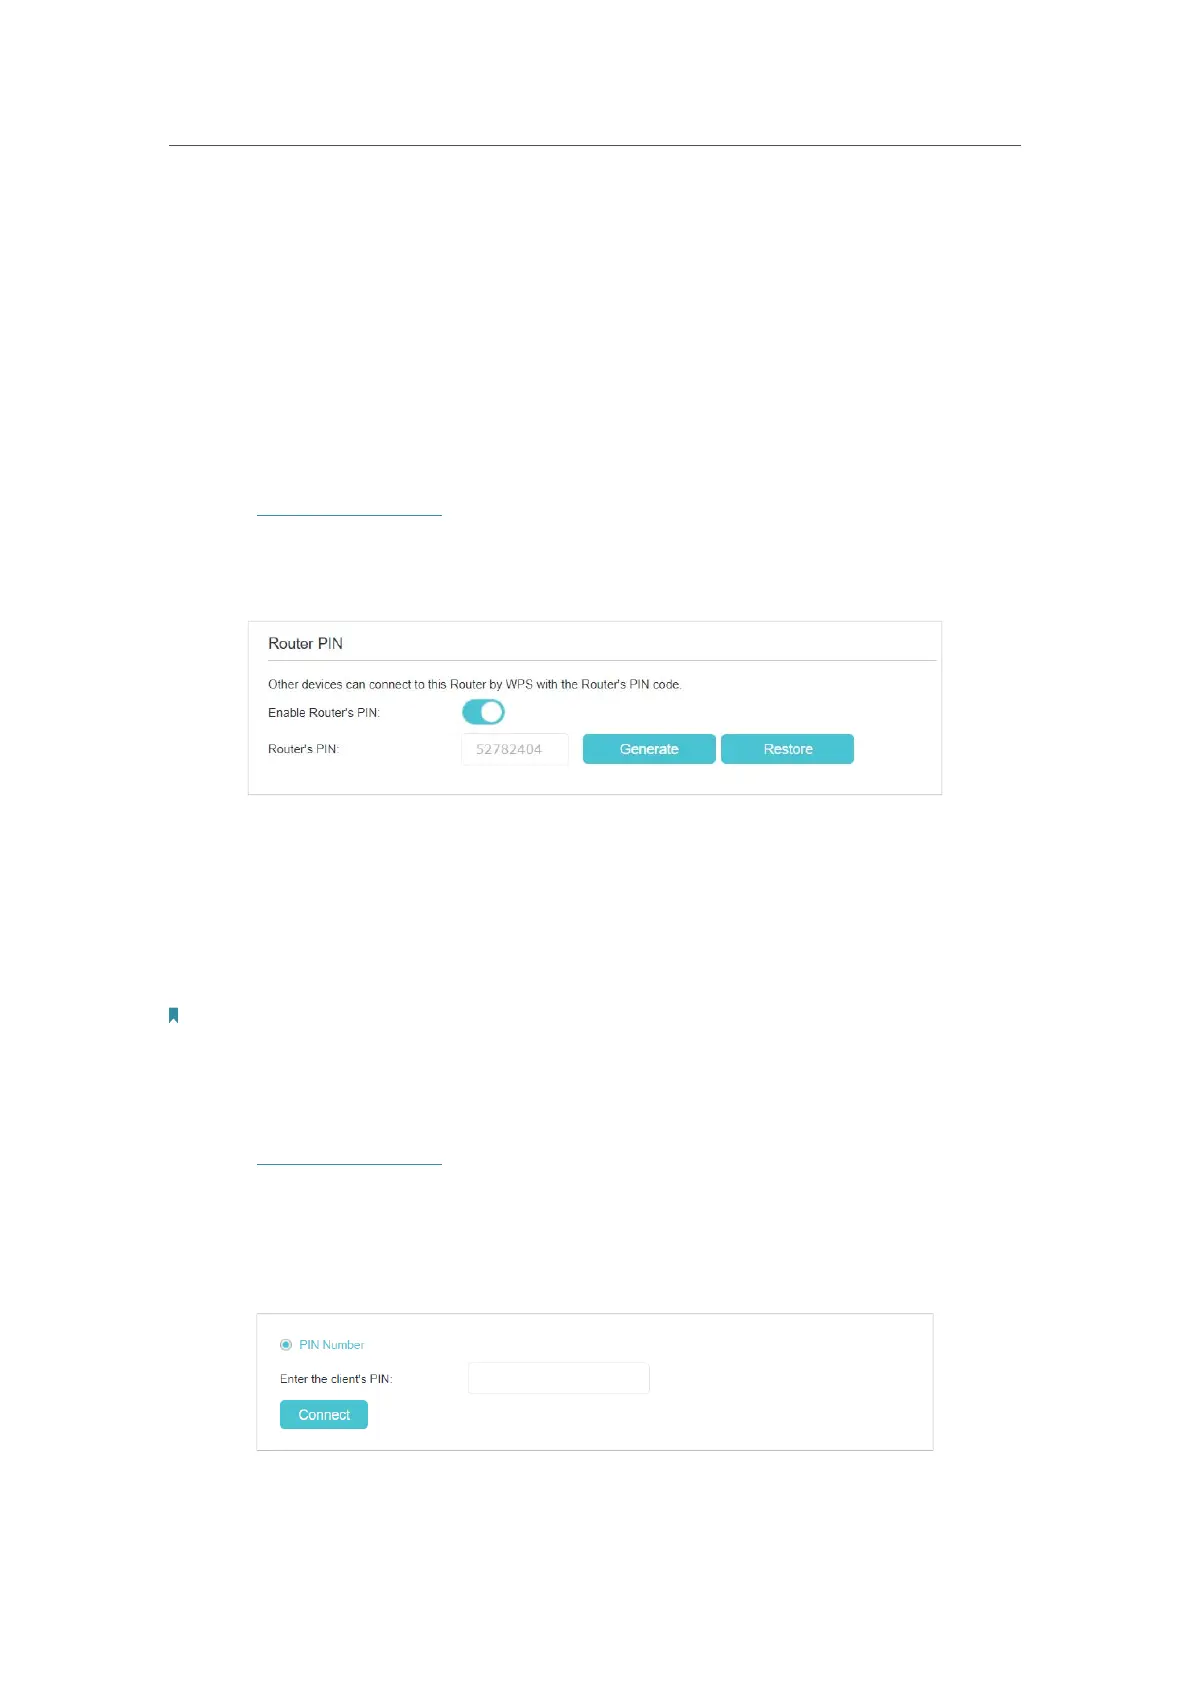
2. Go to Advanced > Wireless > WPS, locate the Router PIN section and select 2.4GHz
or 5GHz according to your needs.
3. Make sure the Enable Router’s PIN is turned on, and take a note of the current PIN
of the controller. You can also click the Generate button to get a new PIN.
4. On the client device, enter the controller’s PIN. (The default PIN is also printed on
the label of the controller.)
5. The status LED may flash blue fast for about 2 minutes during the WPS process.
Note:
The WPS function cannot be configured if the wireless function of the controller is disabled. Please make sure the
wireless function is enabled before configuring the WPS.
Method 4: Enter the client device’s PIN on the controller
1. Visit http://tplinkwifi.net, and log in with the password you set for the controller.
2. Go to Advanced > Wireless > WPS, locate the WPS Settings section and select
2.4GHz or 5GHz according to your needs.
3. Make sure the Enable WPS is turned on, and then select PIN Number.
4. Enter the client device’s PIN, and then click the Connect button.
 Loading...