03
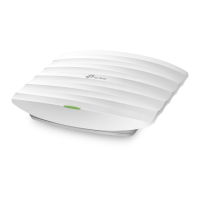
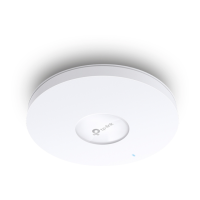
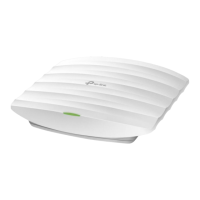
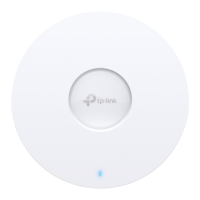
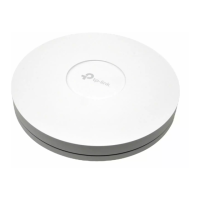
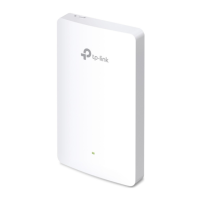
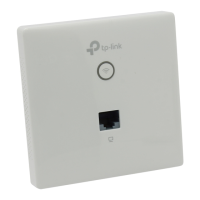
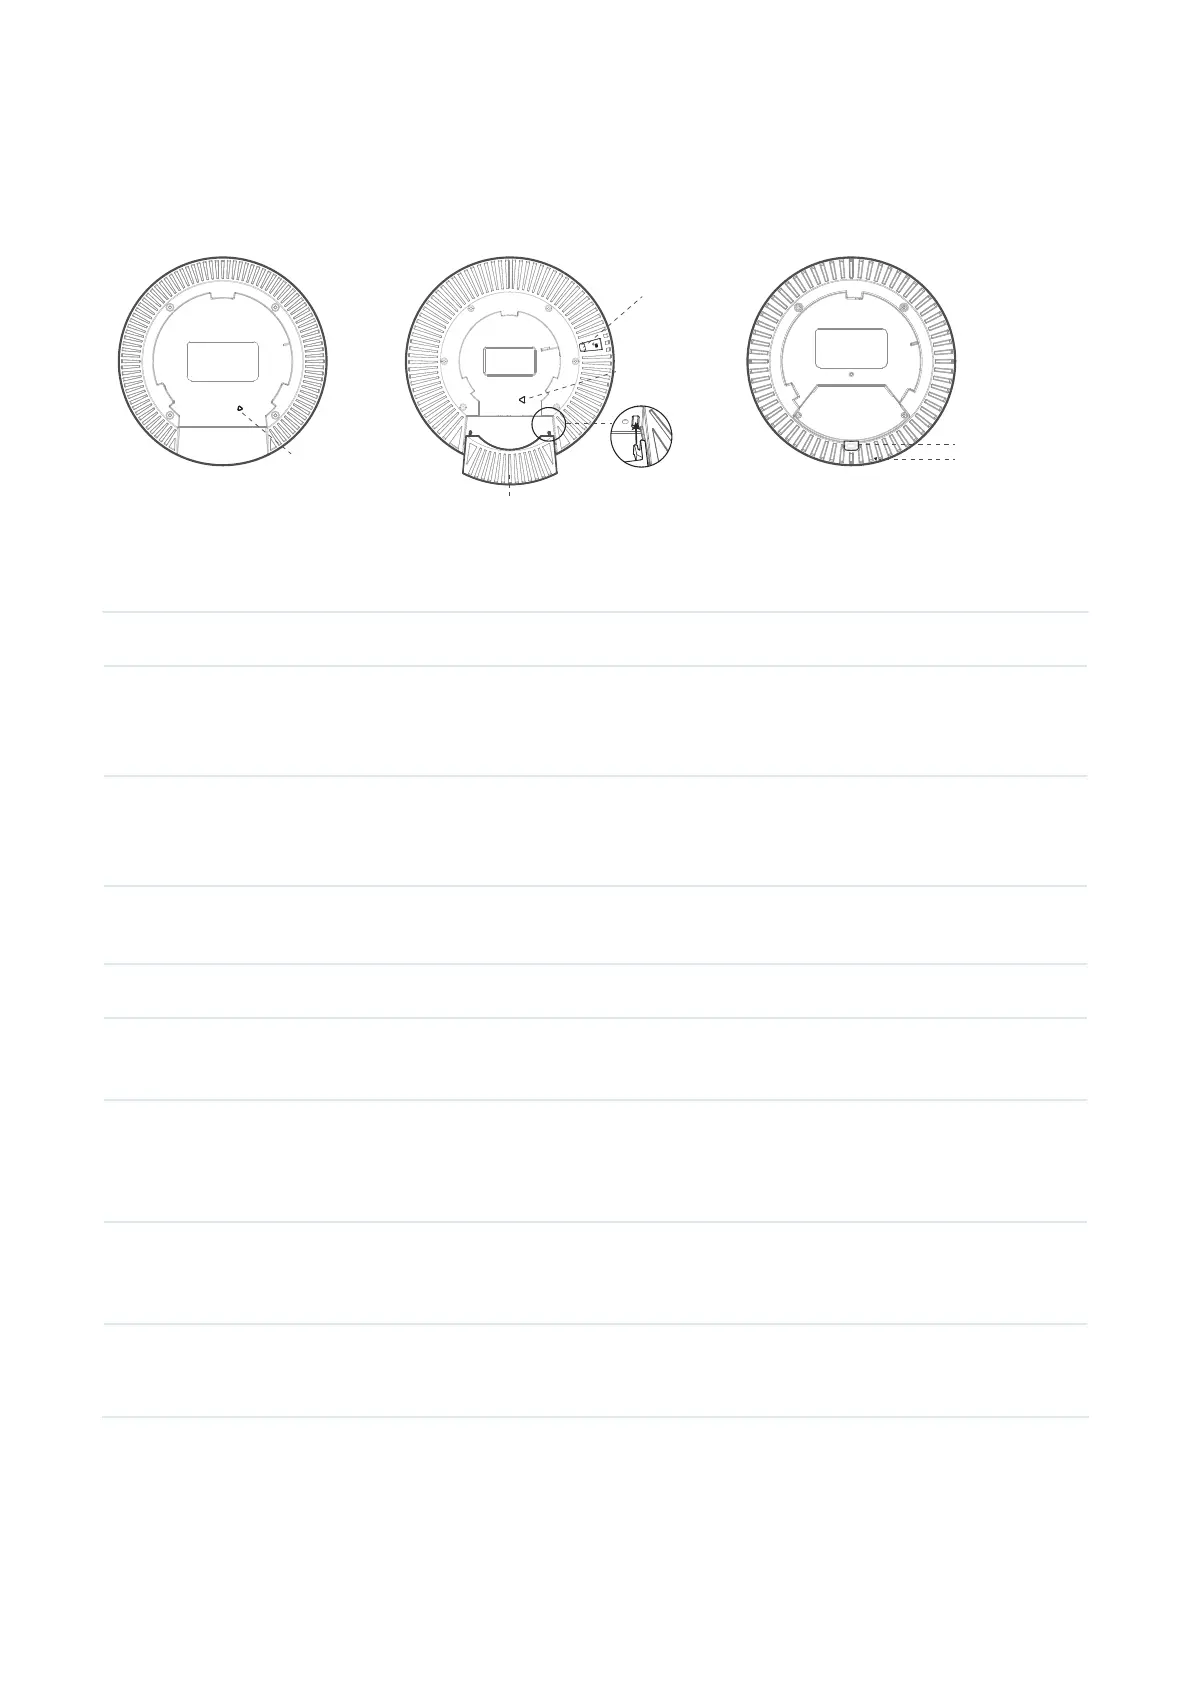
Rear Panel
The ports, buttons, and other parts are located on the rear panel and may vary by model.
Removable Block
Bracket Aligning Mark
Cable Compartment Cover
Bracket Aligning Mark
L-Key Slot
Bracket Aligning Mark
Note: For an AP with a Cable Compartment Cover, to avoid device damage, do not insert any objects
into the holes for attaching the cover!
Item Description
RESET
Button
With the device powered on, use a pin to press and hold this button for about 5
seconds until the LED flashes quickly. Then, release the button. The device will
restore to its factory default settings.
Ethernet Port
(PoE)
Connect to a gateway/router or a switch to transmit data or to a PSE (Power
Sourcing Equipment), such as a PoE switch, for both data transmission and Power
over Ethernet (PoE) via Ethernet cable.
Ethernet Port (for
certain models)
Connect to a wired device.
Power Port Connect to a standard electrical wall outlet via a power adapter to power the EAP.
Bracket Aligning
Mark
Align the triangle mark to the U gap on the provided mounting bracket, then rotate
the AP clockwise to attach it.
L-Key Slot (Only for certain models)
Insert the provided L-Key into the slot , then rotate the AP counterclockwise to
unlock it from the mounting bracket.
Cable
Compartment
Cover
(Only for certain models)
Slide the cover to the AP's rear panel for cable concealment.
Removable Block (Only for certain models)
Remove the block to route a cable if needed.
Note: For EAPs with a 10 Gbps port, using a CAT5e cable limits the Ethernet port's 10 Gbps link to
less than 55 meters. To achieve longer transmission distances, use a shielded CAT6A cable.