06
LED Explanation
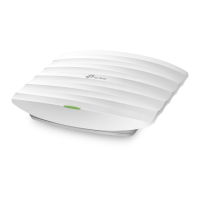
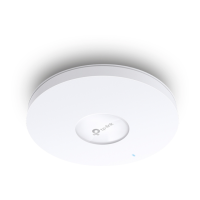
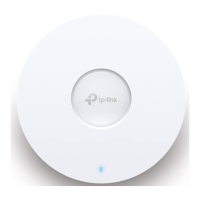
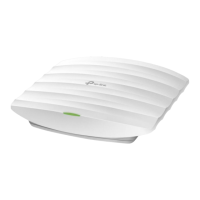
The EAP is equipped with a system LED that indicates the system status of the access point.
LED Status Indication
On • For EAPs with single-color LED:
Working normally/Initializing.
• For EAPs with dual-color LED:
White: Normal power supply
Orange: Low power supply
Off Working abnormally/Power off/LED is turned off.
Flashes twice Initialization is complete.
Flashing quickly The EAP is resetting, or the Omada controller is locating the device.*
Flashing once per
second
The EAP is updating the firmware.
On with periodic
off
The EAP is in the isolated state.**
* When the Locate feature is activated in the Omada Controller, the LED will flash quickly for 10
minutes to help you locate and identify the device. You can disable this feature manually to stop the
device from ashing.
** Only for EAPs supporting Omada Mesh.
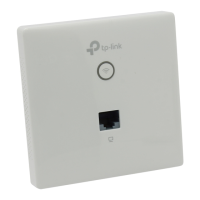
Buttons & Ports
Item Description
LED/Wi-Fi Button When the EAP is enabled with Wi-Fi Control, press this button to turn on/off both
the Wi-Fi and LED.
In other cases, press this button to turn the LED on/off.
RESET
Button
With the device powered on, press and hold this button for about 5 seconds until
the LED flashes quickly. Then, release the button. The device will restore to its
factory default settings.
Uplink Ethernet
Port (PoE IN)
Connect to a PSE (Power Sourcing Equipment), such as a PoE switch, for both data
transmission and power supply.
Downlink Ethernet
Port*
Connect to a wired device.
* Only certain models have downlink Ethernet ports.