13
Chapter 2
Set Up Internet Connection
2. 2. 2. Method 3: Via the WPS Button
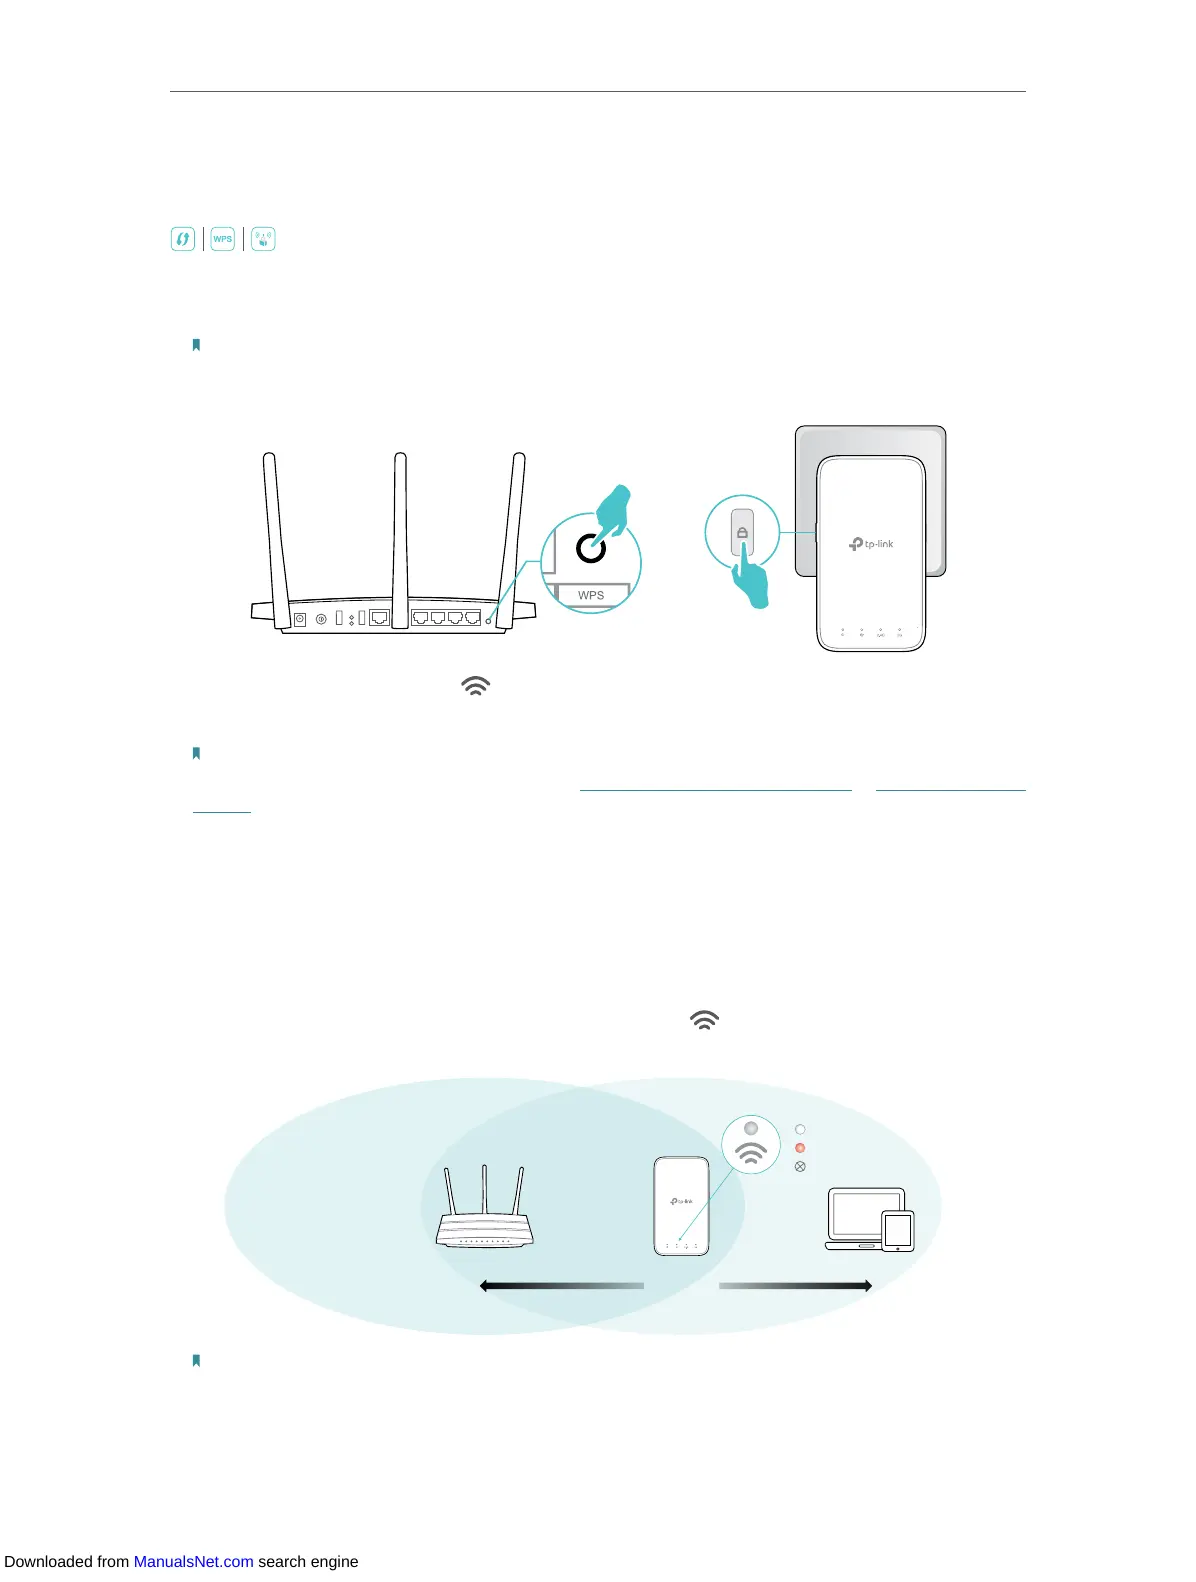
Use this way if your router has a WPS button. The button might look like one of these:
.
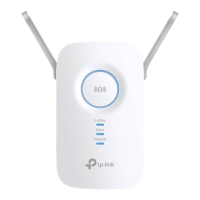
1. Press the WPS button on your host router, and then press the WPS button on the
extender for 1 second within 2 minutes.
Note:
For more information about using WPS button on your host router, please refer to the router manufacturer’s user
guide.
2. Wait until the Signal LED changes to solid on, which indicates that the WPS
connection is successful.
Note:
If the LED does not turn solid on, try again or refer to Method 1: Via the TP-Link Tether App or Method 2: Via a Web
Browser.
3. (Optional) If the extender connects to a dual band router, repeat steps 1 and 2 above
to connect to the other band.
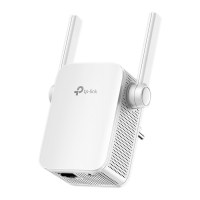
4. Relocate your extender for optimal Wi-Fi coverage and performance.
1 ) Plug in the extender about halfway between your router and the Wi-Fi dead zone.
The location you choose must be within the range of your router.
2 ) Wait for about 2 minutes until the Signal LED
turns solid white. If it doesn’t,
relocate the extender closer to the router to achieve better signal quality.
Router Devices
Halfway
Suitable location
Too far from router
No connection
Signal LED:
Note:
To minimize signal interference, please choose a location which is far away from Bluetooth devices and other
household electronic devices, such as cordless phones, microwave ovens and baby monitors.
Downloaded from ManualsNet.com search engine