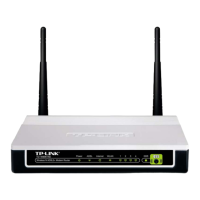
TD-W8910G 54M Wireless ADSL2+ Router User Guide
31
3. Type the MAC Address(00:13:8F:A9:E6:CA for instance) of the computer which you want to
reserve an IP(192.168.1.100 for instance) for in the MAC Address text box;
4. Type the IP Address(192.168.1.100 for instance) you have reserved in the Reserved IP
Address text box;
5. Click save botton to save the settings you have set;
)
Note:
The MAC Address and IP Address added in the text box used for illustrating. That may be
differences with your circs.
6. When you have saved the settings, the new entry will added to the Address Reservation
screen showed below.
7. Click Save/Reboot bottun to save the settings and reboot the router.
)
Note:
1. DHCP IP Reservation are not available for the connection type of Bridge here, they won’t
display on the screen above (Figure 5-14) since only Bridge is selected.
2. DHCP IP Reservation are not available for the connection type of PPPoE with PPP IP
Extention function selected, and they won’t display on the screen above (Figure 5-14) since
PPP IP Extention is selected.
3. The function won't take effect until the router reboots.
5.4.3 NAT
When you select PPPoA or PPPoE for the WAN Setup, or when you select Enable NAT (shown
in Figure 5-10) for the type of MER or IPoA connection, you will see the NAT menu in the
Web-based Utility (shown in Figure 5-15).
 Loading...


