2.3 Product Installation
ÿ Wall Mounting
ÿ Desktop Installation
ÿ During use, please keep the bottom of the switch facing down and placed horizontally to avoid potential safety hazards.
Full 10 Gigabit Cloud Management Switch Installation Manual
Product Installation 07
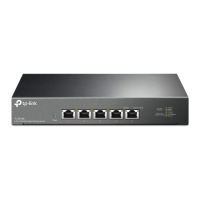
TL-ST2005 supports wall-mounted installation. When installing on the wall, you need to bring appropriate wall-mounting screws.
Please ensure that the diameter of the screw head used is 5~6mm, the diameter of the rod is less than 4mm, and the length of
the screw extending out of the wall is approximately 4mm. Please ensure that the two wall studs are on the same level to avoid
potential safety hazards.
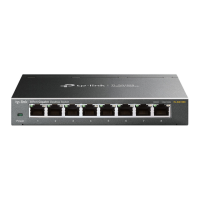
TL-ST2005/TL-ST2008 supports desktop installation. The 4 foot pads of TL-ST2005 have been pasted in the circular grooves at
the four corners of the bottom of the case when they leave the factory (the 4 foot pads of TL-ST2008 need to be pasted in the
circular grooves at the four corners of the bottom of the case by yourself), and you can directly place the switch steadily on the
desktop.
The wall-mounting hole is located on the back of the switch, as shown in the figure below. It can be installed in two directions: with
the port facing up or with the right heat dissipation hole facing up.
Figure 2-1 Schematic diagram of wall hanging holes
Note: Leave
a 5-10cm gap around the switch case to ensure heat dissipation and air circulation. Avoid placing other heavy objects on the surface of the switch.
Back of the switch
2 wall hanging holes
Port side
Right side heat dissipation hole
Machine Translated by Google