49
Chapter 4
&RQƮJXUHWKH5RXWHULQ6WDQGDUG:LUHOHVV5RXWHU
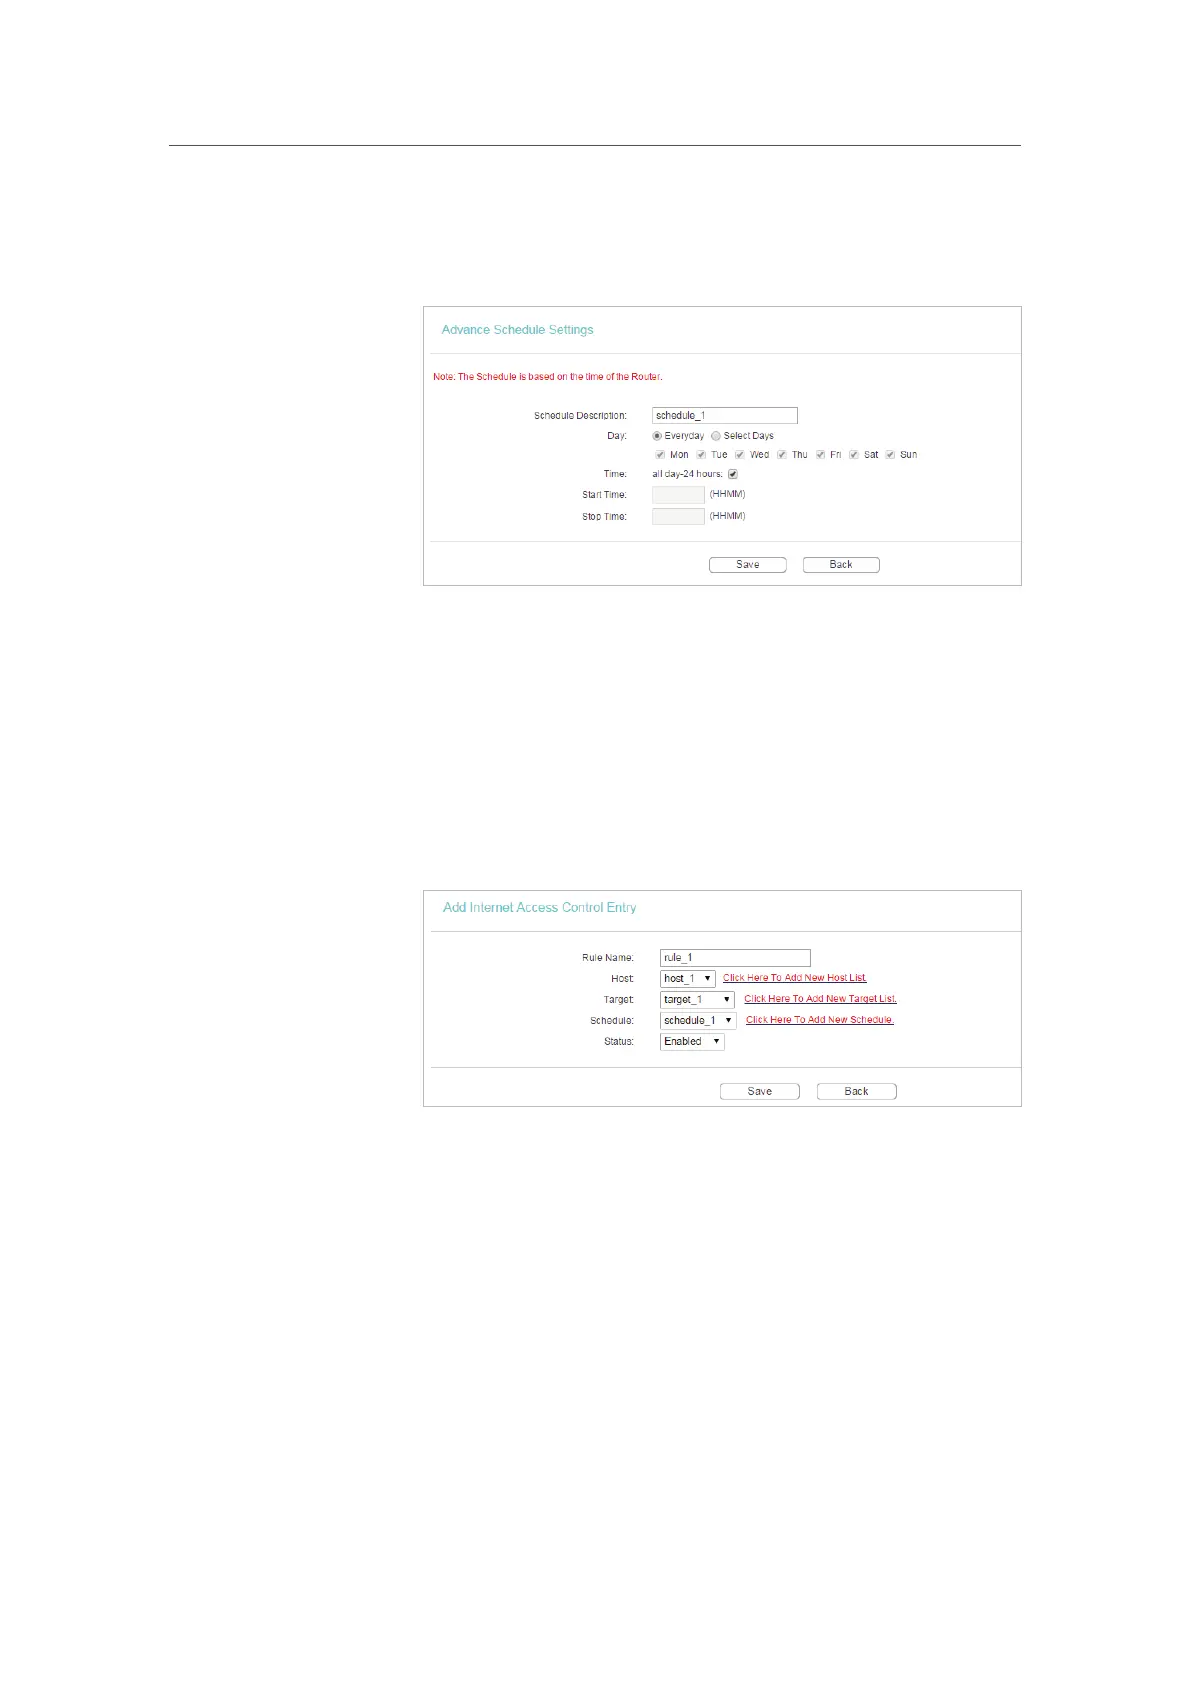
2 ) Create a unique description (e.g. schedule_1) for the
schedule in the
Schedule Description field and set the
day(s) and time period.
3 ) Click Save.
5. Go to
Access Control > Rule and add a new access control
rule.
1 ) Click
Add New.
2 ) Give a name for the rule in the
Rule Name field. Select
host_1 from the host drop-down list; select target_1
from the target drop-down list; select schedule_1 from
the schedule drop-down list.
3 ) Leave the status as Enabled as click Save.
6. Select
Enable Internet Access Control to enable Access
Control function.
7. Select
Allow the packets specified by any enabled access
control policy to pass through the Router
as the default filter
policy and click
Save.