74
450Mbps High Power Wireless N Router
For example: If you desire to restrict the internet activities of host with MAC address
00-11-22-33-44-AA in the LAN to access www.tp-link.com only, you should first follow the
settings below:
1. Click Add New… button in Figure 3-57.
2. In Mode field, select Domain Name from the drop-down list.
3. In Target Description field, create a unique description for the target, e.g. Target_1.
4. In Domain Name field, enter www.tp-link.com.
5. Click Save to complete the settings.
Then you will go back to the Target Settings page and see the following list.
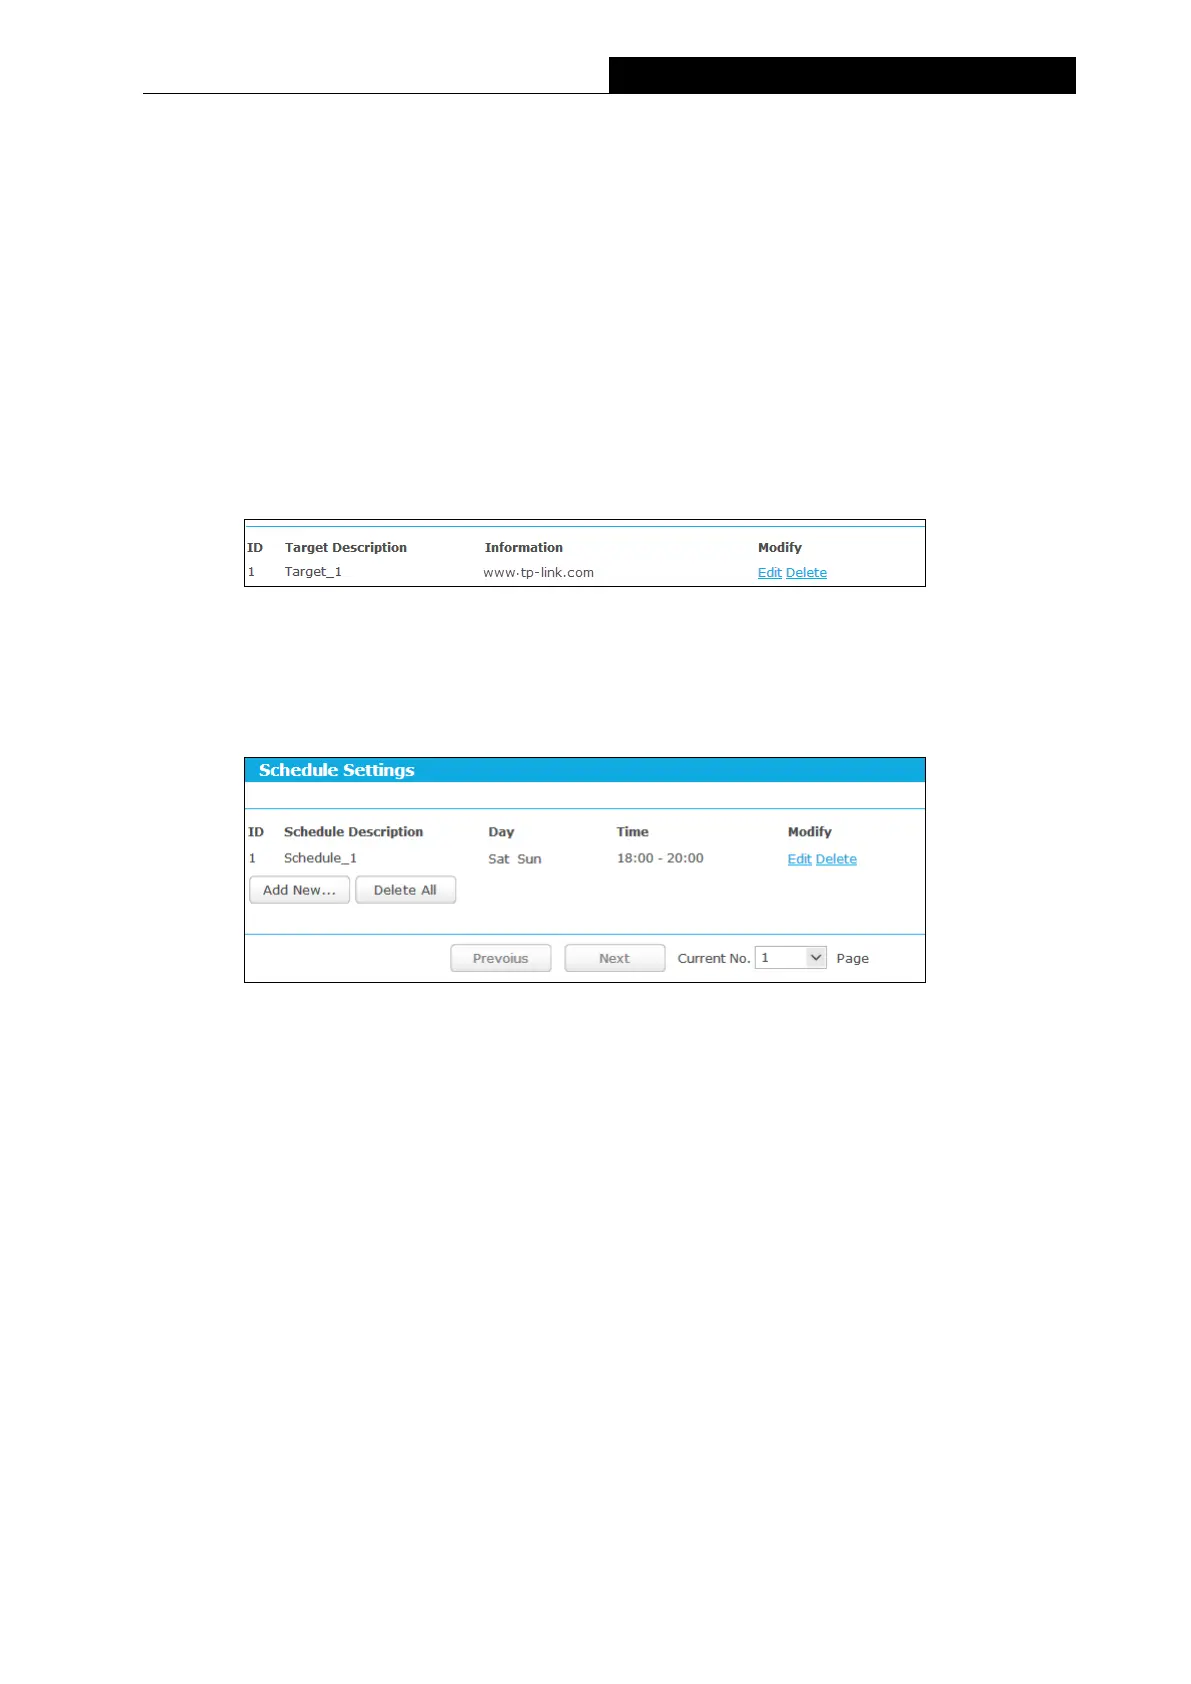
3.4.10.4. Schedule
Go to “Advanced→Access Control→Schedule”, and then you can view and set a schedule in
this page. The schedule is necessary for the Access Control Rule.
Figure 3-60 Schedule Settings
Schedule Description - Displays the description of the schedule and this description is
unique.
Day - Displays the day(s) in a week.
Time - Displays the time period in a day.
Modify - Here you can edit or delete an existing schedule.
To add a new schedule, follow the steps below:
1. Click Add New... button shown in Figure 3-60 and the next screen will pop-up as shown in
Figure 3-61.
2. In Schedule Description field, create a unique description for the schedule, e.g.
Schedule_1.
3. In Day field, select the day or days you need.
4. In Time field, you can select all day-24 hours or you may enter the Start Time and Stop
Time in the corresponding field.
 Loading...