6
Note: If the unit must be transported in a horizontal
position, it must be laid on its back (marked “REAR”
on carton). To reassemble cabinet, follow the steps
in reverse order. Ensure electrical connections are
secure and the plug clips are engaged.
STEP 1 - Remove all four front panels. See Section
2.2.
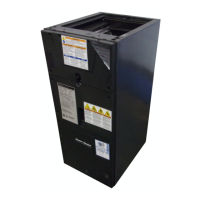
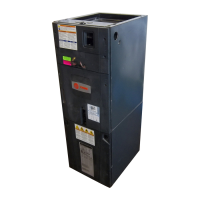
4.1 Disassemble cabinet for installation in tight areas or as needed.
Section 4. Optional Cabinet Disassembly
STEP 2 - Disconnect the high and low voltage
connectors on the blower. There is a seal plate that
slides over the control panel lip. This panel will be
loose once the blower is removed.
STEP 3 - Slide Blower assembly out of unit using built-
in blower support channels and set aside.
Note: Remove the cardboard from the bottom of the
blower. Cut the tie wrap and remove the foam block
located at the motor.
FIRE HAZARD! Cardboard shipping blocks in the
blower compartment must be removed before starting
air handler. Failure to follow this warning could result in
property damage, serious personal injury, or death.

 Loading...


