18-HD66D1-4
ALL phases of this installation must comply with NATIONAL, STATE AND LOCAL CODES
IMPORTANT — This Document is customer property and is to remain with this unit. Please return to service informa-
tion pack upon completion of work.
These instructions do not cover all variations in systems or provide for every possible contingency to be met in connection with
the installation. Should further information be desired or should particular problems arise which are not covered sufficiently for the
purchaser’s purposes, the matter should be referred to your installing dealer or local distributor.
Table of Contents
Section 1. Safety ................................................1
Section 2. General Information ..........................2
Section 3. Installation .........................................6
Section 4. Zoning Setup ..................................16
Section 5. Zone Sensor Setup .........................22
Section 6. Damper Test Mode ..........................24
Section 7. User Interface .................................25
Section 8. Control Board Test Points ...............26
Section 9. Troubleshooting ...............................28
This information is intended for use by individuals possess-
ing adequate backgrounds of electrical and mechanical
experience. Any attempt to repair a central air conditioning
product may result in personal injury and/or property dam-
age. The manufacture or seller cannot be responsible for
the interpretation of this information, nor can it assume any
liability in connection with its use.
LIVE ELECTRICAL COMPONENTS!
During installation, testing, servicing, and troubleshoot-
ing of this product, it may be necessary to work with live
electrical components. Failure to follow all electrical safety
precautions when exposed to live electrical components
could result in death or serious injury.
10/17
Installation Guide
Other Installation Guides may be necessary, based on system configuration.
A complete list of other optional components is shown below.
1
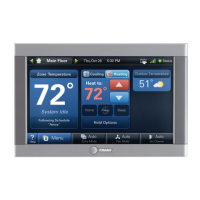
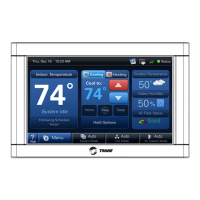
Control (required) *ZONE950AC52ZA or
*ZON1050AC52ZA
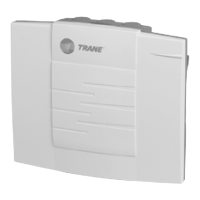
2
Relay Panel
For use with 24V indoor systems (optional)
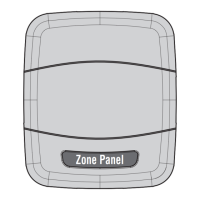
3 Zone Panel
4
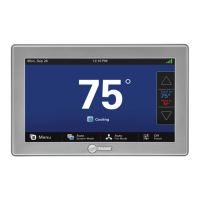
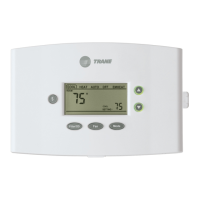
Zone Sensor with Display (optional)
5
Zone Sensor (optional)
6
Zone Dampers (optional)
Zone Panel
ZZONEPNLAC52ZB (Kit)
ZZONEEXPAC52ZB (Zone Panel)
Section 1. Safety
IMPORTANT — Proper application is critical when installing zoning systems. Not done correctly, the HVAC
and zoning systems will not provide the expected comfort. Reference application bulletins CNT-APG003-
EN/Trane and CNT-APG004-EN/AS for detailed information on Zoning Application