-13-
HINGE JIG & H/JIG/A
-13-
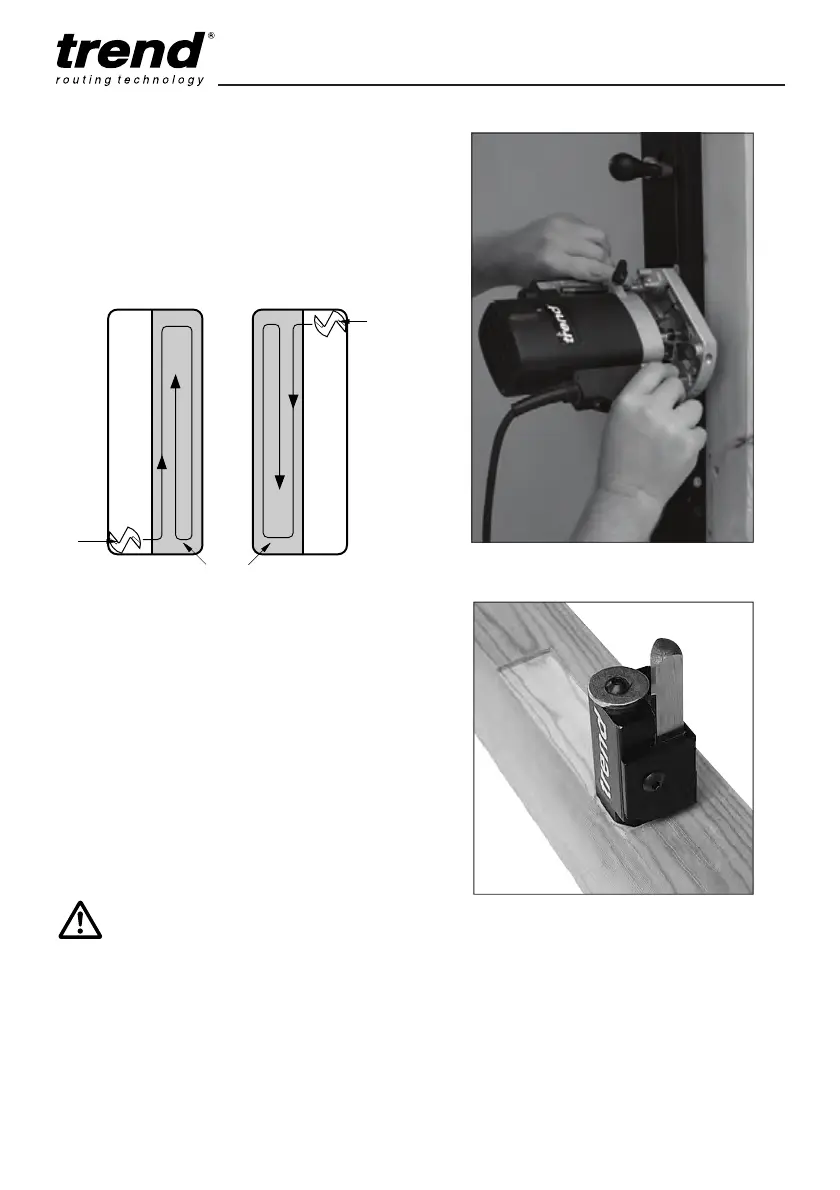
I Position the guide bush in any corner of
aperture and plunge cutter into frame until
depth, set by depth stop, is reached. Lock
the carriage of the router in this position.
Immediately start routing around the aperture
in a clockwise direction. Then remove the
waste from the centre of the aperture.
I Release the carriage of the router and repeat
the procedure for the remaining apertures.
I Switch off router and remove jig from frame
by pulling out bradawls with a twisting action.
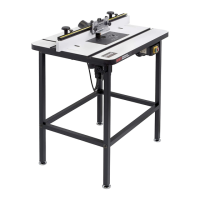
I Square off rounded corners of hinge recess
with a corner chisel Ref. C/CHISEL and
hammer.
I After use of the jig, the Ref. H/JIG/A can be
disassembled by loosening and removing the
screws and pulling apart the two extrusions.
Keep edge stops fitted. Return jigs and parts
to storage/carry case.
Cutter
Cutter
Frame
Left hand frame Right hand frame
Release the plunge action on the router
after each hinge, as not doing so could
result in cutting into the edge of the jig
and causing damage. If you damage
the jig or blocks, an epoxy resin (e.g.
Araldite
®
Epoxide Resin) can be used
to fill the gap and if rubbed smooth will
provide a continuous edge on which
the guide bush can follow.
MANU-HJ v7.0 3/5/11 11:37 Page 13