-8-
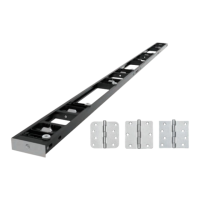
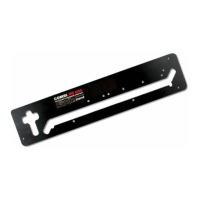
HINGE JIG & H/JIG/A
For fire doors, this jig will allow a second
hinge 355mm down from the top of the
upper hinge. To use with a fire door,
move the middle aperture block up to the
second aperture position and set to hinge
length.
-8-
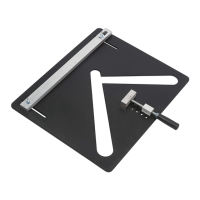
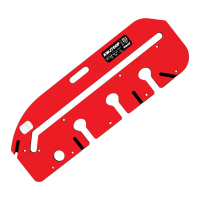
Edge stop
Jig
2mm scribe
line
Hinge leaf
position
OPERATION
Setting the Jig for Hinge Recessing
The jig has three sets of adjustments which require
setting depending on the door size and thickness,
as well as the size and positions of the hinges.
These are all carried out with the 4mm hex key
provided with the jig, one hinge and the 4mm feeler
gauge.
The following setting up operation will only need to
be carried out once for a set of doors having the
same height dimensions and hinge sizes.
Setting the Width of the Recess for
Standard Hinges.
The width of the recess for the hinge leaf is
governed by the two edge stops. These engage
onto the edge of the door or frame and their position
governs the width of the recess. The position of
each of the two edge stops are set as follows:-
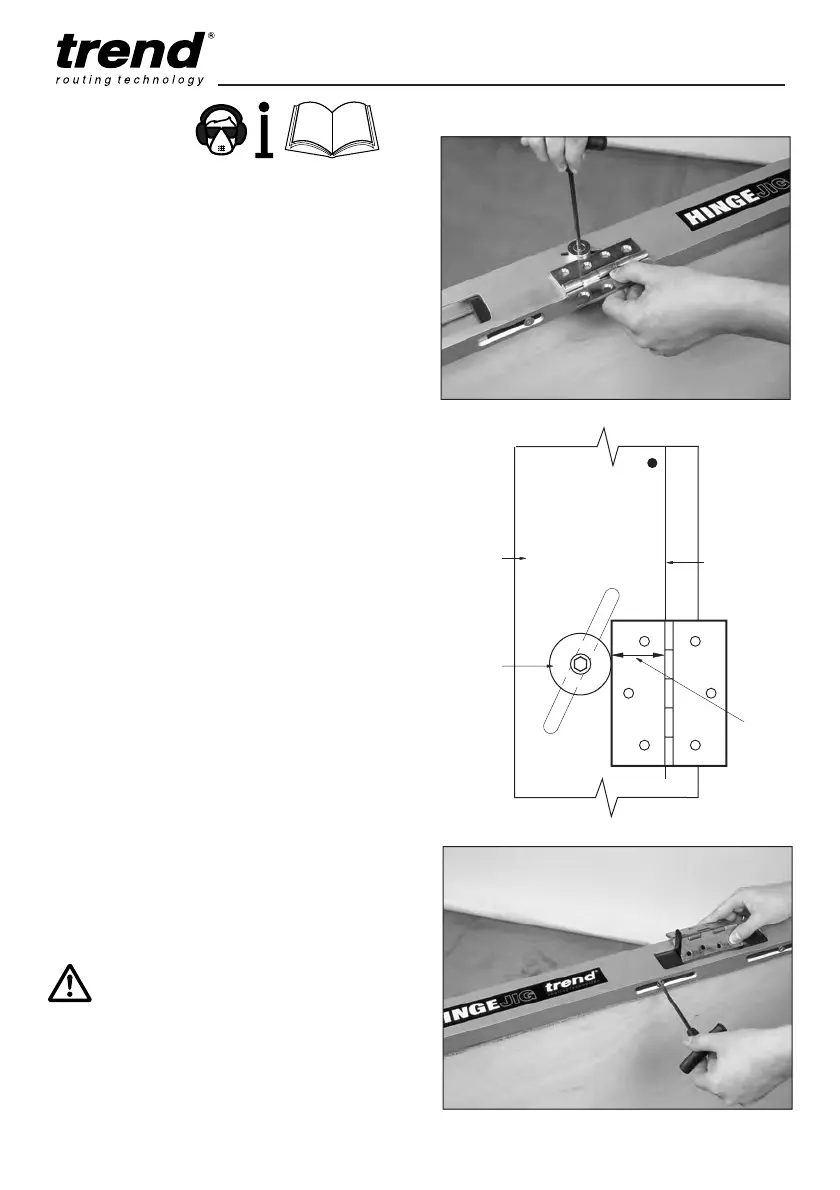
I Undo the edge stop retaining screw with the hex
key.
I Place one leaf of the hinge against the edge
stop.
I Move edge stop along the slot until leaf edge of
hinge lines up with the inside of the scribe line.
I Tighten edge stop retaining screw with the hex
key.
Setting the Positions of the Recess
The jig has been designed to cater for the traditional
positions of the hinges on a door as follows:
Top hinge - Located 150 mm (6") from the
top of the door.
Bottom hinge - Located 200 mm (9") from the
bottom of the door.
Centre hinge - Centrally between the top and
bottom hinges.
MANU-HJ v7.0 3/5/11 11:37 Page 8