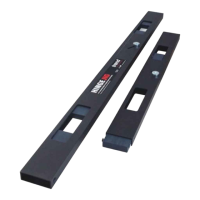
-IB-
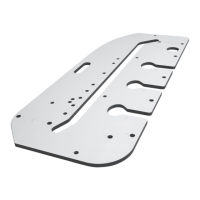
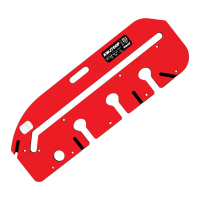
HINGE JIG & H/JIG/A
QUICK START INSTRUCTIONS
These instructions are provided for those who are
confident with the router and are already familiar
with the Hinge Jig.
Setting Up
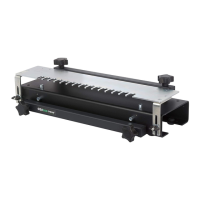
1. Fit router cutter & guide bush to router.
2. Position door with hanging edge
uppermost.
3. Adjust two edge stops to width of hinge.
Routing the Door
1. Place hinge jig on hanging edge of door.
2. Rotate the end plate at 90° to jig.
3. Ensure end plate touches end of door.
4. Ensure edge-stops touch opening face
of door.
5. Secure jig to door using the two
bradawls.
6. Adjust top blocks to position of hinges.
7. Adjust bottom blocks to length of hinges.
8. Adjust depth stop on router to thickness of
hinge.
9. Switch router on & locate guide bush into
aperture.
10. Plunge down router and rout clockwise.
11. Repeat routing operation for each hinge recess.
12. Chisel corners square by hand to receive
hinges or use the corner chisel Ref. C/CHISEL.
Routing the Frame
1. Rotate the end plate until flush with jig.
2. Butt the end plate into the head of frame.
3. Ensure edge-stops touch edge of frame.
4. Secure jig to door frame using the two
bradawls.
5. Locate guide bush into aperture and switch
router on.
6. Plunge down router and rout clockwise.
7. Repeat routing operation for each hinge
recess.
8. Chisel corners square by hand to receive
hinges or use the corner chisel Ref. C/CHISEL.
MANU-HJ v7.0 3/5/11 11:37 Page 17