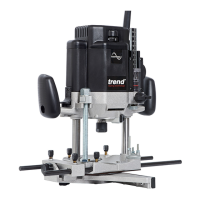
T9
-13-
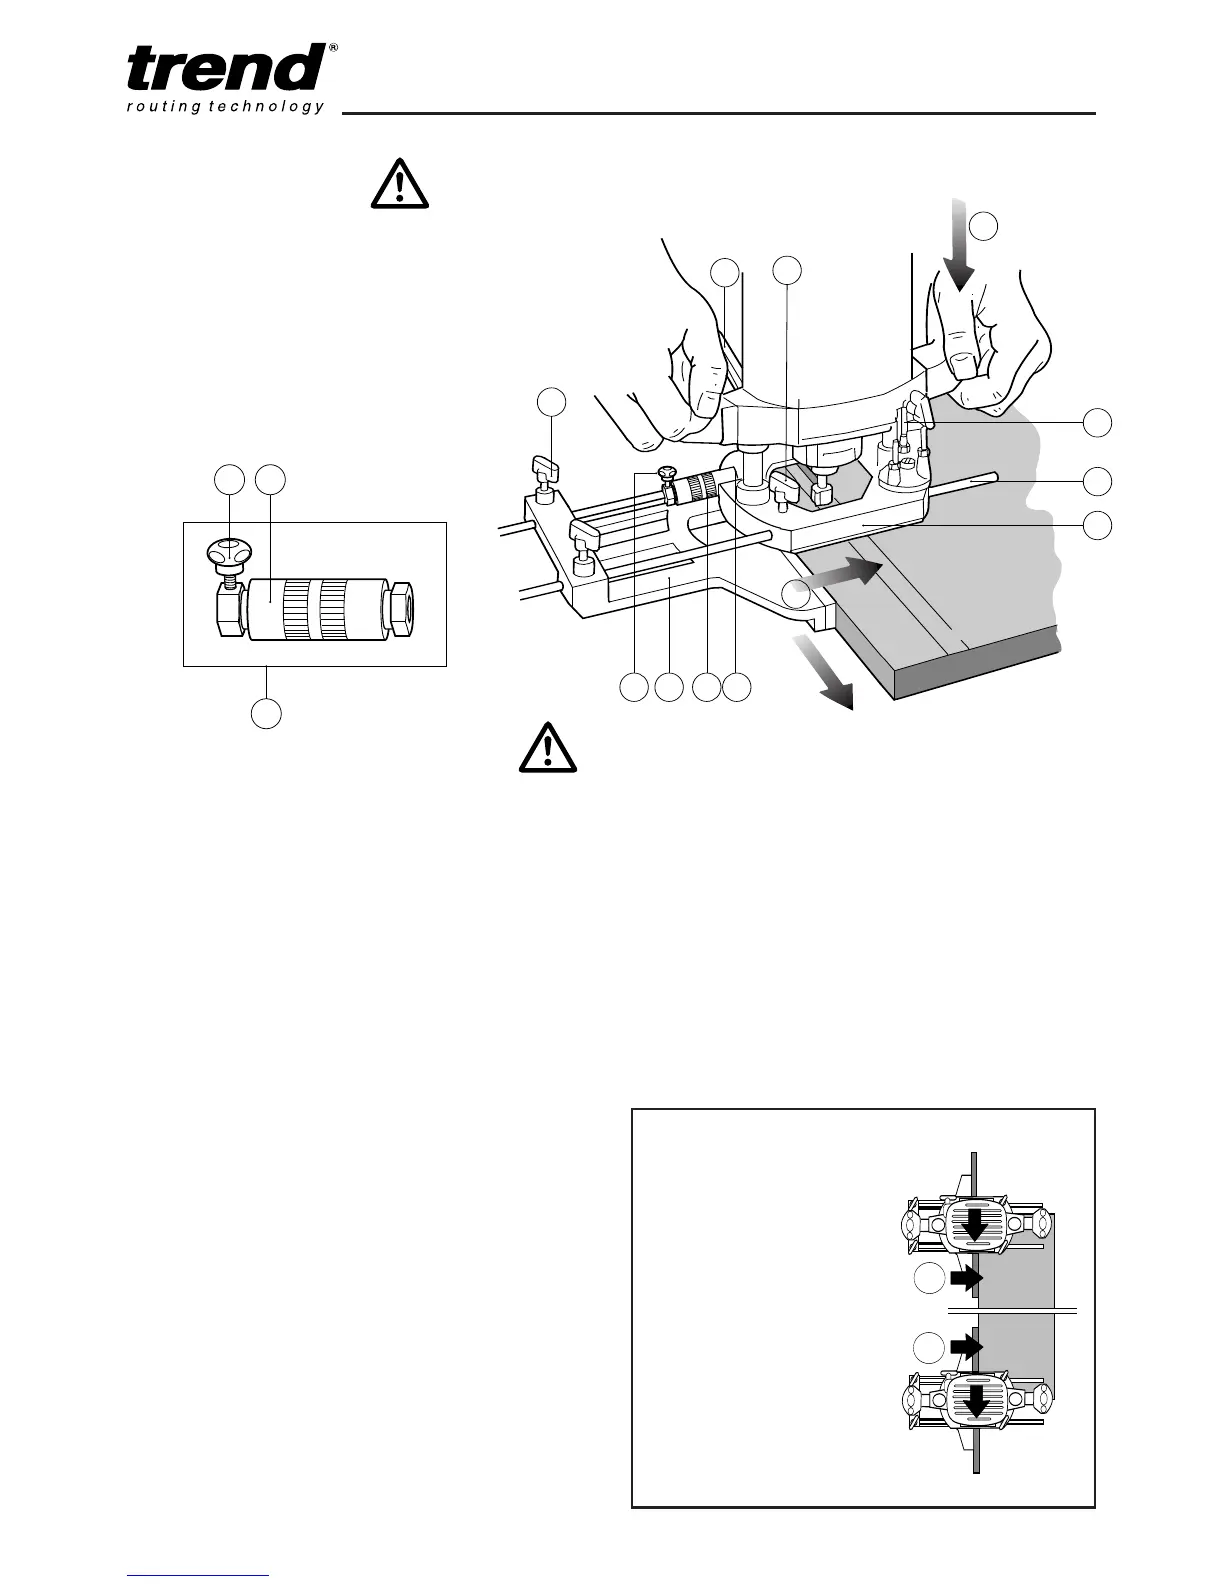
Side-fence Routing
The side-fence is used to guide the router when
moulding, edge profiling or rebating the edge of
the workpiece or when routing grooves and slots
in the centre of the workpiece, parallel to the
edge.
The edge of the workpiece must be straight and
true. The cheeks are adjustable and should
be set ideally with a 3–4mm gap each
side of the cutter.
When starting the cut, keep
the pressure on the front
cheek (C) until the back
cheek contacts the
workpiece edge.
At the end of the cut, keep
pressure on the back cheek
(D) until the cut is finished.
This will prevent the router
cutter swinging in at the end
of the workpiece and
‘nipping’ the corner.
Fitting the Micro Fence Adjuster
n Insert one end of the micro fence adjuster (1)
into one of the recesses (2) in the router
base (3)
n Fit the fence rods (4) into the side-fence (5).
Tighten thumb knob (6) on side-fence (5).
n Loosen thumb knobs (7) on router base (3)
and slide the side-fence (5) with its rods (4)
into the router base (3), one rod must also
pass through the micro fence adjuster
assembly (1).
n As long as the thumb knobs (7) on the router
base are loose the side fence (5) can be slid
in and out of the base of the router (3). This
allows approximate setting of the distance
between the cutter and the side fence cheeks.
n For fine adjustment of the distance, tighten
the micro fence adjustment knob (8) and turn
the micro fence adjustment barrel (9). One
revolution of the micro fence adjustment
barrel (9) equals 1.0mm side feed.
n When set, lock the side-fence in position
using the thumb knobs (7) on the router base
(3).
Using the Side Fence
n Lower the cutter onto the workpiece and set
the cutter height by raising the depth stop (10)
the required distance.
n Switch on the router and when the cutter
reaches full speed, release the plunge locking
lever (11), by lifting it up. Gently lower the
cutter into the workpiece and lock the plunge
locking lever (11) by depressing it.
n Feed along the timber, keeping sideways
pressure (A) to ensure the side-fence does
not wander away from the workpiece edge
and downward pressure on the inside hand
(B) to prevent the router from tipping.
n When finished, raise the router, secure with
plunge locking lever (11) and switch off.
 Loading...