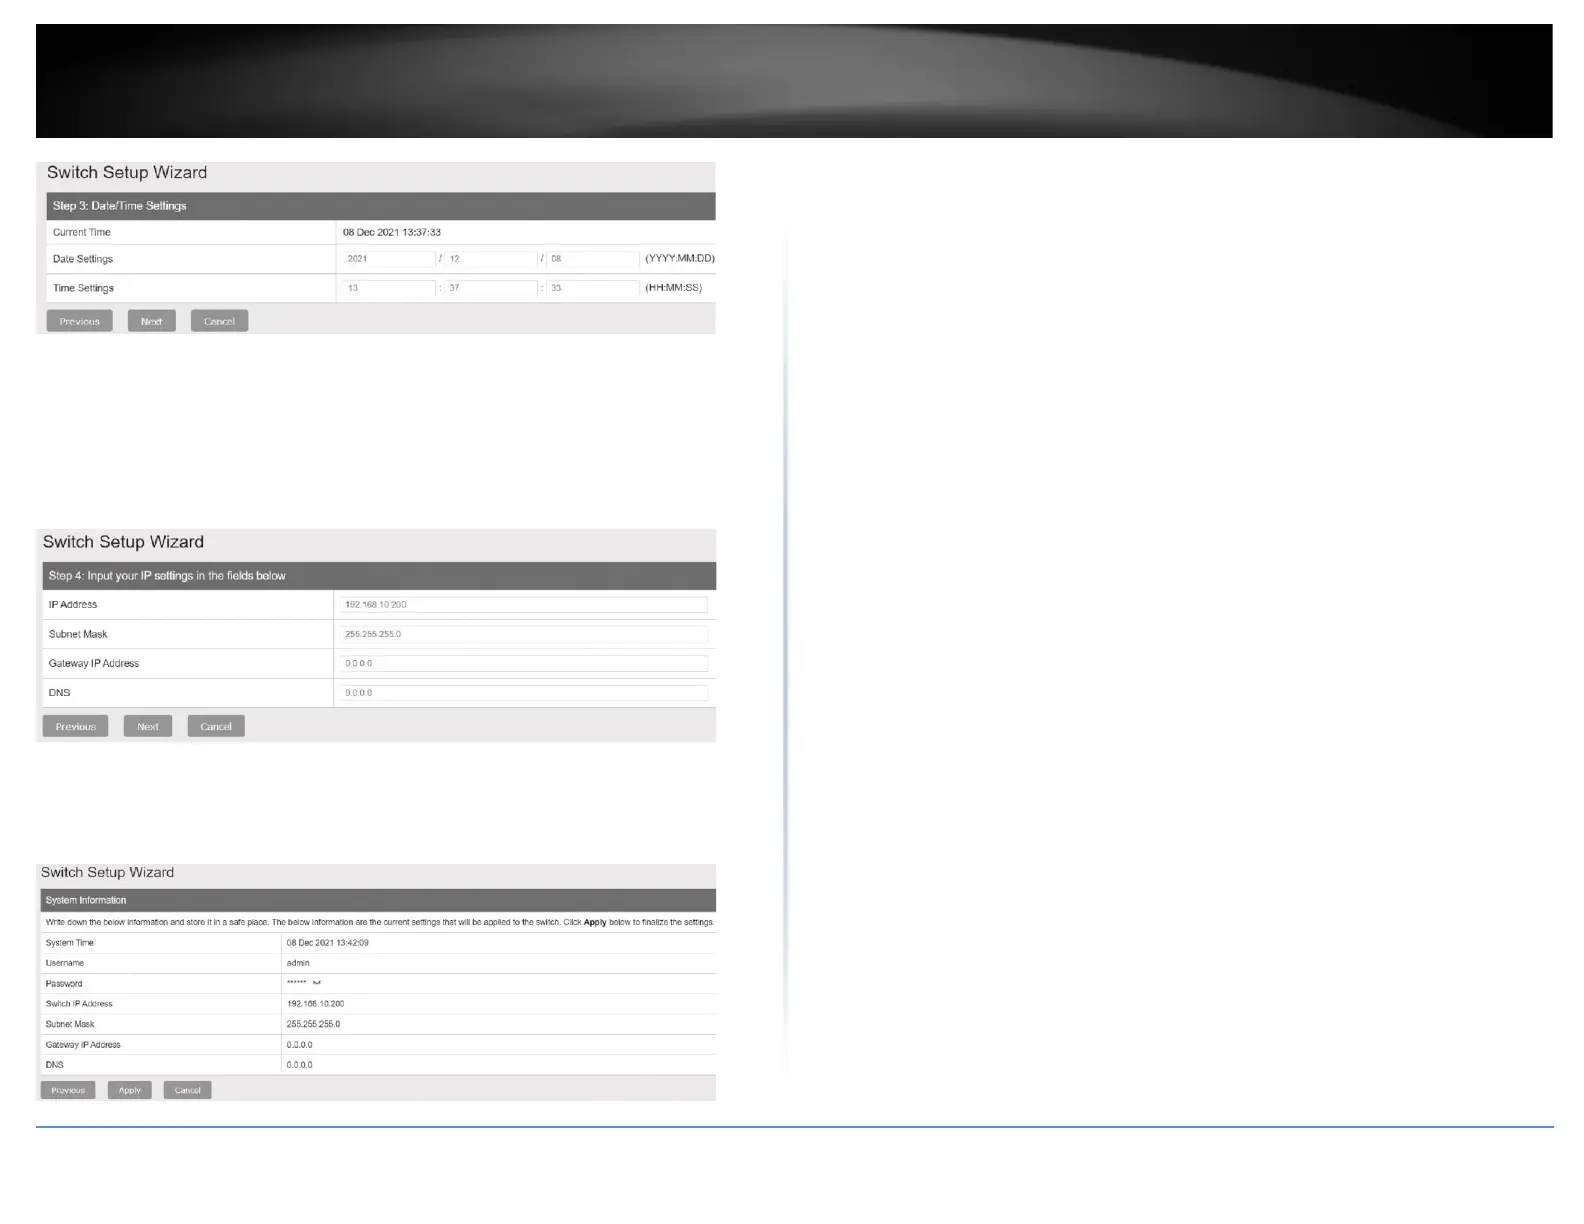
2. Configure the switch IP address, subnet mask, gateway IP address, and DNS settings
to match the requirements of your existing network using the fields provided, then click
Next.
Note: If the switch IP address settings are changed to a different IP network subnet such
as 192.168.1.x, 192.168.2.x, etc. your computer’s network adapter settings will need to
be changed match the new IP address settings configured on the switch in order to
access the switch management page.
3. The summary page will display all of the configuration settings that were applied
through the setup wizard. Click Apply to complete the setup wizard.
Note: You may want to note the new password and IP address settings for local
management access to the switch.