MST Port
Network > Spanning Tree > MST Port
1. Log into your switch management page (see “Access your switch management page”
on page 5).
2. Click on Network, click on Spanning Tree, and click on MST Port.
3. Review the settings. For each entry, click Apply to save changes.
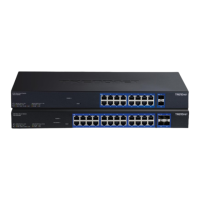
• Select MST Port – Click the drop-down to select which MST port to configure.
• MST Port Info - The MST Port Information page provides user to configure the
MSTP Interface settings.
o Admin Path Cost (0 = Auto) - This is the port cost used by MSTP when
calculating path cost to the root bridge.
o Priority - This is the port priority used by MSTP in calculating path
costs when two ports on the switch have the same port cost.
4. At the bottom of the left-hand panel, click Save.
5. Select the Config you would like to save the settings to, then click Save Settings to
Flash.
Note: This step saves all configuration changes to the NV-RAM to ensure that if the
switch is rebooted or power cycled, the configuration changes will still be applied.
Trunk
The trunking function enables the cascading of two or more ports for a combined larger
total bandwidth. Up to 8 trunk groups may be created, each supporting up to 8 ports. Add
a trunking Name and select the ports to be trunked together, and click Apply to activate
the selected trunking groups.
Important Note: Do not connect the cables of a port trunk to the ports on the switch
until you have configured the ports on both the switch and the end nodes. Connecting
the cables prior to configuring the ports can create loops in your network topology.
Loops can result in broadcast storms which can severely limited the effective bandwidth
of your network.
Settings
Network > Trunk > Settings
1. Log into your switch management page (see “Access your switch management page”
on page 5).
2. Click on Network, click on Trunk, and click on Settings.
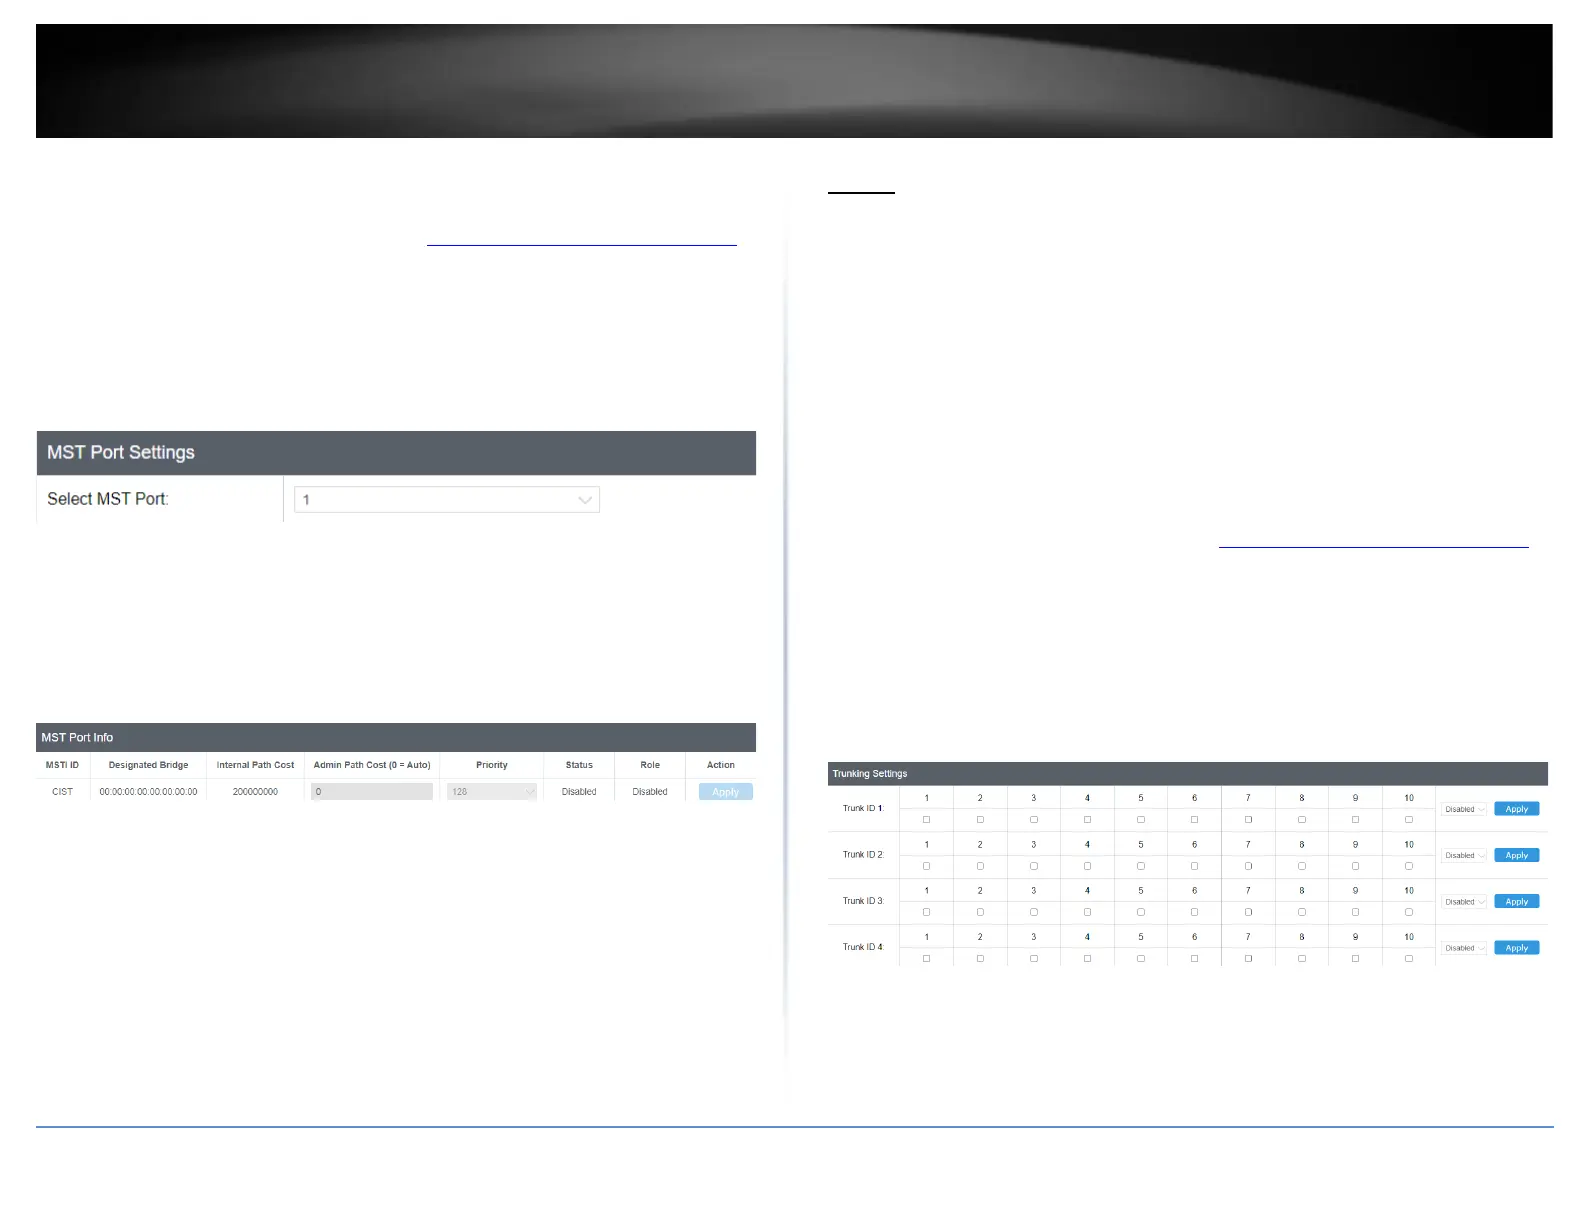
3. Review the settings. For each trunk group, click Apply to save changes.
For each Trunk ID/Group, check the port numbers to add for each trunk group.
Click the drop-down list and select one of the following options.