Tagged/Untagged/Not Member VLAN Ports
On a port, the tag information within a frame is examined when it is received to
determine if the frame is qualified as a member of a specific tagged VLAN. If it is, it is
eligible to be switched to other member ports of the same VLAN. If it is determined that
the frame’s tag does not conform to the tagged VLAN, the frame is discarded.
Since these VLAN ports are VLAN aware and able to read VLAN VID tagged information
on a frame and forward to the appropriate VLAN, typically tagged VLAN ports are used
for uplink and downlink to other switches to carry and forward traffic for multiple VLANs
across multiple switches. Tagged VLAN ports can be included as members for multiple
VLANs. Computers and other edge devices are not typically connected to tagged VLAN
ports unless the network interface on these device can be enabled to be VLAN aware.
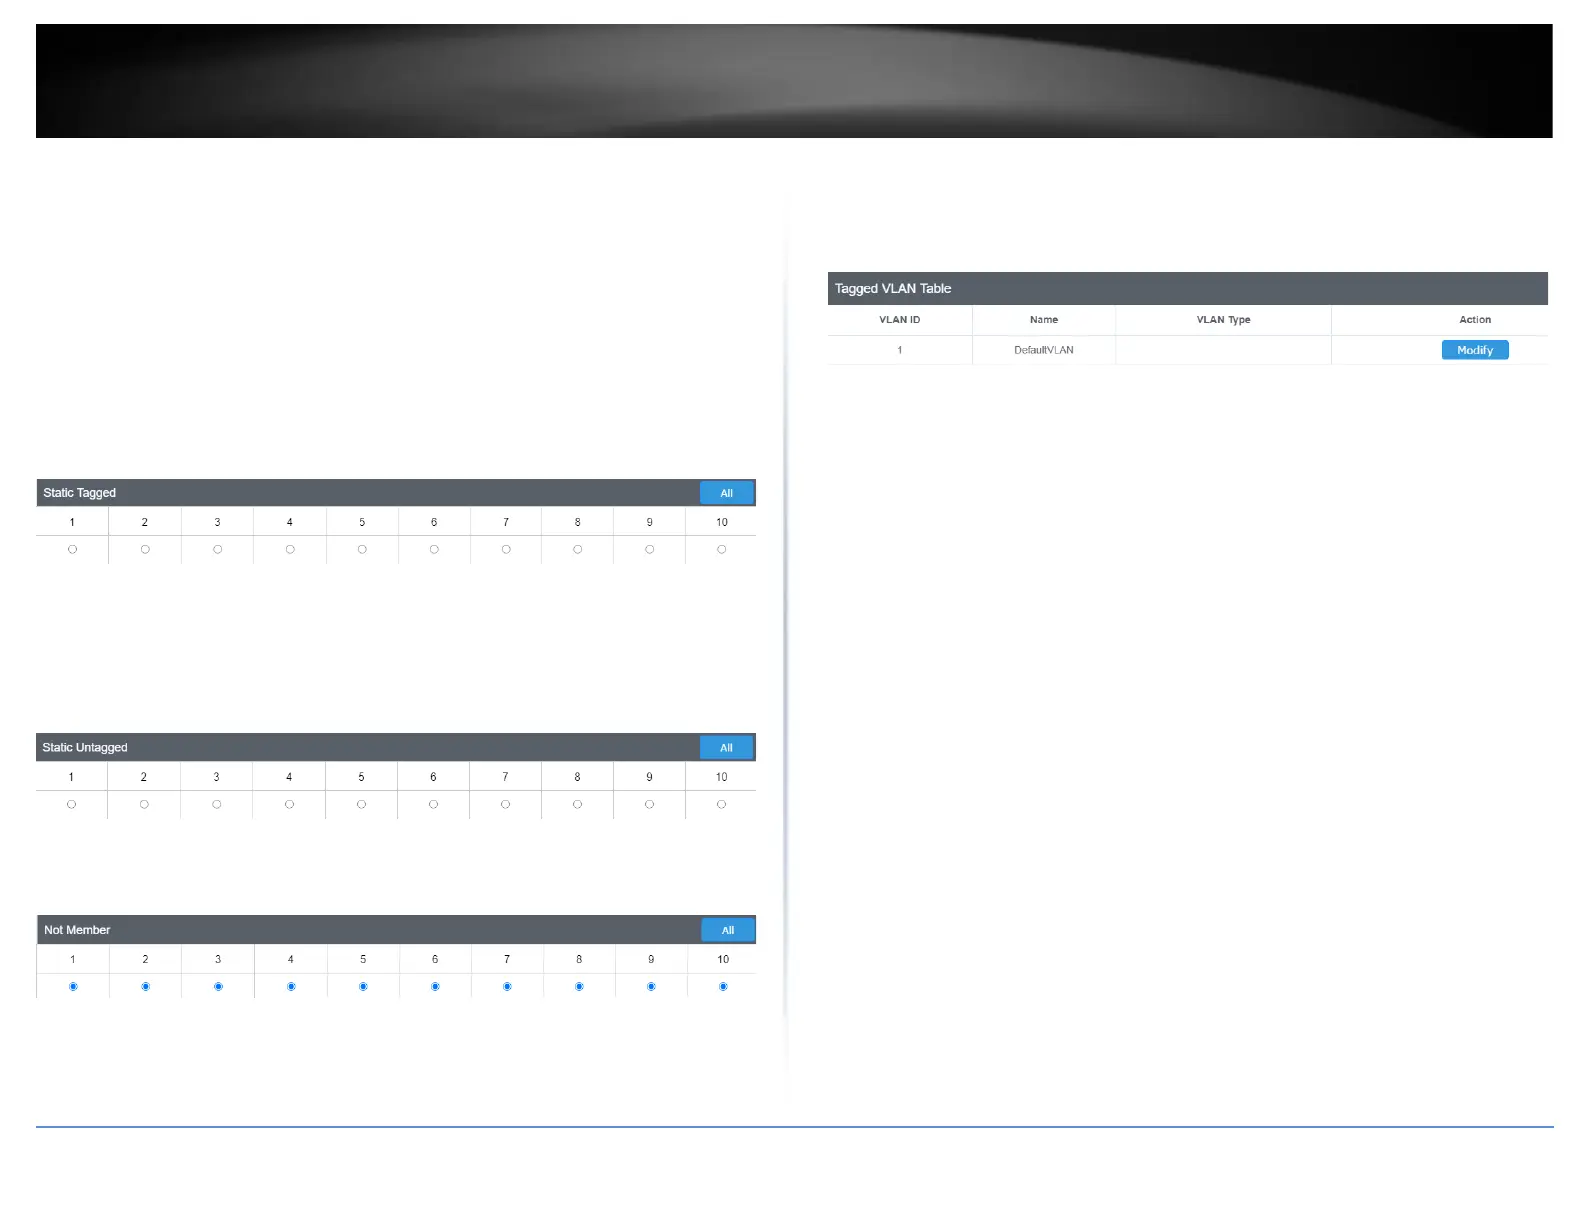
Select the tagged VLAN ports to add to the new VLAN.
Untagged VLAN ports are used to connect edge devices (VLAN unaware) such as
computers, laptops, and printers to a specified VLAN. It is required to modify the Port
VID settings accordingly for untagged VLAN ports under Bridge > VLAN > Port Settings.
(e.g. If the VID for the VLAN is 2, the PVID should also be set to 2)
Select the untagged VLAN ports to add to the new VLAN.
Select the not member ports to restrict from the new VLAN.
Click Apply to save the new VLAN to the table.
In the list, you can click Modify to modify an entry or click Delete or delete the entry. If
the entries span multiple pages, you can navigate page number in the Page field and
click Go or you can click First, Previous, Next, and Last Page to navigate the pages.
Note: The default VLAN VID1 cannot be removed.
4. At the bottom of the left-hand panel, click Save.
5. Select the Config you would like to save the settings to, then click Save Settings to
Flash.
Note: This step saves all configuration changes to the NV-RAM to ensure that if the
switch is rebooted or power cycled, the configuration changes will still be applied.