EMPRESS
1. Be careful not to damage the hardware or the
webbing of your seat belt. Take care not to pinch
them in the seat or doors.
2. Check belts and hardware from time to time.
Replace any damaged parts. Do not modify or
3. Keep belts clean and dry. If they need cleaning,
use a mild soap solution in warm water. Do not
use hot water, abrasives or bleach. These may
4. If you experience a severe impact, check for and
replace any damaged parts.
In most jurisdictions across North America, child re-
straint systems are a legal requirement. In order to
provide the best in safety measures for your child in
case of an accident, we make the following recom-
1. Purchase a certifi ed child restraint system. Make
sure the system comforms to all Canadian and
US standards for safety requirements.
2. Make sure that the system will attach to your
vehicle conveniently and provide safety for your
child every time it is used.
3. Be sure that the restraint system is suitable and
adequate for your child's age, weight and height.
Check the label for this information.
4. Ensure that the child restraint is installed per the
instructions provided with the restraint. If you are
unsure, please contact the restraint manufac-
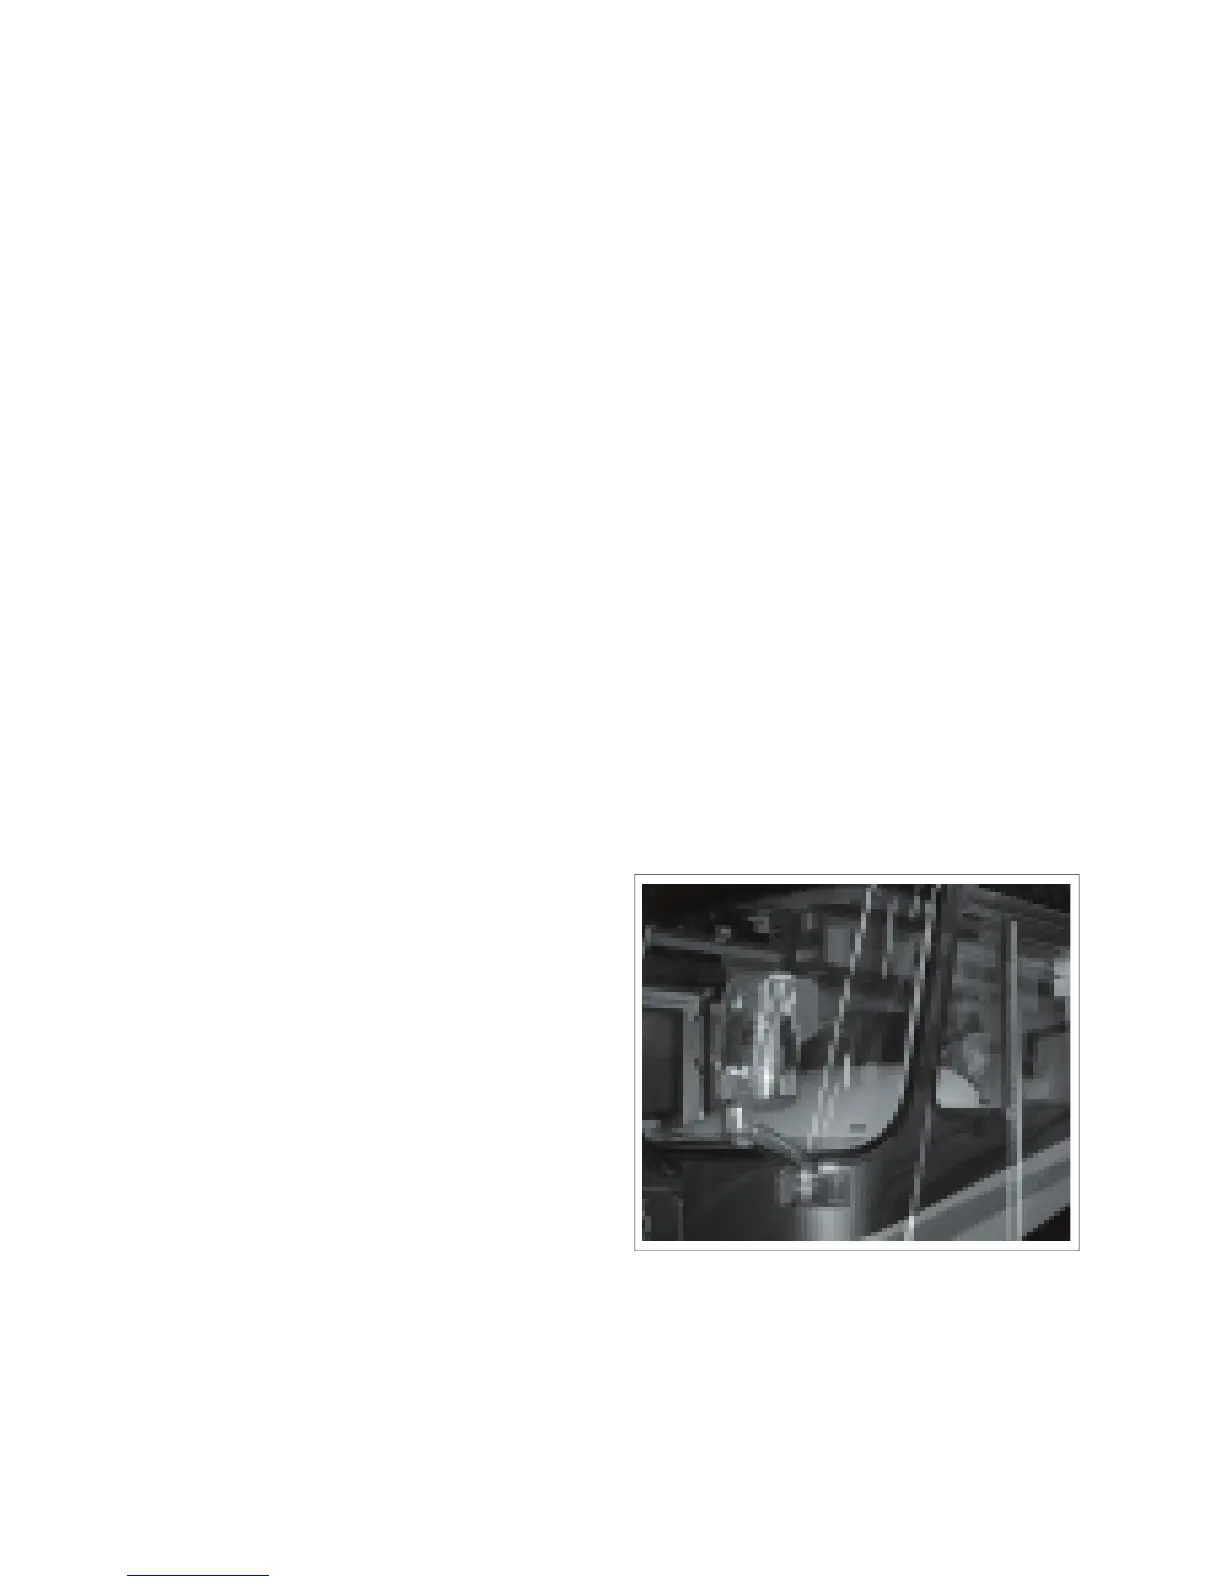
Whether your vehicle is equipped with standard or
power electric mirrors, always check the adjustment
on your mirrors for maximum rear visibility before
The power electric mirrors may be adjusted using
the multi-directional switch located on your front
panel. Select the right or left mirror to be adjusted
and then press the buttons until you experience the
best visibility. When you have adjusted both mirrors
for maximum visibility, place the selector switch in the
middle, neutral position to cut off the power to the
switch. This will prevent accidental mis-adjustment
The power switch adjustment is intended for fi ne cor-
rection in mirror settings. If you are unable to adjust
your mirrors, you may need a coarse adjustment.
This can be done by loosening the set screws at the
ball and socket of your mirror. Adjust to the proper
settings and then tighten the screws. After this, fi ne
adjustment should be possible.
Your mirrors may also be equipped with defogging or
de-icing elements. The ON-OFF switch for the heater
mirrors is located near the remote mirror controls.