44
3. Conducting a Remote Session
• Unmount ISO – The Unmount ISO feature disconnects an ISO virtual media file that has already been mounted.
To unmount an ISO file:
1. Click on the
icon in the remote session toolbar, and choose the Unmount ISO option. A prompt appears asking you to confirm the
action.
2. Click Yes. The ISO virtual media file is unmounted from the remote server.
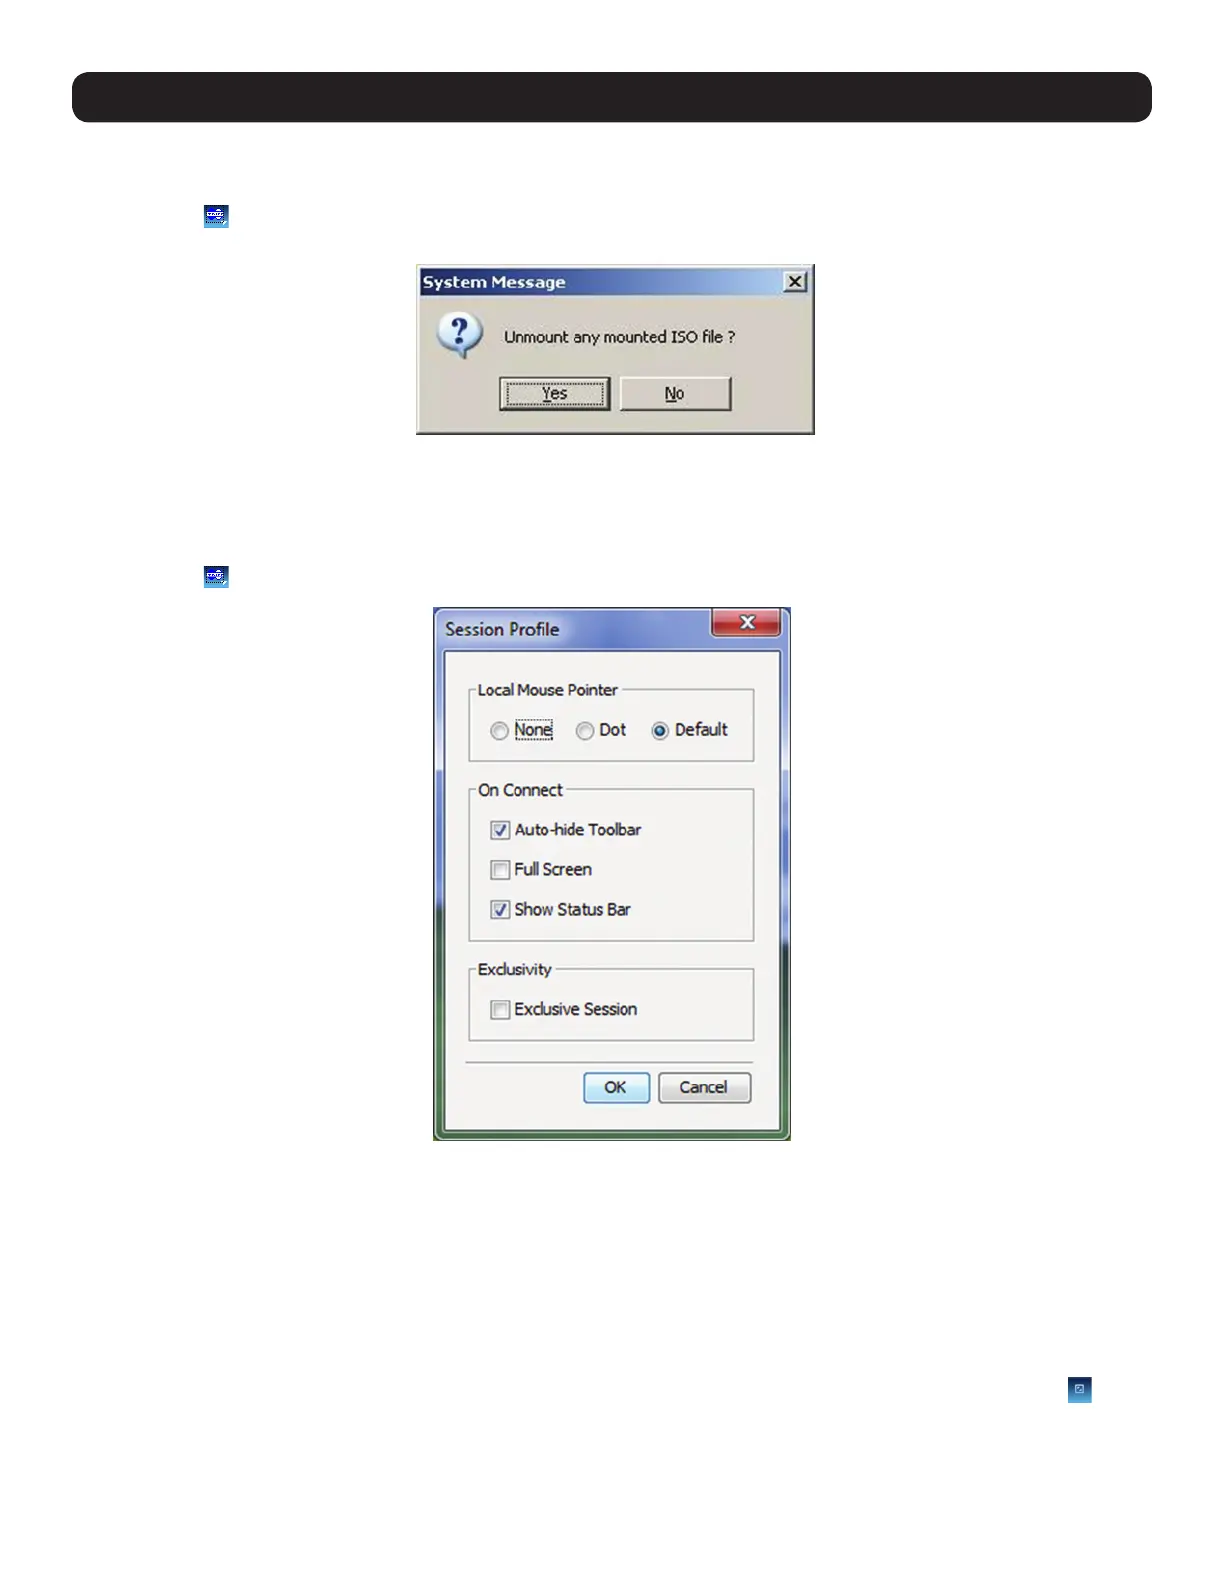
• Session Profile – The Session Profile feature allows you to set a few basic parameters for the remote session; Local Mouse Pointer
image, On Connect settings, and Exclusivity.
To set the session profile:
1. Click on the
icon in the remote session toolbar, and choose the Session Profile option. The Session Profile window appears.
2. In the Local Mouse Pointer section, select one of the following options to set the appearance of the Client Computer’s mouse pointer.
• None – Hides the Client Computer’s mouse pointer altogether, so that only the Target Server’s mouse pointer can be seen.
• Dot – Displays the Client Computer’s mouse pointer as a dot.
• Default – Displays the Client Computer’s mouse pointer in the standard format.
3. In the On Connect section, choose amongst the following options:
• Auto hide – When this checkbox is checked, the remote session toolbar will be collapsed upon logging into a remote session. When it
is unchecked, the remote toolbar will remain displayed upon logging in.
• Full Screen – Check this checkbox to display the remote session screen in full screen mode upon logging into a remote session. This
setting takes effect from the next connection onwards. To toggle full screen mode on and off, you can click the Full Screen
icon in
the remote session toolbar. Full Screen mode can also be toggled on/off by pressing [Alt] + [Enter].
• Show Status Bar – Check this checkbox to display the Status Bar at the bottom of the remote session screen. This option is enabled
by default.
 Loading...