7
1 2
3 4 6
5
1 2-3
1. Product Overview
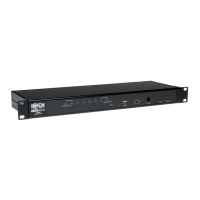
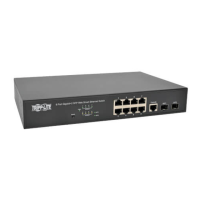
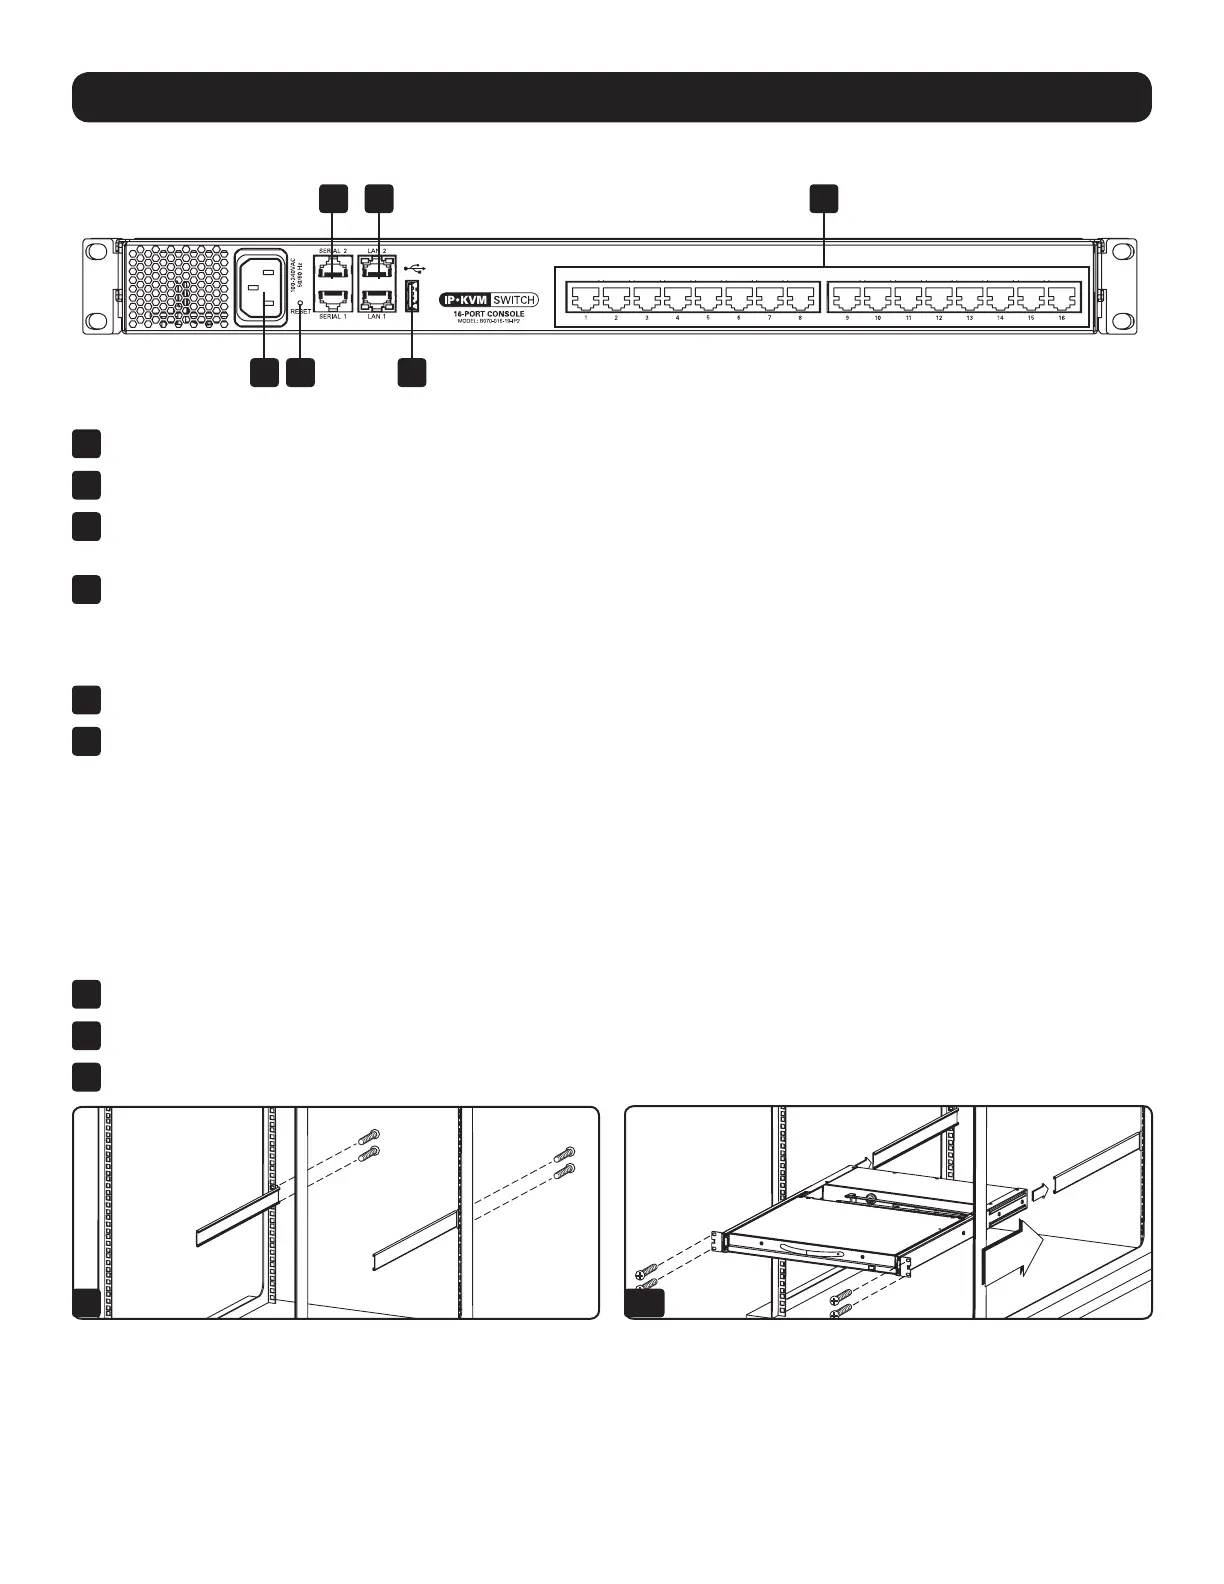
Console KVM Switch Rear View
1
Power Outlet – The power cord included with the console connects to the unit here.
2
Reset Button – Pressing this button for 10 seconds restores the system to its factory default settings.
3
Serial Ports 1 and 2 – The KVM features two RJ45 serial ports for connecting serial manageable devices, such as PDUs, firewalls, and
routers (see the Serial Pinout section in this manual for the pinout information).
4
LAN Ports 1 and 2 – The KVM features two RJ45 LAN ports for connecting to 10/100 Mbps networks. If LAN 1 goes down, LAN 2
takes over. When LAN 1 becomes operational again, the KVM will need to be rebooted to make it the default LAN port again.
Note: Only one LAN port can be turned on at a time; they cannot both be turned on. If you don’t wish to use network redundancy, connect a single
network cable to the LAN 2 Port.
5
USB Port – This port currently serves no functional purpose. It is included for future functionality upgrades.
6
Server Ports – When connecting a computer/server, Cat5e/6* cabling connects from an available server port to a B078-101-PS2,
B078-101-USB-1 or B078-101-USB2 SIU which in turn connects to the computer/server.
* To ensure proper functionality, shielded Cat5e/6 cable must be used with the B078-101-USB2, and is recommended for all other SIUs for best performance.
1.8 Rackmounting the NetCommander IP
Follow all instructions in section 1.5 Safety before rackmounting. Make sure to write down the MAC Address and Device Number located on
the bottom of the unit before rackmounting, as they will be useful when finding the IP address assigned by the DHCP server. The KVM comes
with removable rackmount brackets, allowing the unit to be installed by a single person.
1.8.1 Standard Console KVM Switch Instructions
1
Remove the rackmount brackets from the unit and mount them to the back of the rack using user-supplied screws.
2
Take the Console KVM switch and gently slide it into the rack so that it inserts into the rackmount brackets you just mounted.
3
Mount the rackmount brackets on the front of the unit to the rack using user-supplied screws.
1.8.2 2-Post Rack Console KVM Switch Instructions
The B070-Series Console KVM Switches can be mounted to a 2-Post Rack using Tripp Lite’s B019-000 2-Post Rackmount Kit (sold
separately). See the B019-000 Owner’s Manual for installation instructions.

 Loading...