54
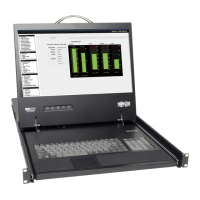
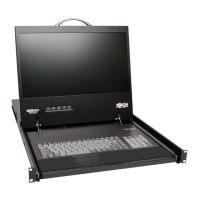
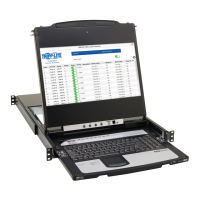
4. Local Console
4.3 Power Management
As with the Web Configuration Interface, you are able to perform power management functions via the local console. The power
management functions available to you are described below.
Note: In order to perform power management actions on a port, it must be configured to match a power outlet of a power device that has been added to the
KVM. (See sections 2.4.8 Power Devices and 2.4.9 Power Outlets for details.)
Cycle – Choose the Cycle option to perform a power cycle on the computer/server connected to the selected port.
Up – Choose the Up option to turn the power to the computer/server connected to the selected port on.
Down – Choose the Down option to turn the power to the computer/server connected to the selected port off.
To Power Manage a computer:
1. Open the OSD and highlight the desired computer using the [h] and [i] arrow keys.
2. Press the [Enter] key to access the highlighted computer.
3. When accessing the computer, press and release the left [Shift] key, and then press and release the [F12] key.
Note: This hotkey combination will change if the hotkey combination used to open the OSD is changed. When the OSD hotkey is [Shift] + [Shift], the
Power Management hotkey is [Shift] + [F12]. When the OSD hotkey is [Ctrl] + [Ctrl] or [Ctrl] + F11], the Power Management hotkey is [Ctrl] + [F12].
When the OSD hotkey is [Print Screen] + [Print Screen], the Power Management hotkey is [Print Screen] + [F12].
4. The Power Control dialog box appears.
5. Highlight the desired function using the [h] and [i] arrow keys, and then press the [Enter] key.
6. A prompt appears, asking you to confirm the operation.
7. To perform the selected operation, choose Yes. The power command is sent.
4.4 (F2) Setting
The OSD’s F2 – SETTING menu allows you to configure the following settings:
• Device IP address
• OSD hotkey
• Keyboard language
• DDC
To open the FW – SETTING screen, simply open the OSD and press
the [F2] key.
You can navigate through the page by pressing the [Tab] key. At the
bottom of the window, pressing the [Tab] key will take you back to
the top of the window. Change settings by typing in the selected
area or by pressing the spacebar – whichever is relevant.

 Loading...