55
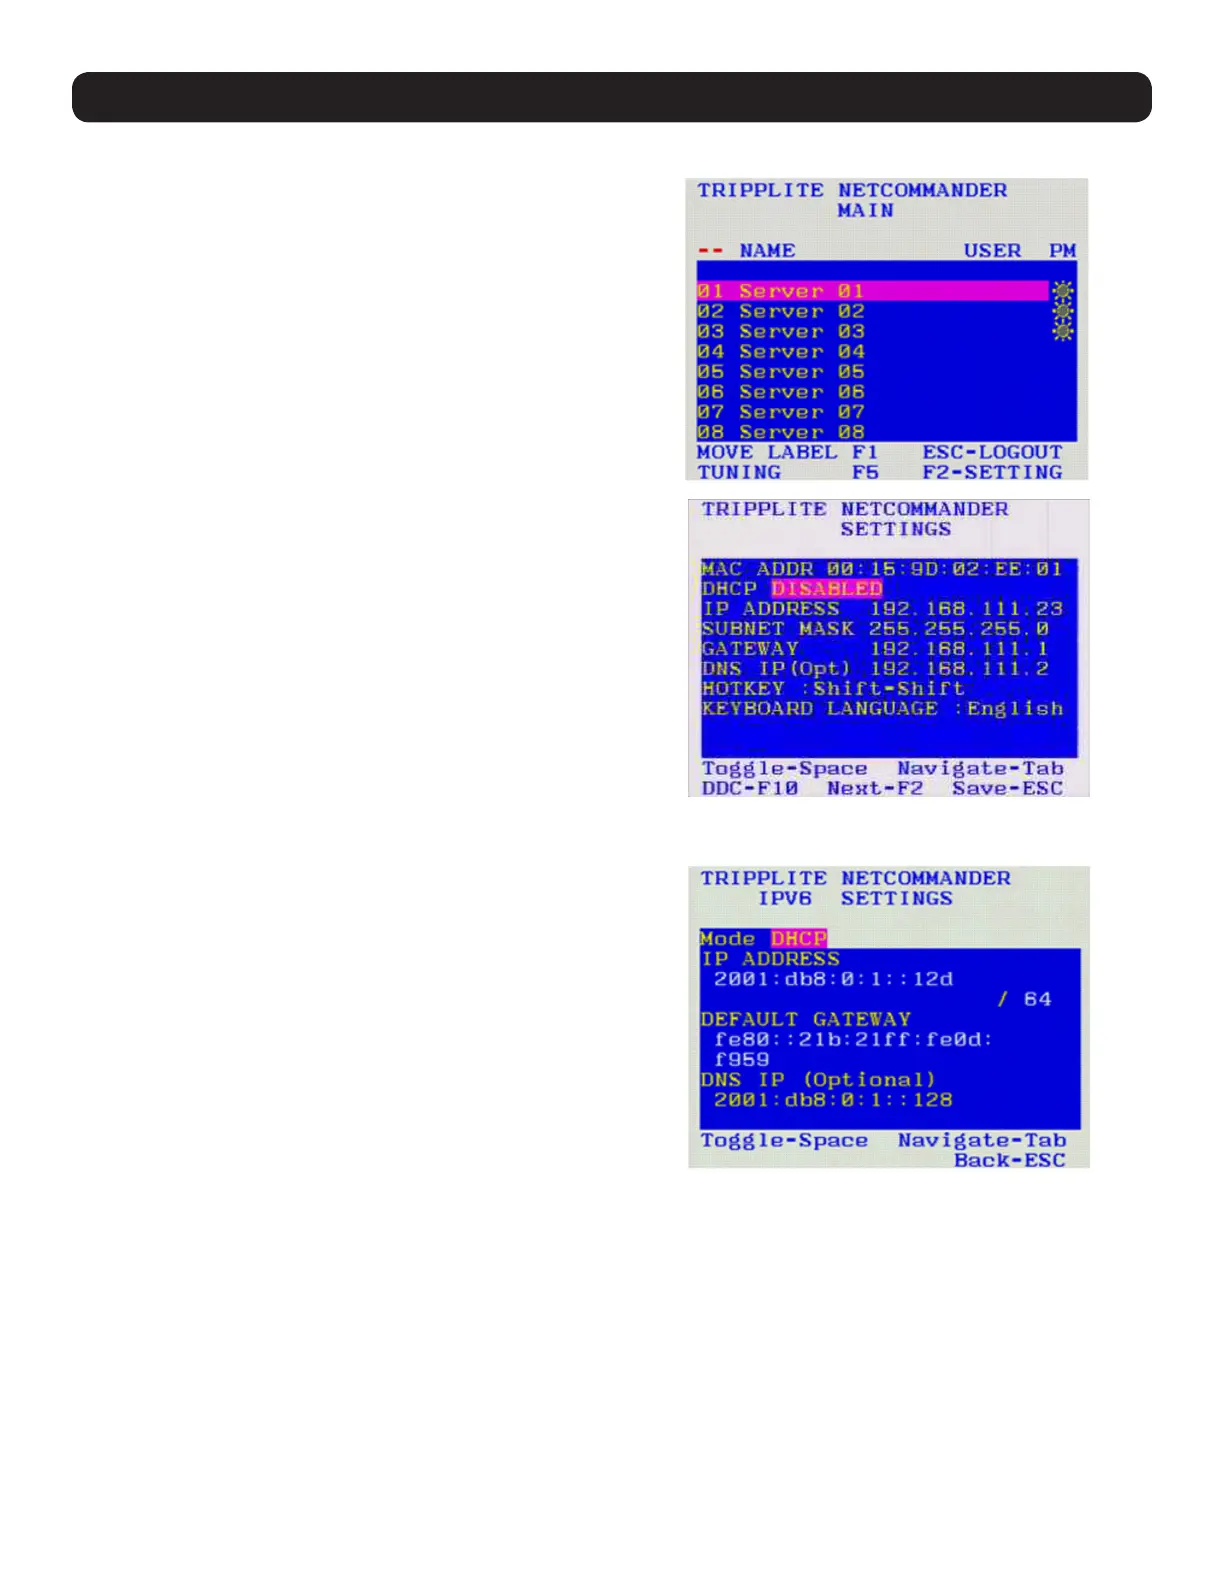
To set the IPv4 address via the local console OSD:
1. From the local console, press the left [Shift] key twice to open
the OSD.
2. Press the [F2] key to open the Settings menu.
3. In the Settings menu, press the [Tab] key until the DHCP field is
highlighted. Press the [Spacebar] key to toggle the DHCP field
from Enabled to Disabled.
4. Pressing the [Tab] key to navigate to the additional fields, type
in the desired IP Address, Subnet Mask, Gateway, and DNS
Server Address (Optional).
5. Once the IP address is satisfactory, press the [Esc] key to save
your changes. This will require that the KVM be rebooted to
save the new settings.
To set the IPv6 address via the local console OSD:
1. From the local console, press the left [Shift] key twice to open
the OSD.
2. Press the [F2] key to open the Settings menu, and then press
the [F2] key again to open the IPv6 Settings menu.
3. In the IPv6 Settings menu, with the Mode field at the top of the
screen highlighted, press the [Spacebar] key to toggle between
DHCP, Stateless, and Static. DHCP is selected by default, and
automatically assigns an IP address via the IPv6 DHCP server.
Stateless is an option for networks with a compliant router that
automatically assigns an IP address based on the MAC address
of the unit. Static allows you to manually assign an IP address.
4. Pressing the [Tab] key to navigate to the additional fields, type
in the desired IP Address, Gateway, and DNS Server Address
(Optional).
5. Once the IP address is satisfactory, press the [Esc] key twice to
exit and save your changes. This will require that the KVM be
rebooted to save the new settings.
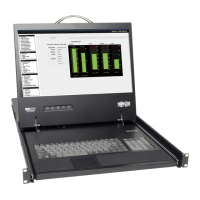
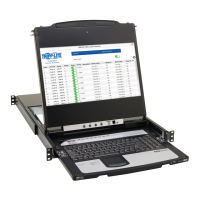
4. Local Console

 Loading...