14
Installation - FITTING THE COVER
8
check list
SECTION
FITTING THE COVER
IMPORTANT: Before finally fitting the cover, the
following steps must be taken:
a. Check the plumbing connections are
watertight.
b. Check the terminal block screws are fully
tightened.
c. Make sure the pipe and cable entering
the unit do not prevent the cover locating
correctly to the backplate.
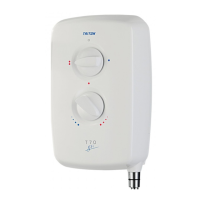
d. Check the power selector is in the COLD
position - and the the temperature control
points to number ‘10’.
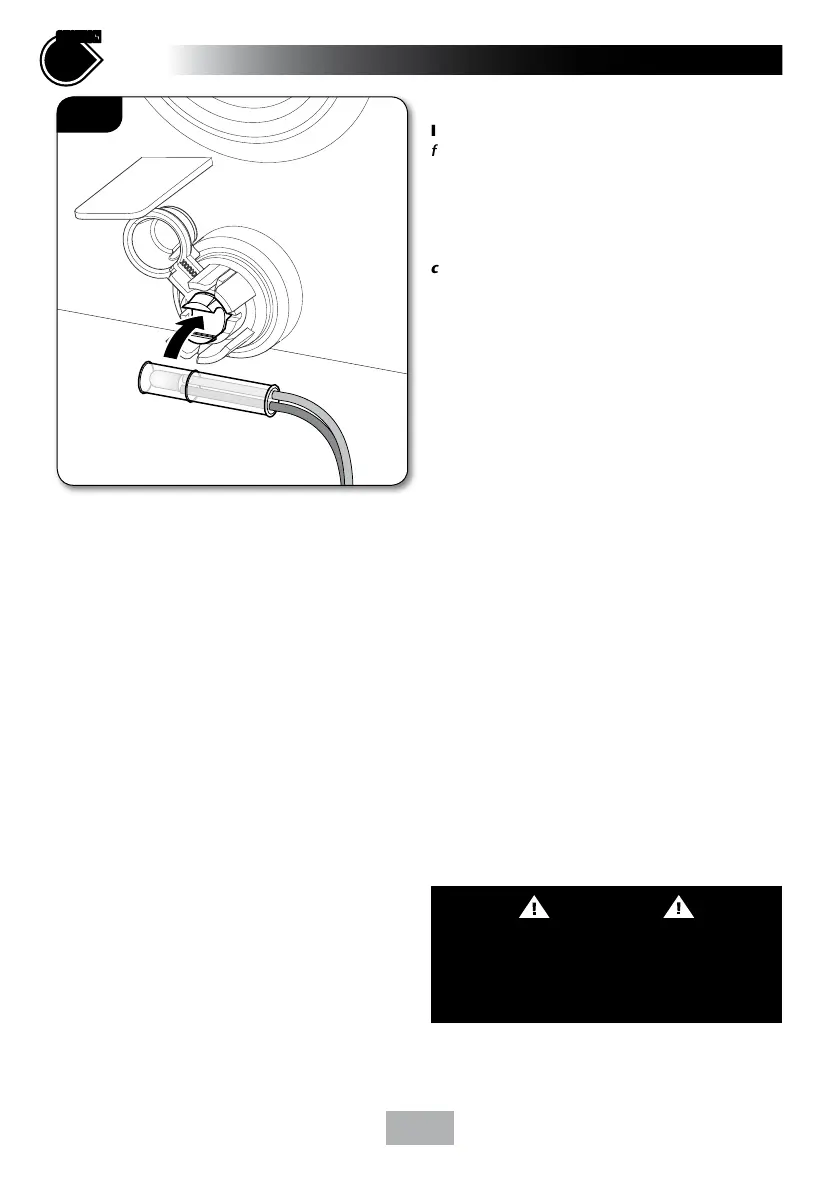
• Offer the cover to the unit.
• Plug the neon located on the backplate into
the bracket inside the cover (fig.13). The
neon clips into the housing on the back of
the START/STOP button.
• Carefully guide the cover onto the backplate
making sure the wires are not trapped.
NOTE: DO NOT remove the cable tie in this unit.
Figures 14, 15, 16 and 17 (on page 15) show
the correct control knob position when replacing
the cover.
• Check to ensure that the wiring is not
trapped and replace the cover squarely to
the backplate and guide into position so that
the knobs locate correctly into the splined
spindles.
• Should any difficulty arise, recheck the
points above.
• While applying slight pressure to the cover,
secure in position with the retaining screws.
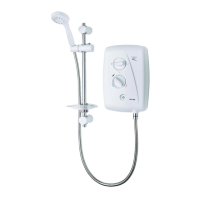
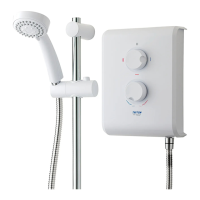
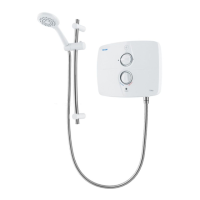
• Fit the Riser Rail and Kit (see kit
instructions).
Fig.13
WARNING
COVER RETAINING SCREWS
ONLY the SUPPLIED SCREWS should be
used. The use of none supplied screws WILL
invalidate product specications & warranty.
 Loading...