Do you have a question about the Truma iNet X Panel and is the answer not in the manual?
| Display Type | TFT |
|---|---|
| Screen Size | 4.3 inches |
| Power Supply | 12 V DC |
| Weight | 150 g |
| Connectivity | Bluetooth |
| Current Consumption at 12 V | 200 mA |
| Interfaces | USB |
Document number is found in the footer on every page and on the back page.
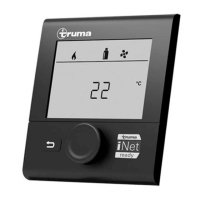
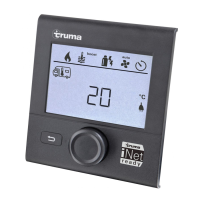
These instructions are for the Truma iNet X Panel and the Truma iNet X Pro Panel.
Instructions are intended for experts; installation/repair by trained personnel only.
Further information about the appliance is found in associated operating instructions.
Explains manual symbols: warnings, expert advice, and optional parts.
Only qualified electricians may work on electrical systems; follow regulations.
Appliances use 12 V= batteries; high currents can cause issues.
Observe appliance info; ensure protective devices are present and functional.
Use only original Truma parts to maintain function, safety, and warranty.
Suitable for wall mounting on level surface, 7-15mm thick, protected, at eye level.
Dimensions and illustrations for creating the installation opening.
Connect panel/devices to 12V circuit; fuse positive cable with 1A.
Steps to physically install the control panel into the prepared opening.
Check all functions of the control panel and connected appliances.
Hand over operating instructions to the user or vehicle owner.