47000-00082 · 01 · 11/2021
Installation
Truma iNet X Panel / Truma iNet X Pro Panel
21EN
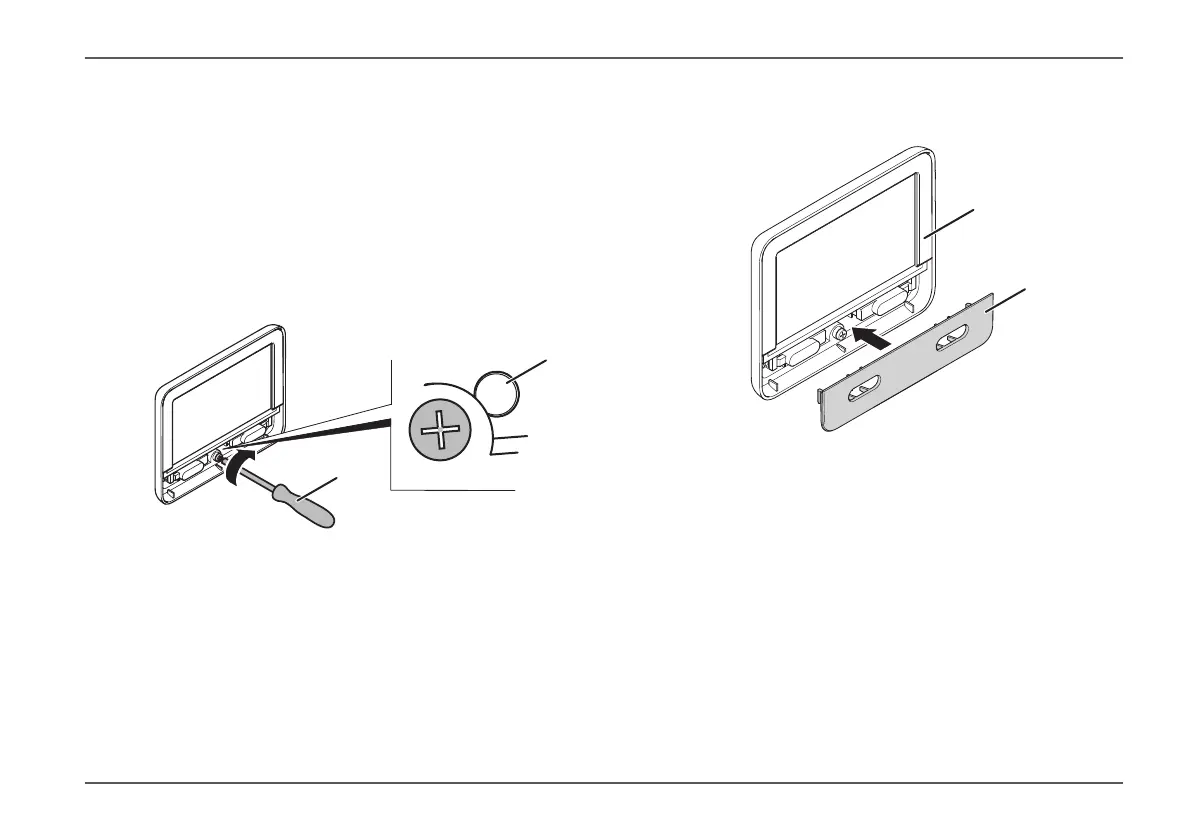
Use a Phillips-tip screwdriver (Fig� 7-1) to turn the
fastening screw in a clockwise direction until the
installation clip faces completely downward� You
will no longer see the clip in the inspection window
(Fig� 7-2)�
Tighten the fastening screw finger tight (maximum
torque 0�4Nm)� The control panel is now fixed in
place in the mounting frame�
1
2
Fig� 7
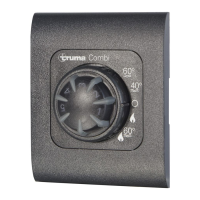
Attach the button plate (Fig� 8-2) onto the frame of
the control panel (Fig� 8-1)�
1
2
Fig� 8