29
Printing with USB
When it is not possible to print via a network, 3D print files can still be transferred to your Ultimaker 3 with a USB stick.
1. Place the USB stick in your computer.
2. Slice your 3D model in Cura. Ensure that the print core and material configuration in Cura match the configuration on
your Ultimaker 3 or change the configuration on your printer to match the settings in Cura.
3. Save the print file (.gcode) via the “Save to removable drive” button to the USB stick.
4. Eject the USB stick in Cura and remove it from your computer.
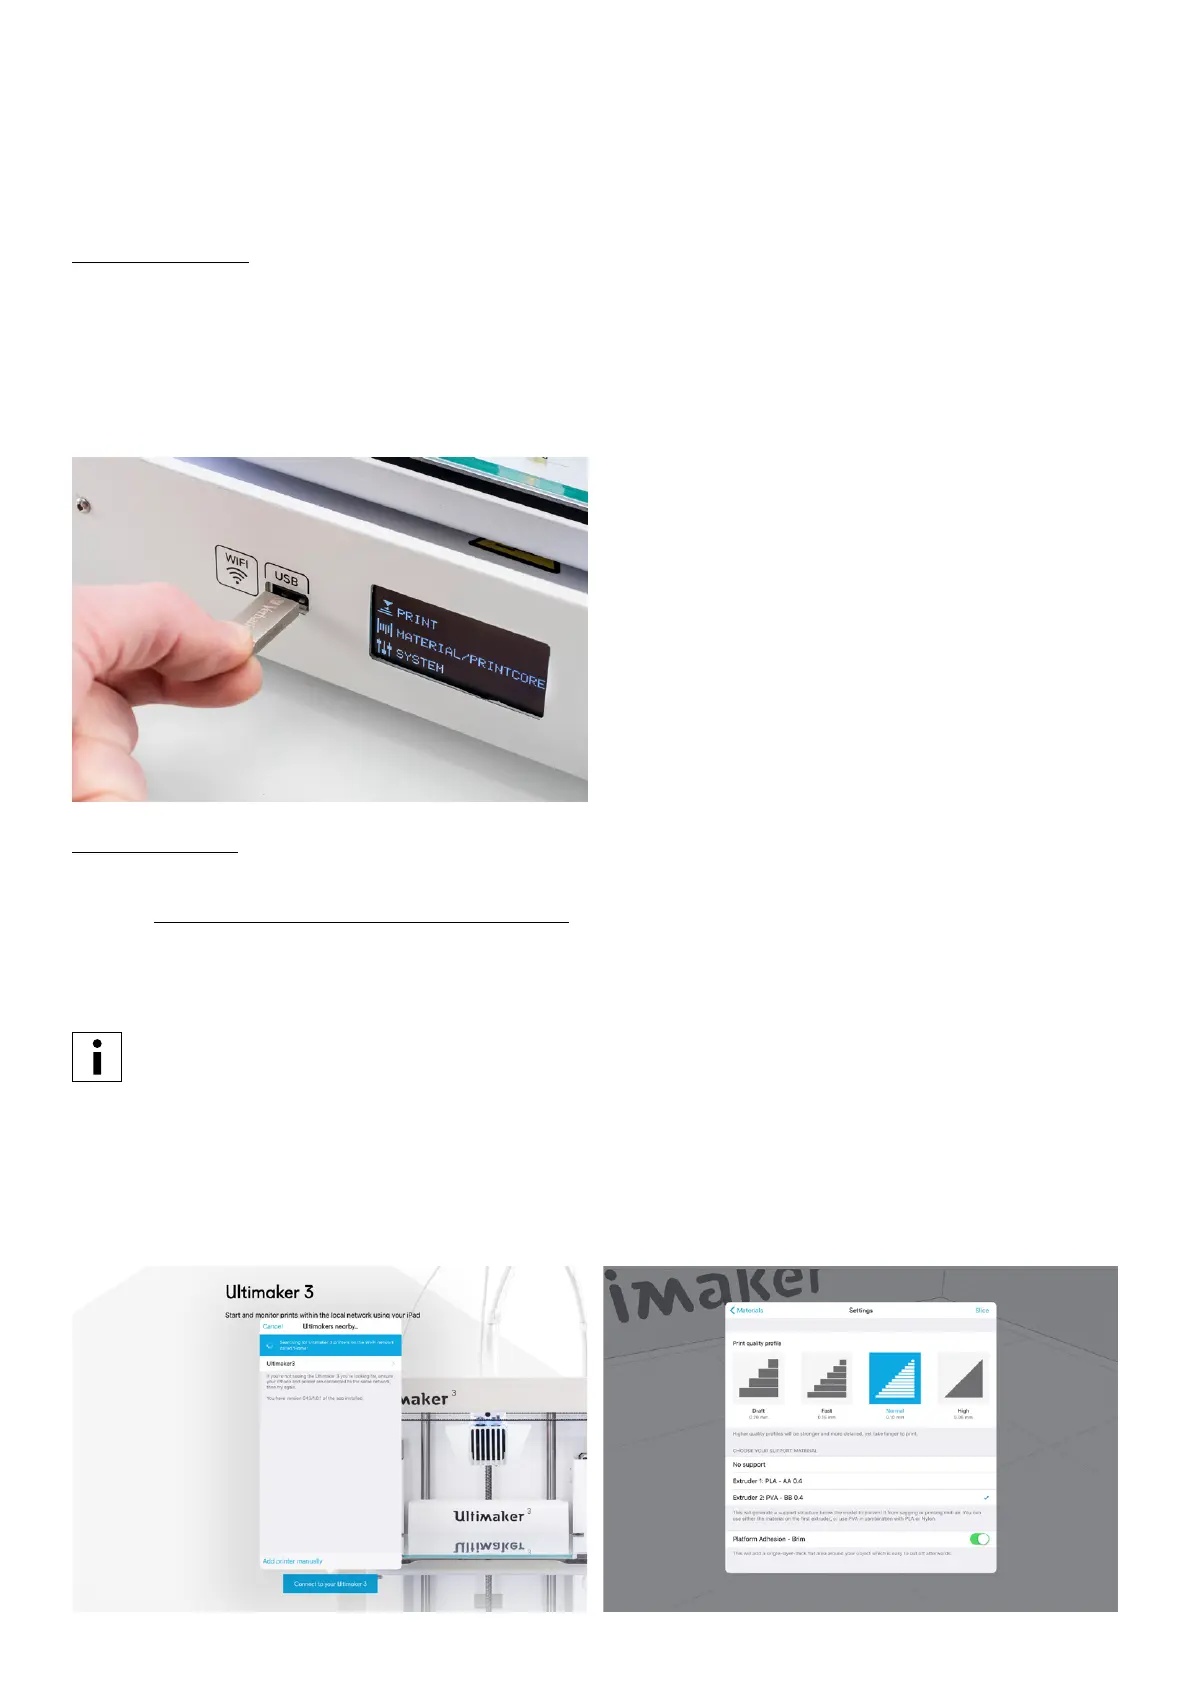
5. Place the USB stick in the Ultimaker 3 (front side, next to the display).
6. Go to Print and select the file you want to print.
Ultimaker 3 App
Besides using Cura or the USB stick, the Ultimaker 3 allows you to print directly from your phone or tablet using the
Ultimaker 3 App. The Ultimaker 3 App can be downloaded from the App Store or Google Play. More information can be
found on www.ultimaker.com/en/products/ultimaker-3-app.
To print a model through the Ultimaker 3 App, follow these steps:
1. Connect to your Ultimaker 3 by selecting the model from the list of discovered printers, or manually add a printer with
the IP address.
If you connect to a printer for the first time you need to authorize the connection on the printer.
2. Select ‘Start a new print’.
3. Load a 3D model from your device or YouMagine, or print the Ultimaker Robot.
4. Use the 3D preview function to check the model on the build plate and select ‘Print’.
5. Check the materials configuration and select ‘Next’.
6. Select a print quality profile, choose your support material and toggle your option for the brim function.
7. Slice the model by selecting the ‘Slice’ button.
8. Start the print by selecting ‘Start print’.