 Loading...
Do you have a question about the Ultimaker S3 and is the answer not in the manual?
| Build Volume | 230 x 190 x 200 mm |
|---|---|
| Print Technology | Fused Filament Fabrication (FFF) |
| Filament Diameter | 2.85 mm |
| Number of Print Heads | 2 |
| Print Speed | Up to 24 mm³/s |
| Heated Bed | Yes |
| Dual Extrusion | Yes |
| Operating Temperature | 15 - 32 °C |
| Nozzle Diameter | 0.4 mm |
| Connectivity | Wi-Fi, USB, Ethernet |
| Supported Materials | PLA, ABS, Nylon, CPE, PC, TPU, PP, PVA, Breakaway |
| Touchscreen | Yes |
| Feeder Type | Dual-geared feeder |
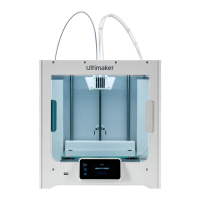
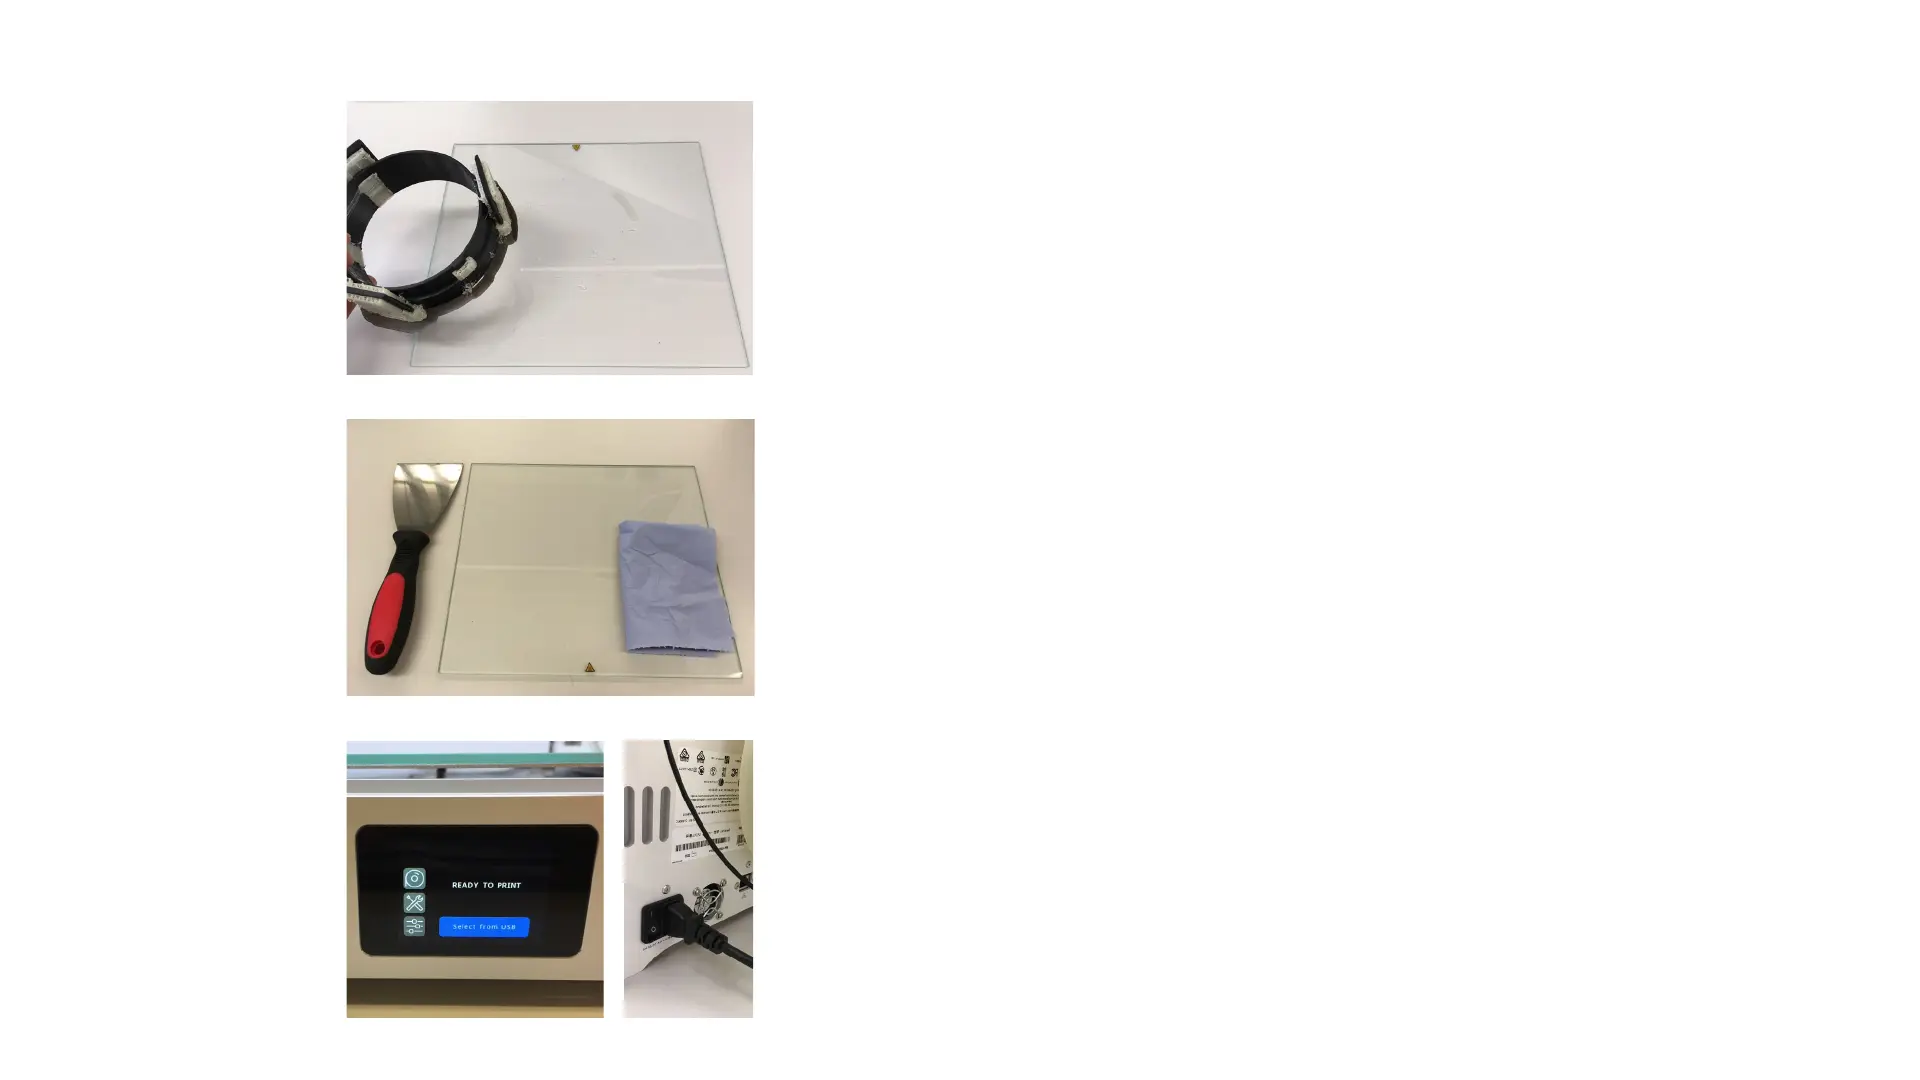
| Build Plate | Glass |
| Bed Leveling | Automatic |
| Power Requirements | 100-240 V, 50-60 Hz |
| Layer Resolution | 20 - 200 microns (0.0007 - 0.008 inches) |