EN UltiMaker S7 Installation and user manual 27
Lift switch calibration
The switch bay enables the second print core to be lifted and lowered. It is important that print core switching
functions well for active leveling and a correct nozzle alignment in dual-extrusion prints. The lift switch is already
calibrated at the factory, but calibration can also be performed manually if needed.
1. In the Preferences menu, go to Maintenance → Print head → Calibrate lift switch and select Start calibration.
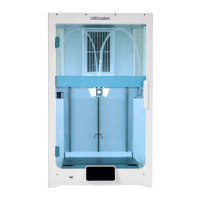
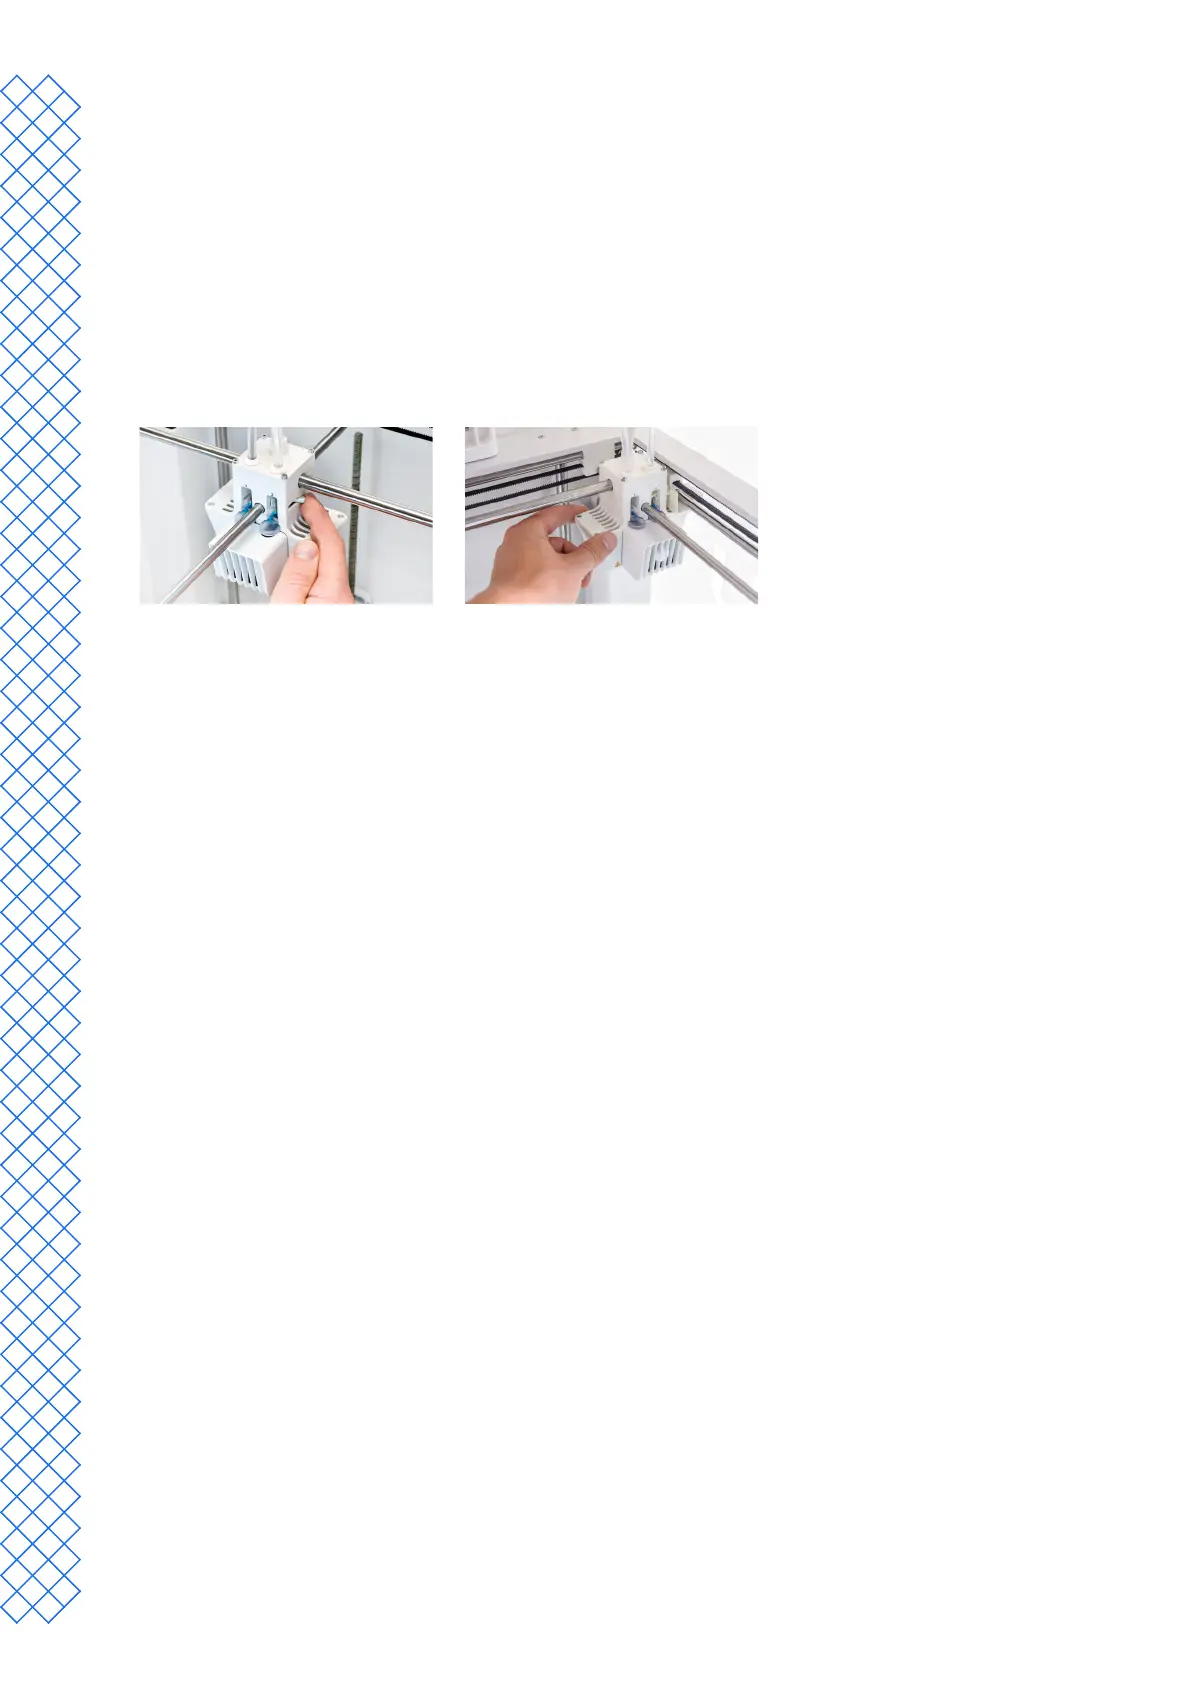
2. Move the lift switch on the side of the print head to point towards you. Select Conrm to continue.
3. Movetheprintheadsothattheliftswitchtsintheswitchingbay.SelectConrm when completed.
4. Wait for the print head to go to the home position and test the lift switch. Carefully observe.
5. Did the lift switch lower and raise the print core? If so, press Yes to complete the calibration. If not, select No to
perform the calibration again.