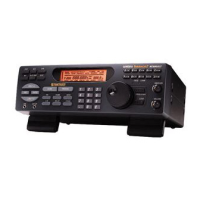
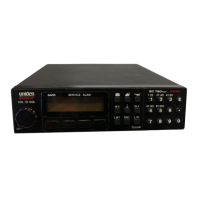
Adjusting the Analog AGC settings:
Turn off the Digital AGC option and turn on the Analog AGC option.
Start scanning.
Press and hold Func then tap the scroll knob (3 times) until AUDIO AGC settings are displayed.
Rotate the scroll control to change the setting.
Press and hold Func then rotate the scroll to select another setting.
Press the scroll knob to exit.
ANALOG AGC RESPONSE TIME:
Range: -4 to +6 (0 is default)
This parameter determines how frequently the AGC factor updates. Decreasing this value makes AGC respond faster, but could result in
"pumping." A higher value decreases the response time.
ANALOG AGC REFER GAIN:
Range: -5 to +5 (0 is default)
This parameter determines the reference level that AGC attempts to adjust the volume to. If digital/analog volume is not matched, adjust this
parameter.
ANALOG AGC GAIN RANGE:
Range: 0 to 15 (6 is default)
This parameter controls the total dynamic range of the AGC adjustments. A larger value allows a wider variation in volume.
Adjusting the Digital AGC settings:
Turn on the Digital AGC option and turn off the Analog AGC option.
Start scanning.
Press and hold Func then tap the scroll knob (3 times) until AUDIO AGC settings are displayed.
Rotate the scroll control to change the setting.
Press and hold Func then rotate the scroll to select another setting.
Press the scroll knob to exit.
DIGITAL AGC RESPONSE TIME;
Range: -8 to +8 (0 is default)
This parameter determines how frequently the AGC factor updates. Decreasing this value makes AGC respond faster, but could result in
"pumping." A higher value decreases the response time.
DIGITAL AGC REFER GAIN;
Range: -5 to +5 (0 is default)
This parameter determines the reference level that AGC attempts to adjust the volume to. If digital/analog volume is not matched, adjust this
parameter.
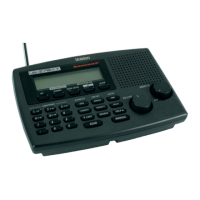
Contents
Adjust Contrast this setting controls the display's contrast (how light or dark it appears).
Scroll to 'Adjust Contrast' and press E/yes.
At 'Contrast 1-15' scroll to the preferred contrast level and press E/yes to save and exit.
PC Control to connect your scanner to a personal computer, you must first set the scanner's baud rate (the rate at which data is transferred between the scanner and
the computer, in bits per second [bps]). Try the fastest settings first. If you have trouble transferring data between your scanner and your computer, try setting the baud
rate to a slower setting.
Scroll to 'PC Control' and press E/yes.
Scroll to Off, 9600, 19200, 38400, 57600, or 115200 and press E/yes to save and exit.
 Loading...