Using a Feature You can refer to a feature defined the installation from the robot program, to relate robot
movements (e.g. MoveJ, MoveL and MoveP commands) to the feature (see section ).
This allows for easy adaptation of a robot program when for example: there are multiple
robot stations, when an object is moved during program runtime, or when an object is
permanently moved in the scene. Adjusting the feature of an object, adjusts all program
movements relative to the object accordingly.
For further examples, see sections: ( Example: Manually Updating a Feature to Adjust a
Programon page304) and ( Example: Dynamically Updating a Feature Poseon
page305). When a feature is chosen as a reference, the Move Tool buttons for
translation and rotation operate in the selected feature space (see 21 Move Tabon
page317) and ( Move Toolon page317), reading of the TCP coordinates. For example,
if a table is defined as a feature and is chosen as a reference in the Move Tab, the
translation arrows (i.e., up/down, left/right, forward/backward) move the robot in these
directions relative to the table. Additionally, the TCP coordinates will be in the frame of
the table.
•
In the Features tree you can rename a Point, Line or Plane by tapping the pencil
button.
•
In the Features tree you can delete a Point, Line or Plane by tapping the Delete
button.
Using Move here Tap Move here to move the robot arm towards the selected feature. At the end of this
movement, the coordinate systems of the feature and the TCP will coincide.
Move here is disabled if the robot arm cannot reach the feature.
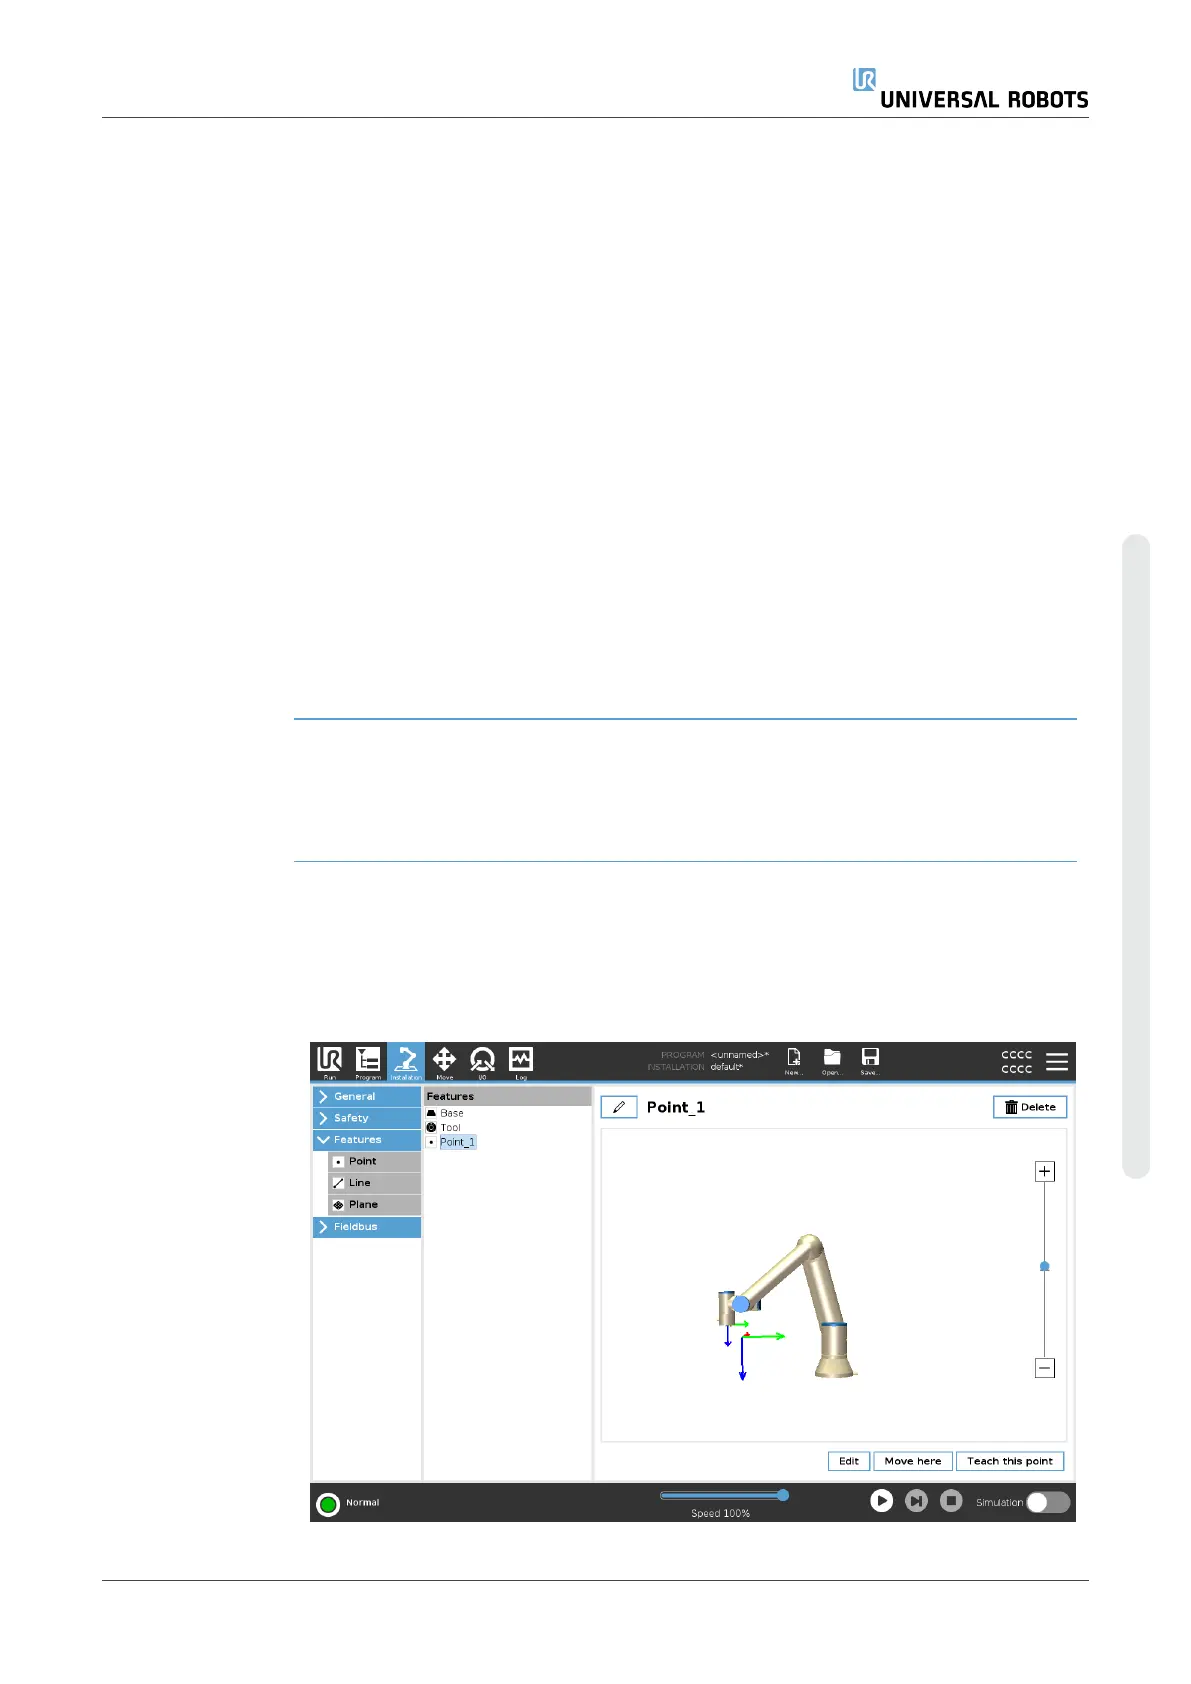
Point feature The point feature defines a safety boundary or a global home configuration of the Robot
arm. The point feature pose is defined as the position and orientation of the TCP.
Adding a Point
1. In Installation, select Features.
2. Under Features select Point.
User Manual 301 UR10e
Copyright © 2009–2024 by UniversalRobotsA/S. All rights reserved.
 Loading...


