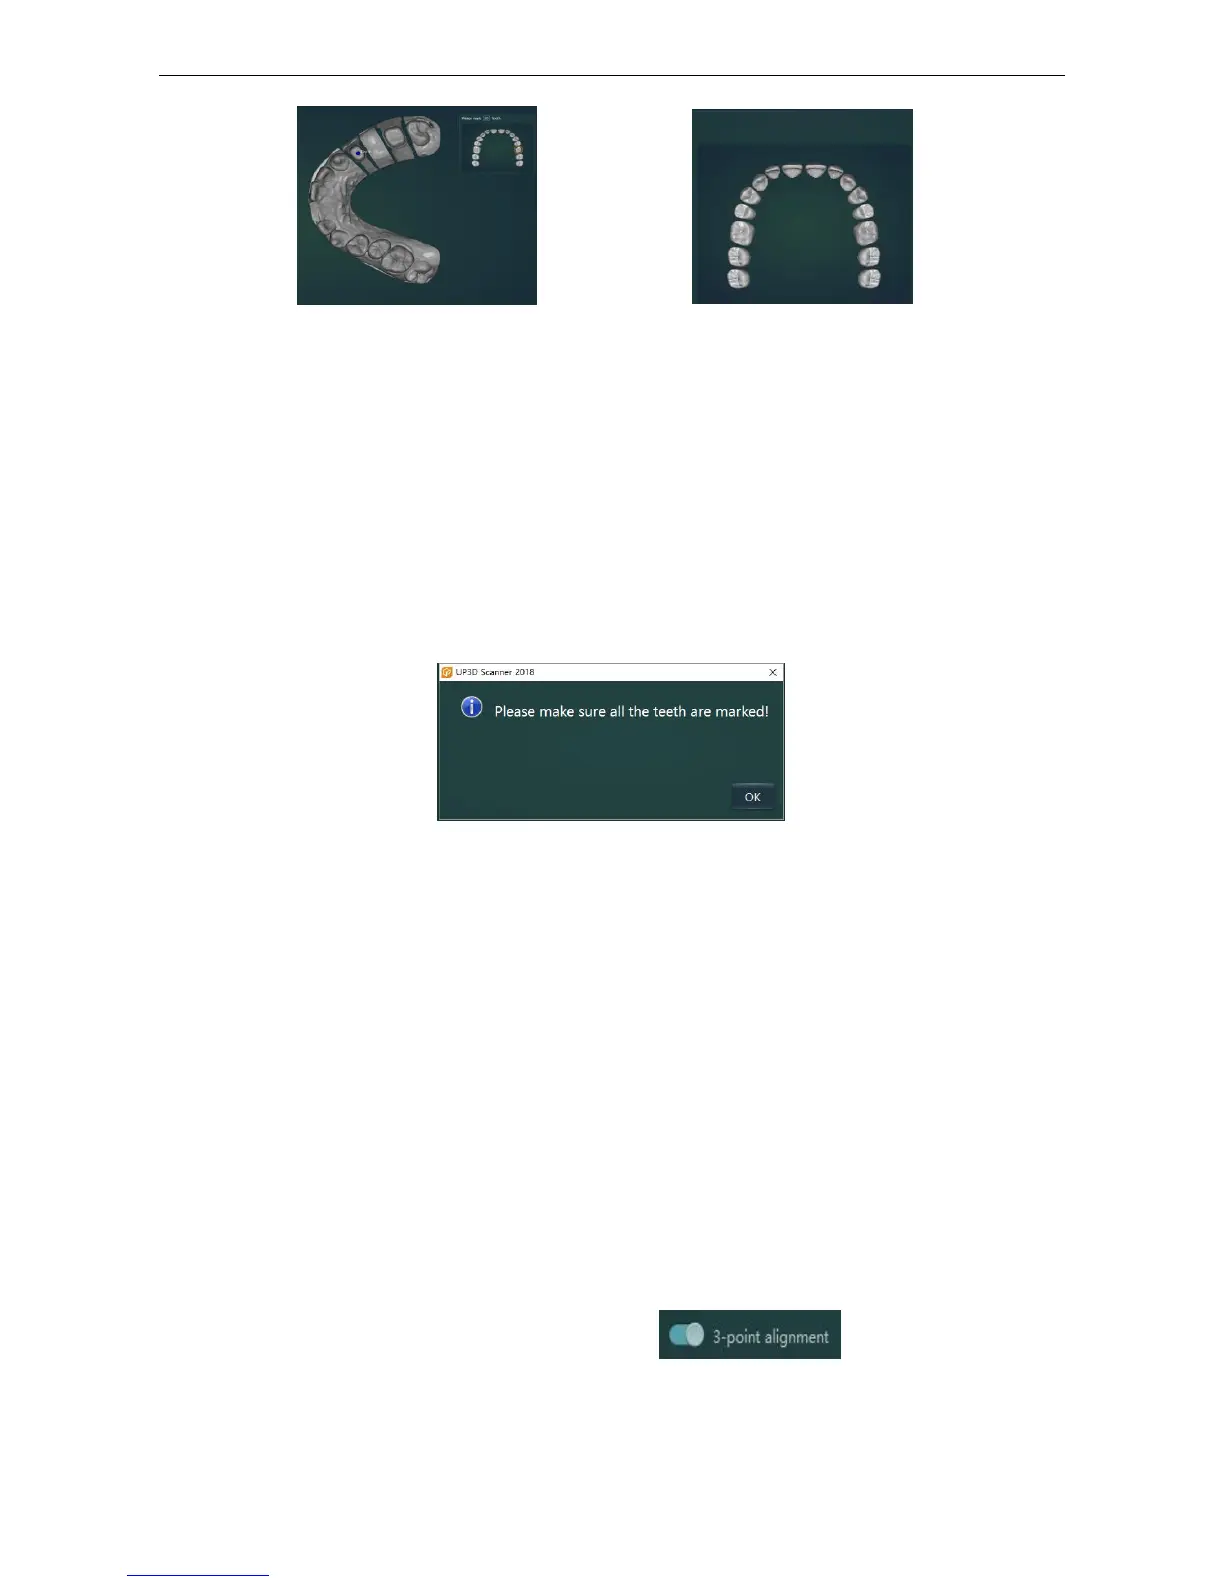
A4. 【
Remark
】
Please drag the blue marker point to modify the marker point position when marking the tooth
position in error.
Click【Remark】,The points on the model are all cleared
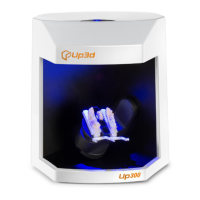
A5.Click
【
Next
】
to enter other scans after all the teeth marks are completed.
Click【Next】when there is an unmarked tooth position, the following dialog box will pop up
(Figure 4-8)
Figure4-8
(5) Scanning of the antagonist jaw (non-working model): the same as (3) working model scanning
(6)Die scanning: the same as die scanning of multi-dises scanning.
(7) Model alignment
A1. Dies alignment: Each die on the multi-dies plate is automatically aligned to the working model
A2. Occlusion alignment: Automatic alignment of the upper or lower jaw to the occlusion model
The manual alignment can be used for interactive alignment if the automatic alignment of the dies
or the occlusion fails.
A1.One point alignment (default)
The orange model (small window on the left) and the gray model (small window on the right) are
clicked on the same position for alignment
A2. 3-point alignment: Click to open 3-point alignment
Click on the same position on the orange model and the gray model to align