UP3D TECH CO.,LTD
53
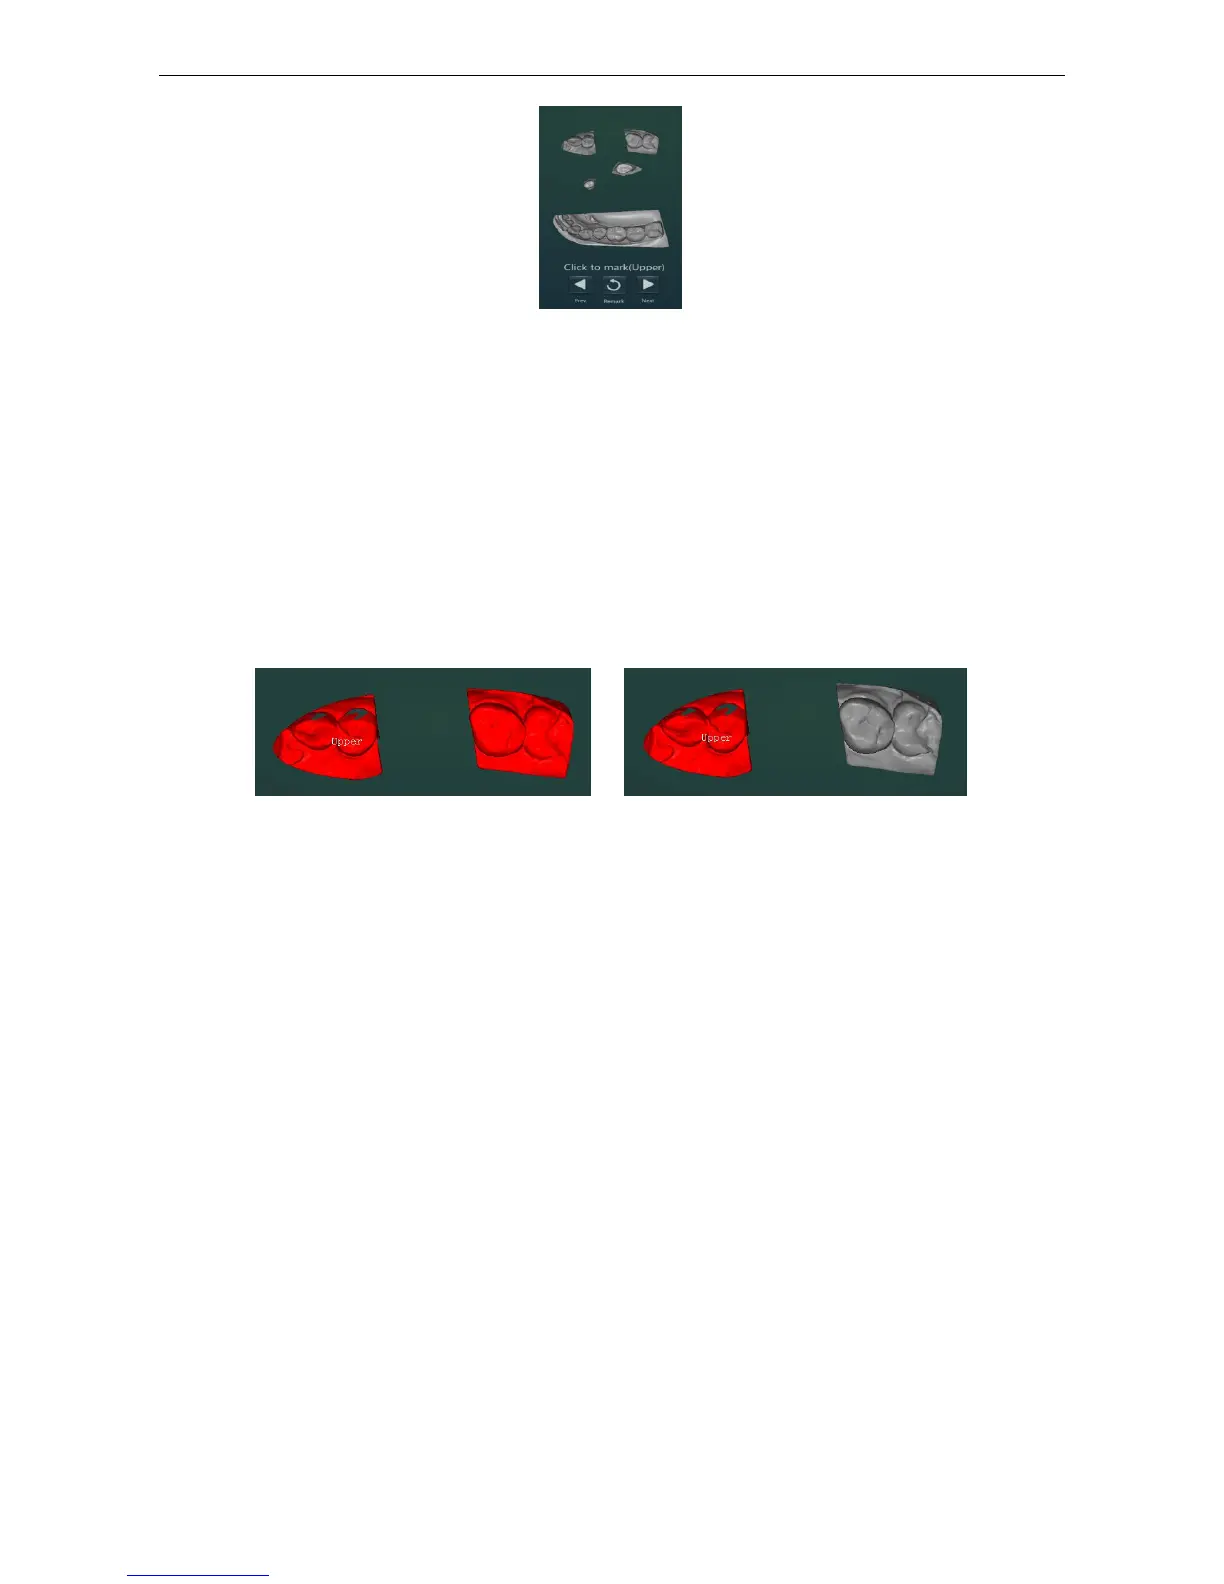
Figure4-10
The model will display red after clicking the independent connected area with the left mouse button
and display the text at the model: upper jaw, lower jaw and tooth position XX.
If you encounter factors such as maxillary or mandibular scanning height clipping or the model
itself, there are two connected areas, as shown below. One of the connected areas of the lower jaw
and a part of the area also belongs to the lower jaw. You can complete the lower jaw mark in
another part of the connected area by Alt+click the left mouse button or select the frame. At this
time, both connected areas are displayed in red and the jaw text is displayed at the position of the
first mark.
Figure4-11
(5) Model alignment, including automatic alignment of die and occlusion
(6) The order scanning is finished
4.4.2.4 Quadrant model (unsectioned)
Application: For that unsectioned model with an incomplete arch and an antagonist model
(1)Create an order
A1. Create an order, select the tooth position and define a design type
A2. Select the following scan options and start scanning
Model source: gypsum model
Occlusion: Quadrant
Adjacent teeth: unsectioned
(2)Quadrant model occlusion scan
A1. Follow the instruction of the scanning guide to put in quadrant occlusion model
A2. Click
【
Next
】
/
【
Enter
】
to scan;