Page 14
LPH800 TREATER
4. Remove any boxes and cords from the drum of the treater.
5. Install the four provided legs and set up on a level surface, preferably concrete.
When all four legs are mounted in the same pin hole, the seed treater has a slight
slope to allow seed to travel through the machine. The pin holes are approximately
2” apart.
If more slope is desired, the rear legs can be dropped an additional
pin hole.
6. Anchor the seed treater in position to prevent the machine from moving during
operation.
7. Inspect machine thoroughly for screws, bolts, fittings, etc. which may have come
loose during shipping.
TREATER SET - UP
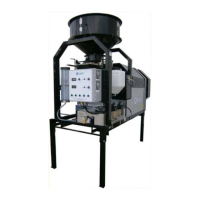
8. Remove the calibration tube from the box and install
on the headache rack to the left side of the control
panel using the pins. Once the calibration tube is
set in place, connect the two chemical lines.
9. The 30 Gallon chemical tank should be placed on
level ground close to the seed treater on the same
side as the calibration tube.
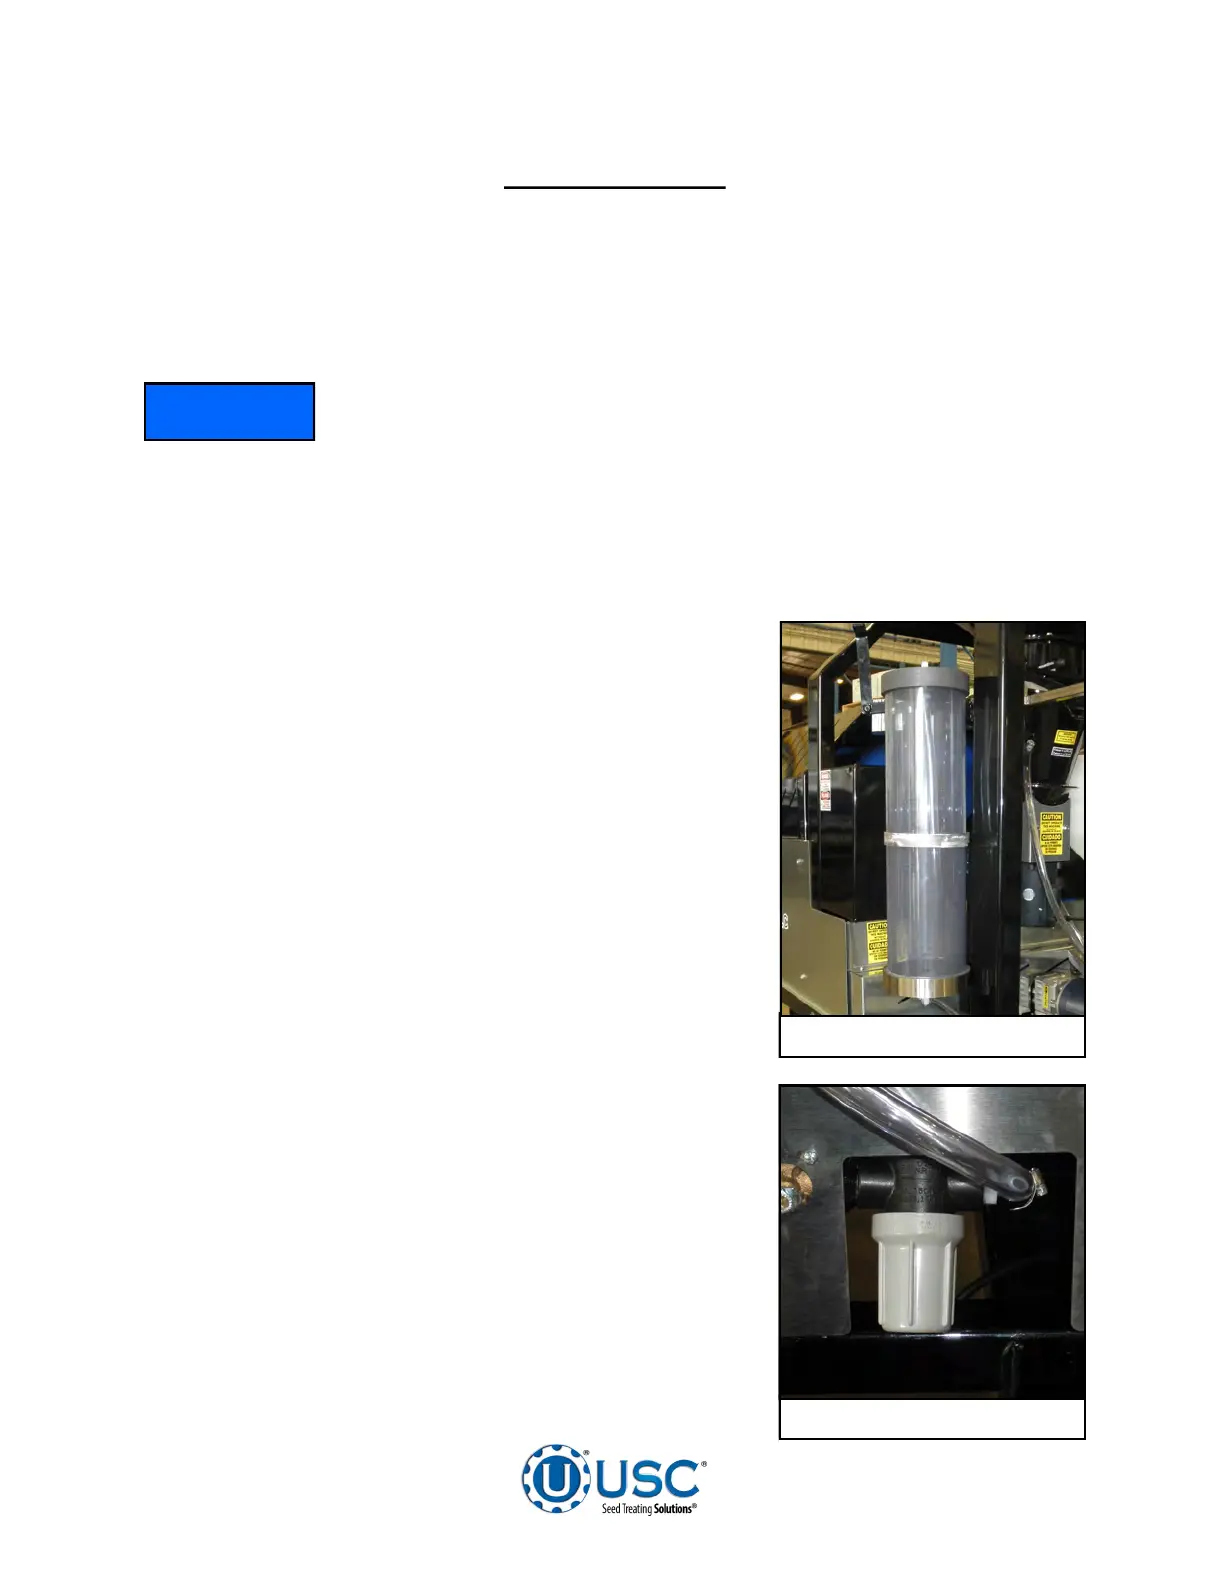
10. Remove the filter body from the control panel and
install on the front of the treater. The filter is shipped
in the control panel to avoid damage in shipping.
11. Check and tighten all hose connections.
Calibration Tube
Filter
NOTICE