32
INSTRUCCIONES DE ENSAMBLAJE PARA UNA CONSTRUCCIÓN NUEVA
INSTRUCCIONES DE ENSAMBLAJE PARA UNA CONSTRUCCIÓN EXISTENTE
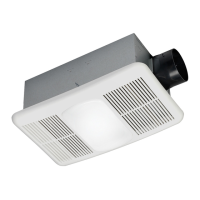
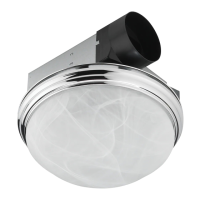
7. Para la conexión de la luz LED, enchufe el conector
(7.1) de la rejilla (B) a la carcasa del ventilador (A),
como se muestra.
Apriete los resortes de montaje (7.2) de la rejilla (B) e
insértelos en las ranuras rectangulares estrechas (7.3)
dentro de la carcasa del ventilador (A). Presione la
rejilla (B) hacia el techo.
ANTES DE LA INSTALACIÓN: Apague la fuente de ali-
mentación eléctrica. Revise todas las precauciones de
seguridad. Retire el ventilador existente.
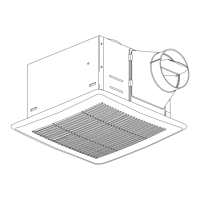
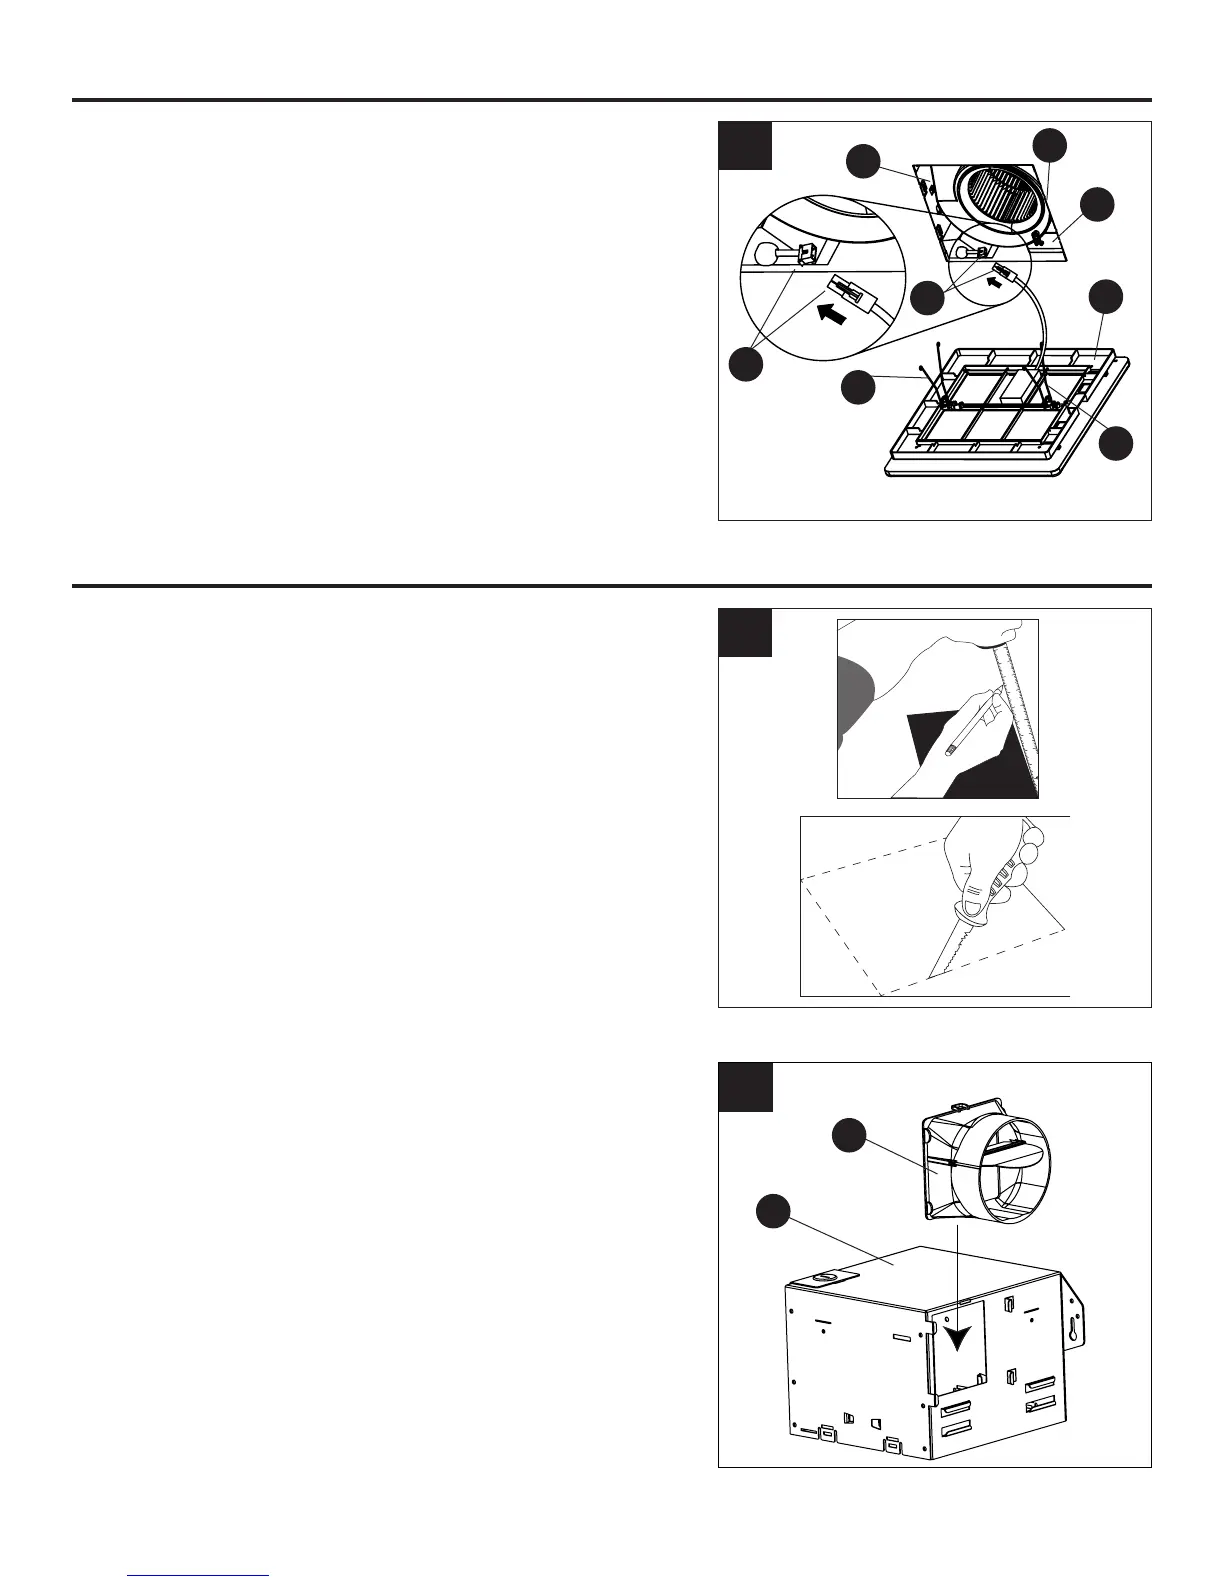
1. Mida la abertura para asegurarse de que es lo su-
cientemente grande como para acomodar la nueva
carcasa del ventilador (18,4 cm x 19 cm).
Si el ventilador no reemplazará un ventilador antiguo,
asegúrese de cortar una abertura de 18,4 cm x 19 cm
para la carcasa del ventilador.
ASEGÚRESE DE QUE EL BORDE DE 18,41 CM DE
LA ABERTURA ESTÉ AL RAS DE LA VIGUETA PARA
LA INSTALACIÓN DESDE ABAJO.
2. Adjunte el conector de conducto (C) a la carcasa del
ventilador (A).
7
4
5
6
7
8
9
1
0
1
1
1
19 cm
18,4 cm
1
7.1
7.1
7.2
7.2
A
7.3
B
7.3
2
A
C

 Loading...