Chapter 3 __________________________________________________ Installation
VAISALA__________________________________________________________19
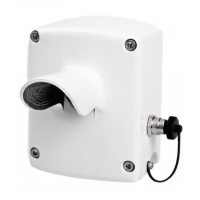
1. Select the installation position of LM21 from the two
choices presented in Figure 3 below. Lead the LM21
cable through the Option Support and attach the LM21
sensor to the Option Support Arm with the sensor
fastener according to Figure 3 on page 20. Use the 4
mm Allen key from FSA11 Visibility Calibration Set if
it is available. The final adjustment of the viewing
angle can be made later.
NOTE
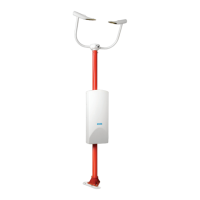
LM21 Background Luminance Sensor can be installed on
either side of the FS11 Option Support Arm to view in
opposite directions.
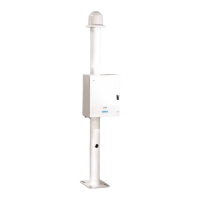
2. With the radiation shield door open, attach the Option
Support Arm to the rear panel of the FS11 radiation
shield with the four screws shown in Figure 3 on page
20. Pull cable through the opening in the rear panel.
3. Lead the cable down to the cable feedthroughs of the
FS11 interface enclosure. Use the cable gland
described in the FS11 User's Guide to bring the cable
into the interface enclosure. Ground the cable shield
properly in the cable gland (see Figure 5 on page 22).
NOTE
The cable shield of the Background Luminance Sensor
cable must be properly grounded into the cable gland, see
Figure 5 on page 22.
4. Adjust the viewing angle of the LM21 sensor to be
close to 30° if there is no special reason to use another
angle.
5. Turn FS11 off and connect the LM21 cable into the
interface unit of FS11 as shown in Figure 4 on page 21.