User's Guide ________________________________________________________
50 _____________________________________________________ M210283en-A
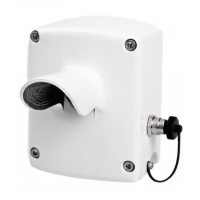
4. Open the three screws holding the Measurement board
LMB201 in place. Disconnect the heater and window
contamination connectors and remove the board. See
Figure 12 on page 47.
5. Connect the heater and window contamination
connectors onto the new LMB201 board and mount the
board in place onto the Optics Holding Assembly. The
sensitivity measurement LED has to be inserted into
the correct opening in the Optics Holding Assembly,
see Figure 13 on page 48. Secure the LMB201 board in
place with the three retaining screws.
6. Connect the signal and power cable back into the
LMM101 assembly. See Figure 11 on page 44. The
empty connector slots should face the top of the board.
7. Gently insert the LMM101 assembly, right side (the
connector side) first, back into the measurement head
and check that the gasket sits properly between the
cover frame assembly and the measurement head.
8. Insert and tighten the four screws holding the cover
frame assembly.
9. Connect the signal and power cable to turn on the unit
and enable communication.
10. Calibrate LM21 as instructed in section. See section
Calibration Check and Calibration Procedure on page
37.
11. Check that the LM21 sensor is working properly by
checking the FS11 status message for alarms or
warnings. Check that the luminance value is included
in the message.
Restore the operating parameters from the previous board to
match the installed setup.