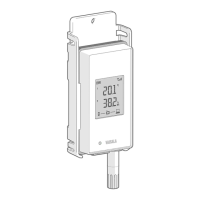
3. Installation
3.1 Setting up RFL100
Start the installation of the RFL100 by performing the appropriate setup procedure and
verifying its operation:
• If you are connecting a single probe, see Setup with one probe (page 21).
• If you are connecting two temperature probes using the probe splitter accessory, see
Setup with two temperature probes (page 23).
When you switch on the RFL100 it starts to scan for VaiNet access points that are
in installation mode. RFL100 will connect to the access point with the best signal
strength, and wait to be accepted by the administrator of the viewLinc Enterprise
Server. Make sure the access point(s) are installed and in installation mode before
starting to set up the RFL100 data loggers.
3.1.1 Setup with one probe
1 Power switch.
2 Protection cap. Remove after
installation is complete.
3 Latch of the battery cover.
1. If any cable is connected to the service port of the data logger, disconnect it.
2. Open the battery cover of the data logger.
3. Make sure the power switch is in the O position.
Chapter 3 – Installation
21
 Loading...