Make sure the components of your viewLinc Monitoring System are
updated to the required firmware and software levels before setting up any
RFL100 data loggers for two probe operation.
CAUTION!
1. If any cable is connected to the service port of the data logger, disconnect it.
2. Open the battery cover of the data logger.
3. Make sure the power switch is in the O position.
4. If the probe splitter is not yet connected to the data logger, connect it:
a. If a probe or cable is currently connected to the probe connector, pull it straight out
without rotating it.
b. Align the orientation mark on probe splitter with the line above the probe connector.
Push the probe splitter straight in all the way, do not rotate.
5. Connect the first temperature probe to the probe splitter, using an extension cable if
necessary. The first connected probe will be assigned to channel 1.
6. Move the power switch to the On position.
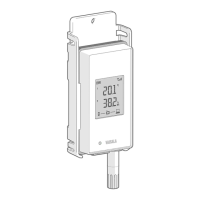
7. Look at the display and wait for the data logger to start up. You should see the word NEW
on channel 1 for a few seconds, after which it is replaced by the temperature reading.
8. Attach a label with number 1 to the probe you just connected. If you are using TMP115
probes, use the included probe labels. Connect the label to the thin cable between the
probe body and the sensor tip.
9. Move the power switch to the O position.
10. Connect the second temperature probe to the probe splitter, using an extension cable if
necessary.
11. Move the power switch to the On position.
RFL100 User Guide M211861EN-D
24
 Loading...